
Building a 6-Month Food Storage System on Any Budget
Create a comprehensive long-term food storage plan that will keep your family fed for months without breaking the bank.

Introduction
Creating a 6-month food storage system ensures your family has access to nutritious meals during emergencies like natural disasters, economic instability, or supply chain disruptions. This plan focuses on affordable, long-shelf-life foods that can be built gradually without straining your finances. Official guidelines from sources like the USDA and university extensions emphasize stocking shelf-stable items, proper storage, and rotation to maintain quality and safety.
Assessing Your Needs
Start by calculating your family's requirements. Aim for 2,000-2,500 calories per adult per day, adjusting for children and activity levels. For a family of four, this means planning for about 1,080,000-1,350,000 calories over 6 months. Focus on balanced nutrition: 50-60% carbs, 20-30% proteins, and 20-30% fats. Include vitamins, especially C and B12, from stored items.
Budgeting for Food Storage
Build your supply incrementally by adding a few extra items to your weekly grocery list. Allocate $10-20 per week to staples, reaching a 6-month supply in 6-12 months. Buy in bulk from wholesalers or during sales to save money. Prioritize inexpensive, versatile foods like grains and beans over pricey freeze-dried options.
Recommended Food Types and Quantities
Base your storage on bulk staples and supplementary canned/dried goods. For one adult over 6 months (adjust proportionally):
- Grains: 120 lbs wheat or corn, 30 lbs rice, 10 lbs pasta or oats.
- Legumes: 30 lbs dry beans, lentils, or soybeans.
- Dairy: 18 lbs powdered milk.
- Sugars and Fats: 10 lbs sugar, 5 quarts oil or shortening.
- Canned Goods: Fruits, vegetables, meats (e.g., 20 cans each).
- Other: 2.5 lbs salt, baking essentials, vitamins.
These provide a basic diet; supplement with dried fruits, nuts, and spices for variety.
Storage Methods
Store in a cool, dry, dark place (40-70°F) to maximize shelf life. Use food-grade buckets with gamma lids for grains, adding oxygen absorbers or dry ice (1/4 lb per 5-gallon bucket) to prevent insects. Canned goods last 1-2 years; inspect for damage. Rotate using FIFO (first in, first out) to ensure freshness.
Rotation and Maintenance
Check supplies every 6 months: use items nearing expiration and replace. Label containers with dates. For best quality, use within:
- 6 months: Powdered milk (boxed), dried fruits.
- 1 year: Canned soups, fruits, cereals.
- Indefinitely: Wheat, rice, salt (in proper conditions).
Sample 6-Month Plan
Week 1-4 (Build Basics): Purchase rice, beans, canned veggies ($50-100).
Month 2-3: Add grains, powdered milk, oils.
Month 4-6: Include proteins, fruits, supplements.
Daily menu example: Oatmeal breakfast, bean soup lunch, rice with canned meat dinner.
Recommended Products
Stock up with these affordable Amazon items (affiliate links; earnings support content):
- Food-Grade Buckets: Gamma Seal Lid - Fits 3.5 to 7 Gallon Buckets. Buy on Amazon
- Oxygen Absorbers: PackFreshUSA 300cc Oxygen Absorbers (100 Pack). Buy on Amazon
- Bulk Rice: Augason Farms Long Grain White Rice Emergency Food Storage. Buy on Amazon
- Powdered Milk: Hoosier Hill Farm All American Dairy Whole Milk Powder. Buy on Amazon
- Canned Goods Variety: Chef Boyardee Variety Pack. Buy on Amazon
- Hand Grain Mill: Victoria Cast Iron Manual Grain Mill. Buy on Amazon
What You'll Need
Tools
- Food-grade 5-gallon buckets with gamma seal lids
- Permanent marker or label maker for date labeling
- Kitchen scale for measuring bulk quantities
- Hand grain mill for processing stored wheat or corn
- Can opener (manual, as a backup to electric)
- Storage shelving or racking system
Supplies
- Oxygen absorbers (300cc, one per gallon of storage space)
- Mylar bags (1-gallon and 5-gallon sizes) for grain and legume storage
- Dry ice or food-grade diatomaceous earth for insect prevention
- Bulk grains (white rice, hard red wheat, rolled oats, pasta)
- Bulk legumes (dry pinto beans, lentils, split peas)
- Powdered whole milk
- Canned fruits, vegetables, and meats
- Cooking oils and shortening
- Multivitamins and vitamin C supplements
- Salt, sugar, baking powder, and baking soda
Step-by-Step Instructions
Step 1: Calculate Your Family's Caloric and Nutritional Requirements
Tally the number of people in your household, noting ages and activity levels, then use the 2,000-2,500 calories per adult per day benchmark as your baseline. Multiply that daily figure by 180 days to arrive at your 6-month calorie target per person, then add all household members' totals together. Write these numbers down and keep them handy as your master reference throughout the purchasing process.
Step 2: Set a Realistic Weekly Budget and Purchasing Schedule
Decide how much you can consistently spend each week without stressing your household finances — even $10-20 per week will build a meaningful stockpile over 6-12 months. Break your master food list into monthly purchasing goals so you know exactly what category to focus on each week. Tracking spending in a simple notebook or spreadsheet prevents overspending and keeps progress visible.
Step 3: Purchase and Organize Your Core Bulk Staples First
Start with the highest-calorie, lowest-cost items: white rice, hard red wheat, dry beans, and rolled oats, as these form the caloric backbone of your supply. Buy from wholesale clubs, restaurant supply stores, or online bulk retailers to get the best price per pound. Aim to secure at least 50% of your total grain and legume quantities before moving on to supplementary items.
Step 4: Repackage Bulk Foods Into Long-Term Storage Containers
Pour bulk grains and legumes into food-grade 5-gallon buckets lined with mylar bags, leaving a small headspace at the top. Place the appropriate number of 300cc oxygen absorbers inside each mylar bag — roughly one per gallon of capacity — then heat-seal the mylar bag closed with a household iron before snapping the gamma lid onto the bucket. This process removes oxygen, dramatically slowing oxidation and preventing insect infestation, extending shelf life to 25-30 years for grains under ideal conditions.
Step 5: Label Every Container With Contents and Pack Date
Use a permanent marker or printed labels to clearly write the food type, total weight, and the date you packed the container on the outside of every bucket and can. Add a "use by" or "best by" date based on standard shelf-life guidelines — for example, 1 year for canned goods and 25+ years for sealed wheat and rice. Consistent labeling is the foundation of an effective FIFO rotation system and prevents costly waste.
Step 6: Designate and Prepare Your Storage Location
Choose a cool, dry, and dark area of your home such as a basement, interior closet, or pantry where temperatures stay between 40-70°F year-round. Install sturdy shelving that can bear the combined weight of full buckets and canned goods — a fully loaded 5-gallon bucket can weigh 35-40 lbs. Keep containers off bare concrete floors by placing them on pallets or boards to prevent moisture wicking, and ensure the area has good airflow to discourage mold.
Step 7: Expand Your Supply With Canned Goods, Fats, and Supplements
Once your bulk staples are secured, shift weekly purchases toward canned meats, fruits, and vegetables to add nutritional variety and convenience. Stock cooking oils, shortening, and sugar to provide calorie-dense fats and simple carbohydrates that are difficult to obtain from grains alone. Round out the supply with multivitamins, vitamin C, and any household-specific dietary needs such as infant formula or medications.
Step 8: Implement a Rotation Schedule and Conduct Regular Inventory Checks
Set a recurring calendar reminder every 6 months to physically inspect your entire food supply, checking for damaged seals, rust on cans, or off odors. Pull items nearing their use-by dates into your regular kitchen rotation and replace them with fresh stock, always placing newer purchases behind older ones on the shelf. Document what you use and replace in a simple inventory log so you always know your true supply level and can identify gaps before an emergency strikes.
Conclusion
A 6-month food storage system provides peace of mind and self-reliance. By starting small and focusing on essentials, anyone can achieve this on a budget. Regularly review and rotate your stock for optimal readiness.
References
- Preparing an Emergency Food Supply, Long Term Food Storage - University of Georgia Extension - https://www.fcs.uga.edu/extension/preparing-an-emergency-food-supply-long-term-food-storage
- Food Storage Booklet - Utah State University Extension -
More from Stockpiling
 Stockpiling 7 min read
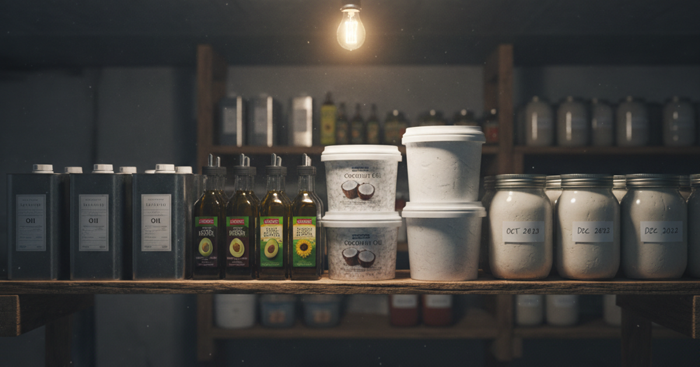
Fat Is Fuel: How to Stockpile Cooking Oils, Lard, and Tallow for Long-Term Food Storage
Fats deliver more than twice the calories of grain per pound, yet most stockpiles ignore them. Here's how to choose, store, render, and rotate cooking oils before shelves go empty.
 Stockpiling 6 min read
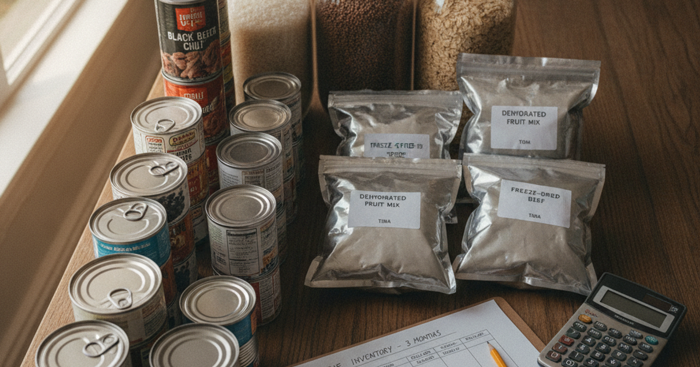
Calorie Math for Survival: How to Ration Emergency Food and Stretch Your Stockpile for 90 Days
Your food stockpile is only as good as the math behind it. Learn how to calculate daily calorie needs, build a rationing plan, and stretch emergency food for 90 days without starving your family.
 Stockpiling 6 min read
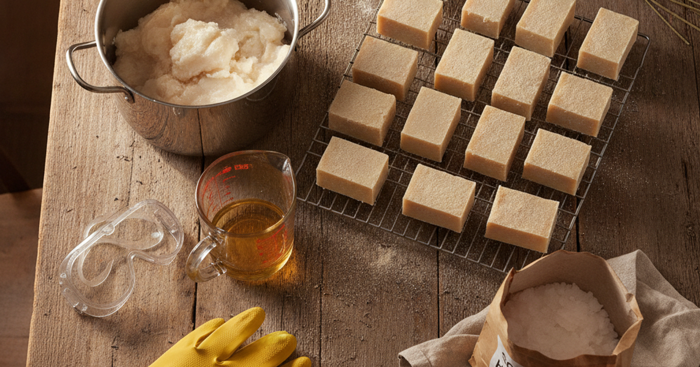
When the Soap Runs Out: How to Make Lye Soap, Disinfectants, and Cleaning Supplies for Long-Term Survival
Hygiene failures kill more people in a prolonged crisis than violence does. Learn to render fat, make lye soap, mix bleach solutions, and stockpile the raw materials that keep your family clean.