Mastering Water Harvesting and Purification
Master essential water survival techniques with comprehensive guides on rainwater harvesting, solar still construction, groundwater sourcing, boiling, chemical treatment, filtration, and distillation methods for any disaster scenario.

Introduction
In disaster situations such as hurricanes, earthquakes, floods, or prolonged power outages, access to clean water can become severely limited. Mastering water harvesting— the process of collecting, storing, and purifying water from available sources— is crucial for survival. Official guidelines from organizations like FEMA, CDC, and the American Red Cross emphasize preparing an emergency water supply to meet basic needs, recommending at least one gallon per person per day for drinking and sanitation. This article provides comprehensive guidance on improvised methods for water collection and purification, tailored for emergency scenarios, to help individuals and families stay hydrated and healthy when traditional supplies are disrupted.
Methods of Water Harvesting in Disasters
Water harvesting in emergencies involves identifying and collecting water from immediate surroundings using improvised techniques. Always prioritize safe sources and treat collected water before consumption. Key methods include:
Home Sources
In a disaster, your home can provide hidden water reserves. Drain water from pipes by turning on the highest faucet to let air in and collecting from the lowest. Access hot water tanks by turning off gas/electricity, opening the drain valve, and collecting clean water (up to 40 gallons in standard tanks). Melt ice cubes or use liquids from canned goods. Avoid toilet tanks, radiators, or waterbeds due to chemicals.
Rainwater Collection
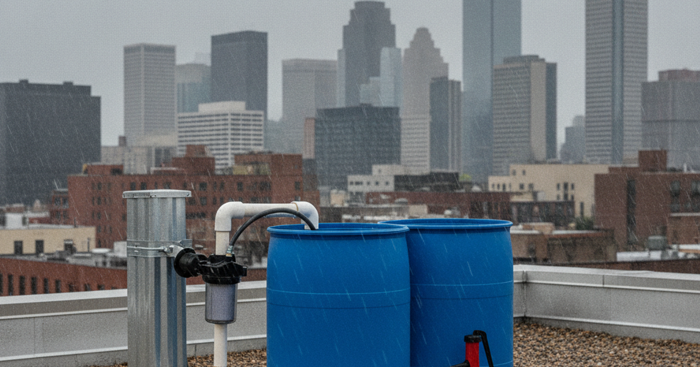
Rainwater is a renewable source during storms. Use clean buckets, barrels, or tarps to collect runoff from roofs or open areas. In urban settings, position containers under downspouts. For improvised setups, tie corners of a plastic sheet to create a funnel directing water into a container. Filter debris with cloth before storage.
Natural and Improvised Sources
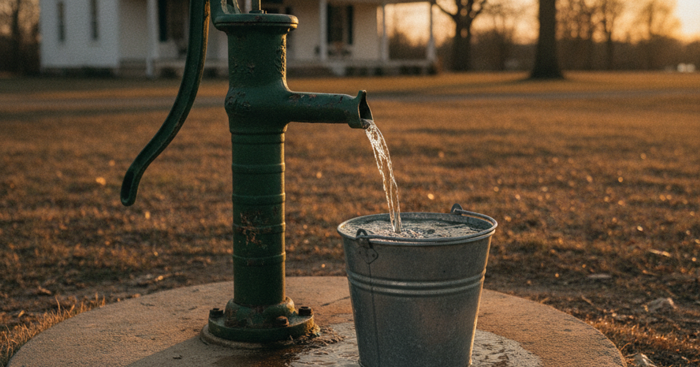
Collect from streams, ponds, or snow, but only as a last resort and after treatment. Use solar stills: Dig a hole, place a container in the center, cover with plastic sheeting, and weigh down edges with a stone in the middle to condense moisture. Transpiration method: Tie a plastic bag around a leafy branch to collect evaporated water from plants.
Water Purification Techniques
Collected water may contain contaminants, so purification is essential to prevent illness. Common methods include:
Physical Methods
- Filtration: Strain through cloth, coffee filters, or layers of sand/charcoal to remove particles.
- Boiling: Bring to a rolling boil for one minute to kill pathogens; cool and aerate for better taste.
- Distillation: Boil and condense vapor to remove impurities, effective for saltwater or contaminated sources.
Chemical Methods
- Chlorination: Add 16 drops of unscented household bleach (5.25-6% sodium hypochlorite) per gallon, let stand 30 minutes.
- Iodine Tablets: Follow package instructions for portable disinfection.
Integrating Harvesting and Purification
Combine collection with purification: Collect in clean containers, filter debris, then boil or chlorinate. In disasters, aim for 15-20 liters per person daily as per WHO guidelines. Test water if possible, and rotate stored supplies every six months. For long-term, set up rain barrels pre-disaster.
Benefits and Challenges
Benefits
- Self-sufficiency: Reduces reliance on aid.
- Health protection: Prevents dehydration and waterborne diseases.
- Cost-effective: Uses available resources.
Challenges
- Contamination risks: Requires proper treatment.
- Limited sources: Dependent on environment.
- Energy needs: Boiling requires fuel.
What You'll Need
Tools
- Large buckets or barrels (food-grade, ideally 5–55 gallon capacity)
- Plastic sheeting or tarp (for rainwater funnels and solar stills)
- Shovel or digging tool (for constructing a solar still)
- Heat-safe pot or metal container (for boiling water)
- Dropper or measuring device (for dispensing bleach accurately)
- Cloth or bandana (for pre-filtering debris)
- Rope or paracord (for securing tarps and collection setups)
Supplies
- Unscented household bleach (5.25–6% sodium hypochlorite)
- Iodine or chlorine purification tablets
- Coffee filters or fine cloth (for multi-layer filtration)
- Sand and activated charcoal (for improvised filtration layers)
- Food-grade water storage containers or rigid water jugs
- Plastic zip-lock bags or clear plastic bags (for transpiration collection)
- Permanent marker and labels (for marking collection dates and water sources)
- Fuel source such as camp stove fuel canisters or firewood (for boiling)
Step-by-Step Instructions
Step 1: Assess and Identify All Available Water Sources
Before collecting any water, survey your immediate environment to locate every potential source — including your home's pipes, hot water heater, rainwater runoff points, and any nearby natural sources such as streams or ponds. Prioritize indoor sources first, as they carry the lowest contamination risk in most disaster scenarios. Make a quick written or mental inventory, noting which sources will require the most intensive purification treatment.
Step 2: Collect Water From Indoor Home Reserves
Begin harvesting from the safest available source: your home's existing water supply. Turn on the highest faucet in your home to introduce air into the pipes, then collect water flowing from the lowest faucet or spigot. Locate your hot water heater, shut off the gas or electricity supply to it, and open the drain valve at the base to access up to 40 gallons of stored water. Gather any additional liquid from canned goods or by melting ice cubes, and pour all collected water into clean, food-grade containers.
Step 3: Set Up a Rainwater Collection System
Position clean buckets or barrels directly under roof downspouts or in open areas where rainfall can accumulate freely. For an improvised collection funnel, spread a clean plastic tarp or sheet flat and tie each corner to a fixed point at a slight angle, directing runoff toward a central low point above your collection container. Secure the setup with rope or paracord to prevent it from shifting in wind. Place a layer of cloth over the container opening to catch leaves, insects, and large debris as the water flows in.
Step 4: Build an Improvised Solar Still for Ground Moisture
If rainwater and home sources are unavailable, a solar still can extract moisture directly from the ground. Dig a hole approximately two feet wide and one foot deep in a sunny location, and place a clean collection container in the center of the hole. Cover the entire hole with a sheet of clear plastic, sealing the edges with dirt or rocks to trap air, then place a small stone in the center of the plastic directly above the container to create a downward drip point. Solar heat will cause moisture in the soil to evaporate, condense on the underside of the plastic, and drip into your container — a slow but reliable emergency method.
Step 5: Pre-Filter Collected Water to Remove Debris
Before applying any purification method, pass all collected water through a pre-filter to remove sediment, debris, and large particles that can reduce the effectiveness of chemical treatments. Layer a cloth or bandana in a funnel shape over a second clean container, and pour the water slowly through it. For greater filtration, build a layered filter using a plastic bottle with the bottom removed: pack it from top to bottom with fine cloth, activated charcoal, fine sand, coarse sand, and gravel, then pour water through and collect the output in a clean vessel below.
Step 6: Purify Water Using Boiling or Chemical Treatment
Once pre-filtered, choose your purification method based on available resources. If you have a heat source, bring the water to a full rolling boil for at least one minute — or three minutes if you are at an elevation above 6,500 feet — to kill all biological pathogens. If boiling is not possible, add 16 drops of unscented household bleach (5.25–6% sodium hypochlorite) per gallon of clear water, stir well, and allow it to stand for at least 30 minutes before use; double the bleach dose and wait 60 minutes if the water appears cloudy. Alternatively, follow the manufacturer's instructions on iodine or chlorine purification tablets for a lightweight, portable option.
Step 7: Store Purified Water Safely and Label Containers
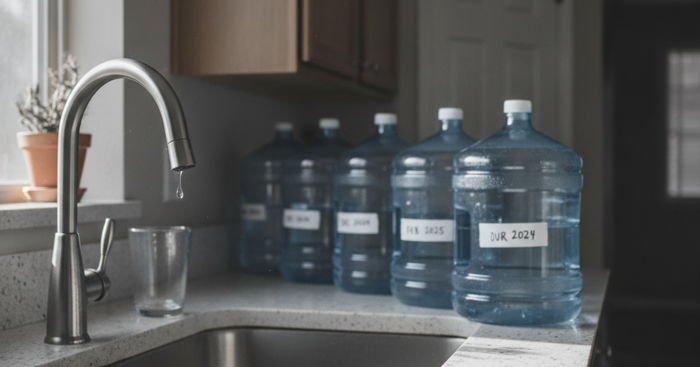
Transfer purified water into clean, food-grade, airtight containers immediately after treatment to prevent recontamination. Use a permanent marker to label each container with the collection date, water source, and purification method used, so you can manage your supply and prioritize older stock first. Store containers in a cool, dark location away from direct sunlight, chemicals, and fuel sources, which can leach contaminants through plastic. If conditions allow, aim to maintain a minimum of one gallon per person per day, targeting 15–20 liters per person per day as recommended by the WHO for full sanitation and hydration needs.
Step 8: Monitor, Rotate, and Replenish Your Water Supply
Consistently check stored water for changes in smell, color, or clarity, and discard any supply that shows signs of contamination. Rotate stored water every six months under normal preparedness conditions, replacing it with freshly purified water to ensure quality. Continuously scout for new collection opportunities as weather and environmental conditions change throughout a prolonged disaster, returning to earlier steps to replenish your supply. Keep your collection tools and purification supplies cleaned and ready so you can restart the process quickly whenever needed.
Recommended Products
Prepare with these Amazon products (affiliate links; earnings support content):
- Rain Barrels: RTS Home Accents 50-Gallon Rain Water Collection Barrel. Buy on Amazon
- Water Storage Containers: Reliance Products Aqua-Tainer 7 Gallon Rigid Water Container. Buy on Amazon
- Purification Tablets: Potable Aqua Water Purification Tablets. Buy on Amazon
- Solar Still Kit: Electric Portable Water Filter Camping - Solar Powered. Buy on Amazon
- Bleach for Chlorination: Clorox Concentrated Germicidal Bleach. Buy on Amazon
Conclusion
Mastering water harv