Navigation Without GPS: How to Find Your Way When Technology Fails
When GPS goes dark, can you still find your way home? Master map reading, compass use, and natural navigation before SHTF.
When the grid goes down and cell towers stop working, your smartphone becomes an expensive paperweight. GPS signals can be jammed, spoofed, or simply unavailable in disaster scenarios — and according to the Department of Homeland Security, GPS disruption is one of the most underestimated vulnerabilities in modern emergency response. Whether you're a prepper navigating an urban evacuation or a rural homesteader trying to move through unfamiliar terrain after a SHTF event, the ability to find your way without technology could save your life.
Land navigation is one of those foundational skills that too many people in the emergency preparedness community overlook. We stockpile emergency food storage, build out our bug out bag, and invest in survival gear — but we forget that none of it matters if we can't get from point A to point B. This guide will walk you through compass use, topographic map reading, and natural wayfinding techniques that work whether you're navigating city streets or wilderness terrain.
Why GPS Dependency Is a Critical Vulnerability for Preppers
Modern society has become catastrophically dependent on GPS. A 2019 report from the Centre for Economics and Business Research estimated that GPS-dependent activities contribute over $1.4 trillion annually to the U.S. economy — which tells you everything about how deeply embedded satellite navigation is in daily life. When that signal disappears, most people are immediately lost.
GPS can fail for numerous reasons in an emergency: solar flares that disrupt satellite signals, electromagnetic pulse (EMP) events that fry electronics, deliberate jamming by hostile actors, infrastructure collapse, or simply a dead battery on your device. In a prolonged grid-down scenario, your phone's GPS is gone within hours or days. The preppers who survive and thrive will be the ones who trained for this reality before it happened.
For those interested in protecting their electronic navigation tools from EMP events, our guide on Faraday Cages: How to Protect Your Electronics from an EMP Attack is worth reading — but even a Faraday cage won't help if satellites themselves are compromised. Analog skills are non-negotiable.
How to Choose and Use a Survival Compass for Emergency Navigation
A quality baseplate compass is the single most important navigation tool you can carry. It weighs almost nothing, requires no batteries, and will outlast any electronic device you own. But not all compasses are created equal, and knowing how to use one correctly requires some practice before the emergency happens.
Choosing the Right Compass
For most preppers, a reliable baseplate orienteering compass is the best starting point. The Suunto A-10 orienteering compass is an excellent entry-level option — it's durable, accurate, and straightforward to use for both urban and wilderness navigation. It belongs in every survival kit and bug out bag as a baseline tool.
If you want to step up your precision, the Brunton TruArc 3 baseplate compass offers global needle technology, meaning it works accurately anywhere in the world without the needle tilting and binding — a critical feature if you're ever navigating outside your home region. For serious land navigation, the Suunto MC-2 mirror sighting compass adds a sighting mirror for precise bearing measurements over long distances — the same tool used by military navigators and search-and-rescue teams.
Basic Compass Skills Every Prepper Must Know
- Taking a bearing: Point the direction-of-travel arrow at your destination, rotate the compass housing until the orienting arrow aligns with the magnetic needle (red end north), and read your bearing in degrees.
- Following a bearing: Hold the compass level, keep the needle aligned with the orienting arrow, and walk in the direction the travel arrow points.
- Declination adjustment: Magnetic north and true north are not the same. In the eastern U.S., declination can be 10-20 degrees west. Always check local declination and adjust your compass accordingly or your course will drift significantly over distance.
- Triangulation: Take bearings on two or three known landmarks, draw the lines on your map, and your position is where they intersect.
How to Read a Topographic Map for Survival Navigation
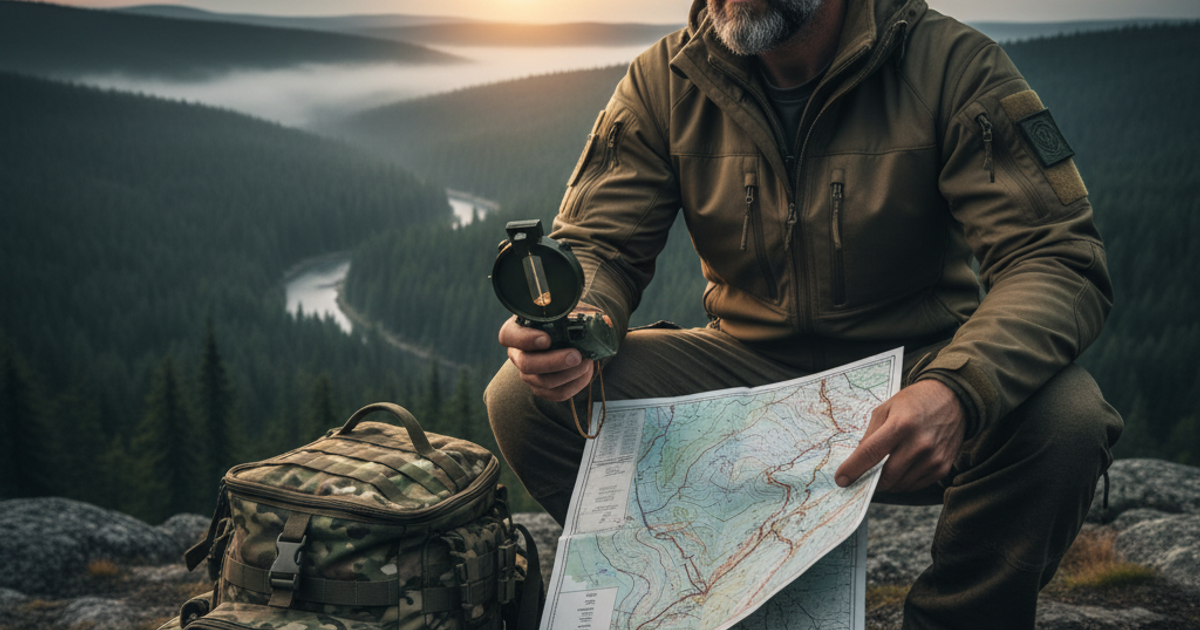
A compass without a map is limited. A map without a compass is better than nothing, but together they form a complete navigation system that has guided explorers, soldiers, and survivors for centuries.
Topographic maps show elevation changes through contour lines — curved lines that connect points of equal elevation. Understanding these lines tells you where hills, valleys, ridges, and drainages are without having to see them. This is invaluable for route planning during an evacuation, especially when you're choosing between paths and need to avoid terrain that will slow you down or put you in danger.
The National Geographic Trails Illustrated topographic map series covers national parks, forests, and wilderness areas across the country and is an excellent resource for rural and suburban preppers planning bug-out routes into less populated terrain. These waterproof, tear-resistant maps belong in your bug out bag alongside your compass.
For those who want a deeper foundation in map reading, a USGS topographic map reading guide book will walk you through everything from understanding map scales and grid systems to calculating terrain slope and identifying water features — skills that apply equally to wilderness survival and urban survival route planning.
Key Topographic Map Reading Concepts
- Contour interval: The elevation difference between adjacent contour lines. Closely spaced lines mean steep terrain; widely spaced lines mean gentle slopes.
- Index contours: Every fifth contour line is typically darker and labeled with elevation.
- V-shapes and U-shapes: V-shaped contours pointing uphill indicate valleys and stream drainages; U-shaped contours indicate ridges.
- Map scale: A 1:24,000 scale map (standard USGS 7.5-minute quad) means 1 inch on the map equals 2,000 feet on the ground — detailed enough for serious navigation.
- Grid coordinates: Learn to use UTM (Universal Transverse Mercator) coordinates to identify precise locations that you can communicate to others in your group.
Urban Map Navigation Considerations
Urban preppers shouldn't dismiss topographic maps as irrelevant. In a city, topo maps reveal where natural chokepoints exist, where flooding is likely (low contour areas near waterways), and which elevated positions provide observation advantages. Combine a topo map with a city street map and you have a comprehensive picture of your urban survival environment. Our article on Urban Evacuation Routes: How to Escape the City When SHTF covers how to plan these routes in detail — but you need the map skills to execute them when digital navigation is unavailable.
Natural Wayfinding Techniques That Work in Any Environment
Even without a compass or map, humans navigated continents for thousands of years using natural cues. These techniques are backup skills — not primary navigation methods — but knowing them could be the difference between life and death if you lose your gear.
Solar Navigation
- Shadow stick method: Push a stick vertically into the ground. Mark the tip of its shadow with a stone. Wait 15-20 minutes, mark the new shadow tip. The line between the two marks runs roughly east-west (first mark is west, second is east) in the Northern Hemisphere.
- Watch method: Point the hour hand of an analog watch at the sun. The point halfway between the hour hand and 12 o'clock is approximately south (in the Northern Hemisphere).
- Sun arc: The sun rises generally in the east, reaches its highest point in the south (Northern Hemisphere), and sets in the west. This gives you broad directional reference throughout the day.
Stellar Navigation
The North Star (Polaris) sits almost exactly above the geographic North Pole. Find the Big Dipper constellation — the two stars forming the outer edge of the "cup" point directly at Polaris. Once you've found north, you have all four cardinal directions. On a clear night, this is one of the most reliable navigation tools available to you.
Environmental Indicators
- Moss growth: While not perfectly reliable, moss tends to grow more densely on the north-facing sides of trees and rocks in the Northern Hemisphere (less direct sunlight).
- Tree rings: On a cut stump, rings are often wider on the south-facing side due to more sunlight and growth.
- Snow melt: South-facing slopes receive more sun and melt faster — useful terrain intelligence in winter survival situations.
- Prevailing winds: Learn your region's prevailing wind direction. Vegetation often bends and grows asymmetrically away from prevailing winds, providing consistent directional cues.
Building Navigation Skills Into Your Emergency Preparedness Routine
Skills atrophy without practice. The time to learn land navigation is not when you're stressed, sleep-deprived, and fleeing a disaster — it's now, in calm conditions, with repetition until it becomes instinctive. Here's how to build these skills systematically:
- Get your maps now: Download and print USGS topographic maps of your region at apps.nationalmap.gov — they're free. Identify your home, your primary bug-out location, and at least two alternate routes between them.
- Practice orienteering: Orienteering clubs exist in most regions and offer structured courses where you navigate between checkpoints using only map and compass. This is the fastest way to build real competency.
- Navigate your neighborhood without your phone: On your next walk or drive, leave the GPS off. Use a paper map. This builds the mental habit of spatial awareness that preppers call situational awareness.
- Practice at night: Night navigation with a compass and stars is a different skill set. Train in low-light conditions before you need it.
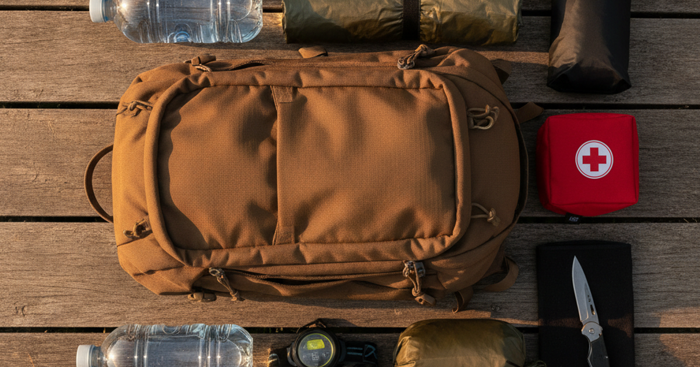
- Create a navigation kit: Your bug out bag should include a baseplate compass, a declination-adjusted orienteering compass, laminated maps of your region, a protractor, and a pencil. Add this to your survival gear checklist.
Navigation skills pair naturally with broader situational awareness training. Our article on Situational Awareness: How to Detect Threats Before They Become Dangerous explains how to read your environment for threat indicators — a mindset that makes you a better navigator and a harder target simultaneously. The grey man concept applies here too: moving confidently and purposefully through unfamiliar terrain, without drawing attention, requires knowing exactly where you are and where you're going.
What You'll Need
- Analog compass (liquid-filled orienteering compass recommended)
- Topographic map of your area
- Watch with hour and minute hands (analog)
- Notepad and pencil for recording bearings
- Protractor or map ruler with degree markings
- Whistle and signal mirror for emergencies
Step-by-Step Instructions
Step 1: Identify Your Current Location Using Terrain Association
Study your topographic map and compare the terrain features around you—hills, valleys, water sources, and ridgelines—to what's printed on the map. Look for at least three distinctive landmarks you can see in the distance, such as mountain peaks or prominent ridges. By matching these visible features to their map symbols, you can triangulate your approximate position. This technique works best from elevated positions where you have good visibility in multiple directions.
Step 2: Determine Cardinal Directions Using the Sun
In the Northern Hemisphere, hold your analog watch flat and point the hour hand at the sun. The midpoint between the hour hand and 12 o'clock indicates south; north is directly opposite. In the Southern Hemisphere, point the 12 o'clock position at the sun, and north lies midway between 12 and the hour hand. Remember that this method works best in the morning and afternoon when the sun's position is more distinct. For greater accuracy during midday, observe where the sun rose (east) and where it will set (west).
Step 3: Navigate Using the North Star at Night
Locate the Big Dipper constellation in the northern sky, then follow the two stars forming the outer edge of the dipper's cup upward. These "pointer stars" lead directly to Polaris, the North Star, which sits almost exactly above the North Pole. Polaris remains virtually stationary while other stars rotate around it throughout the night. Once you've identified true north, you can orient yourself and your map accordingly, using the North Star as a fixed reference point for navigation.
Step 4: Take a Compass Bearing to Your Destination
Place your compass on the map with the edge connecting your current location to your intended destination. Rotate the compass housing until the orienting lines align with the map's north-south grid lines, ensuring the direction-of-travel arrow points toward your goal. Read the bearing number at the index line—this is your azimuth in degrees. Add or subtract magnetic declination for your area (noted on your map) to convert between true north and magnetic north, ensuring accuracy in your navigation.
Step 5: Follow Your Bearing While Maintaining Course
Hold your compass level at chest height with the direction-of-travel arrow pointing straight ahead. Turn your entire body until the magnetic needle aligns perfectly with the orienting arrow in the housing—"red in the shed" is the common memory aid. Pick a distinctive landmark along your bearing line as far ahead as you can see, such as a unique tree or rock formation. Walk to that landmark, then repeat the process to select the next point, compensating for any obstacles you must navigate around.
Step 6: Create a Baseline for Safety and Orientation
Identify a long, linear feature on your map that you can use as a catch-line, such as a road, river, power line, or ridge. Position yourself so this feature runs perpendicular to your direction of travel—if you miss your target or become disoriented, simply travel in the baseline's general direction until you intersect it. Once you reach this safety line, you can reorient yourself and determine whether to turn left or right to reach civilization or your intended destination.
Step 7: Mark Your Trail and Record Your Progress
As you navigate, periodically note distinctive waypoints on your map and record the time, bearing, and estimated distance traveled. Stack rocks, break branches, or tie grass in a distinctive pattern at regular intervals to mark your path, especially at decision points or turns. If you need to backtrack or if a search party needs to follow your route, these markers become invaluable. Update your estimated position on the map every 15-30 minutes based on your pace count and terrain covered.
Frequently Asked Questions
What navigation tools should I keep in my bug out bag for emergencies?
At minimum, your bug out bag should contain a quality baseplate compass, printed and laminated topographic maps of your region, and a paper street map of your local area. A backup button compass clipped to your pack or worn on your wrist adds redundancy. Avoid relying solely on digital maps stored on a phone — batteries die and electronics fail. Physical maps and a mechanical compass work regardless of power grid status, EMP events, or signal disruption. Store maps in a waterproof bag or have them laminated to protect against moisture.
How do I find north without a compass in a survival situation?
Several reliable methods work in different conditions. At night, locate Polaris (the North Star) by finding the Big Dipper and following the two outer "pointer stars" of the cup — they point directly at Polaris, which indicates true north. During the day, use the shadow stick method: place a stick vertically in open ground, mark the shadow tip, wait 15-20 minutes, mark the new position — the line between marks runs east-west. An analog watch can also work: point the hour hand at the sun, and the midpoint between the hour hand and 12 o'clock indicates south in the Northern Hemisphere.
Can land navigation skills be used in urban environments, or are they only for wilderness survival?
Land navigation skills are absolutely applicable in urban environments. A baseplate compass works on city streets just as effectively as in forests. Topographic maps reveal urban terrain features including elevation changes, waterways, and natural chokepoints that affect evacuation route planning. Street maps combined with compass bearings allow you to maintain directional orientation even when roads force you off a straight-line course. Urban preppers should map multiple evacuation routes from their home and workplace, identify key landmarks as waypoints, and practice navigating those routes without phone GPS. In a true grid-down scenario, the prepper who can read a paper map and hold a compass bearing will move efficiently while others are paralyzed by technology failure.
Affiliate Disclosure: SHTF Plan participates in the Amazon Services LLC Associates Program. Some links are affiliate links — we may earn a small commission at no extra cost to you.