Bug-Out Backpack Selection: How to Choose a Pack That Won't Fail You Ten Miles In
Your bug-out bag is only as good as the pack carrying it. Learn how to choose the right capacity, frame, suspension, and fit so your gear doesn't destroy your body on foot.
The bug-out bag conversation almost always starts with contents — water filters, fire steel, calories per ounce. Almost nobody starts with the pack itself. That's backwards. A poorly chosen backpack turns a manageable 15-mile walk into a medical event. Hot spots become blisters, blisters become open wounds, shoulder straps compress the brachial plexus until your hands go numb, and a pack that rides wrong on your hips will hammer your lumbar spine with every step. U.S. Army research on soldier load carriage has consistently found that loads exceeding roughly 30% of body weight cause significant degradation in mobility and marksmanship, and Army Public Health data attributes a large share of foot-march injuries — blisters, stress fractures, and rucksack palsy — directly to load and fit problems rather than distance alone.
Whether you live in a fourth-floor apartment, a subdivision, or twenty acres of timber, the math is the same: if the roads are gridlocked and you're moving on foot, the pack on your back is the single piece of survival gear that determines whether the rest of your gear ever reaches your destination. Here's how to choose one that won't quit ten miles in.
What You'll Need
Tools
- Cloth tape measure (for torso length)
- Bathroom scale (to weigh loaded pack)
- Mirror or a second person to check strap alignment
Supplies
- Mid-size internal frame pack (40–50L)
- Full-size suspension pack (60–70L)
- Sandbags, water jugs, or rice bags for weighted fit testing
- Compression straps and 550 paracord
- Moleskin, leukotape, and blister care
How to Choose the Right Bug-Out Bag Capacity
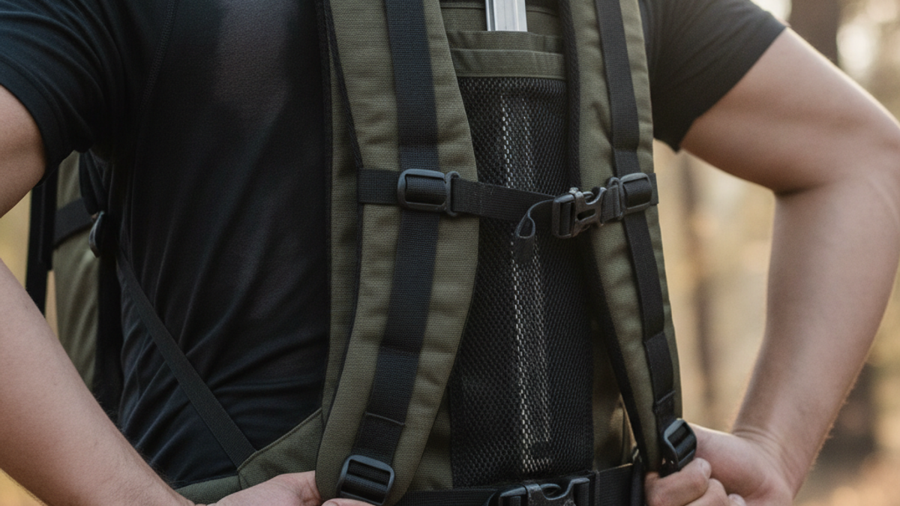
Capacity is measured in liters, and more is not better. An oversized pack is an invitation to fill it, and every unnecessary pound compounds over distance.
- 25–35L: Get-home bag. Office workers, commuters, urban dwellers walking 5–20 miles home. Low profile, grey man friendly.
- 40–50L: The sweet spot for a true 72-hour bug out bag in temperate conditions. Forces discipline.
- 55–70L: Winter loads, parents carrying gear for children, or anyone hauling a bulky sleep system.
- 75L+: Relocation loads only. Realistically too heavy for most people to walk with.
Target a loaded weight of 20–25% of your body weight. A 180-pound adult should be walking with 36–45 pounds, not 70. The 72-hour walking evacuation plan matters more than sheer volume — plan the route first, then size the pack to the mission.
Internal Frame vs. External Frame: Which Suspension Works for Evacuation?
The frame is what transfers weight from your shoulders to your hips, where your skeleton can actually carry it. A properly fitted hip belt moves 60–80% of the load onto your pelvis and legs.
Internal Frame Packs
Aluminum stays or a molded framesheet sit inside the pack body, hugging your back. Better balance on uneven ground, stairwells, fence crossings, and bicycle use. The Gregory Baltoro 65 is a benchmark here — an auto-rotating hip belt and genuinely load-bearing suspension that stays comfortable at 45+ pounds. The Osprey Aether 65 offers heat-moldable hip belts, which is a real advantage for anyone with an unusual build.
External Frame Packs
Old-school, but there's a reason military surplus ALICE pack frames with kidney pads still move: they carry awkward, heavy, rigid loads (water cans, tools, game meat) better than anything else and ventilate your back. Add an aftermarket shoulder harness and kidney pad and a surplus frame becomes a serious load hauler for under $100. The downside is bulk and snag hazards in tight urban spaces.
Ventilated Trampoline Suspension
Mesh-suspended backpanels like those on the Osprey Atmos AG 65 hold the pack body off your spine. In humid or hot-climate evacuations this dramatically reduces sweat rate — relevant if you're already fighting extreme heat with no power.
Why Torso Length Matters More Than Your Height
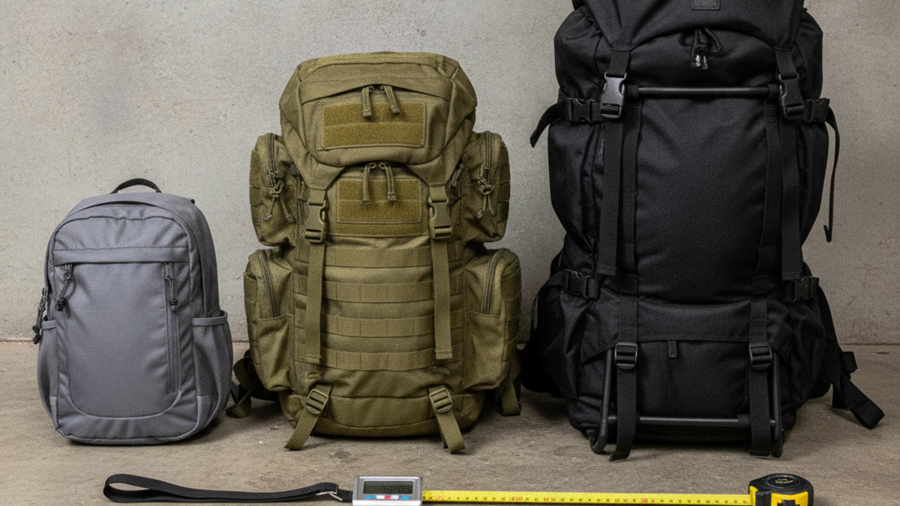
Pack sizing has nothing to do with how tall you are. It's measured from the C7 vertebra (the bump at the base of your neck when you tilt your head forward) to the iliac crest shelf — the imaginary line across the top of your hip bones. Have someone measure that distance in inches:
- Under 16": Extra Small / Small
- 16–18": Small / Medium
- 18–20": Medium / Large
- 20"+: Large / Extra Large
Hip belt sizing is separate — measure around the iliac crest, not your pant waist. Women's and youth-specific packs use shorter torso ranges, more curved shoulder straps, and canted hip belts. This is not marketing; skeletal geometry genuinely differs, and forcing a family member into the wrong pack guarantees injury.
Materials, Durability, and the Tactical vs. Civilian Question
Look for 500D–1000D Cordura nylon or 210–420D high-tenacity ripstop with a PU or silicone coating. Check for bar-tacked stress points, YKK zippers, and box-stitched shoulder straps. Cheap "tactical" packs from unbranded sellers fail at exactly two places: the shoulder strap junction and the hip belt attachment.
Then there's the profile question. A black MOLLE-covered pack with a flag patch signals "this person has supplies" during civil unrest. The 5.11 Tactical RUSH72 is a durable, well-organized 55L option that's excellent for vehicle and rural use, but consider a subdued color and how it reads in a crowd. The Direct Action Ghost MkII was designed specifically to hide its capability behind a civilian silhouette — a smart choice if you're applying grey man principles in a dense city. For pure load-hauling under punishing weight, the Mystery Ranch 2 Day Assault and its three-zip access remain the standard many professionals measure against.
Step-by-Step Instructions
Step 1: Measure your torso and hip circumference
Have a partner measure from your C7 vertebra to the iliac crest line while you stand naturally. Record the number in inches and compare it against each manufacturer's sizing chart — they are not interchangeable between brands. Measure hip circumference across the top of the hip bones, not the waistline.
Step 2: Define your realistic evacuation distance and climate
Map your actual route from home to your destination. A suburban 12-mile walk in October demands far less volume than a 40-mile winter movement. Let distance, season, and dependents dictate capacity before you look at a single product page.
Step 3: Load the pack to full weight before judging fit
An empty pack always feels fine. Load 30–40 pounds of sandbags, rice, or water jugs and wear it for at least 20 minutes indoors. Only under load will you feel frame flex, hot spots, and hip belt slippage.
Step 4: Adjust the suspension in the correct order
Loosen everything. Set the hip belt on the iliac crest and tighten. Snug shoulder straps until they contour without carrying weight. Set load lifters at a 45-degree angle. Fasten the sternum strap about an inch below the collarbone. Never tighten the sternum strap enough to restrict breathing.
Step 5: Pack for weight distribution, not convenience
Heavy items — water, ammunition, tools — ride high and close to your spine, between the shoulder blades. Sleep system and clothing go at the bottom. Medium items fill the outside. Compress every strap; a load that shifts is a load that will hurt you.
Step 6: Test with a loaded ruck march
Walk at least 5 miles on your actual route terrain — stairs, curbs, gravel. Note every hot spot. Repeat at 10 miles. Roughly one in five hikers who skip this step discovers a fit failure only during a real emergency, which is the worst possible time.
Step 7: Reinforce, waterproof, and store the pack ready
Add a pack cover or line the interior with a contractor bag. Reinforce stitching at the hip belt and shoulder junctions with heavy thread. Store the pack loaded, near your exit, alongside your grab-and-go document kit.
Step 8: Reassess every six months
Body weight changes, gear changes, and seasons change. Audit contents, retest the fit, and rotate water and food each spring and fall.
Recommended Gear
Pair whatever pack you choose with the right boots — see our guide to choosing survival footwear, because pack fit and foot health are inseparable. Browse more vetted options on our recommended survival gear page.
Frequently Asked Questions
What size backpack do I need for a 72-hour bug out bag?
For most adults in temperate conditions, 40–50 liters is ideal. It holds a full 72-hour survival kit — shelter, sleep system, water purification, food, first aid, and tools — without tempting you to overpack. Move to 60–70 liters only for winter loads or if you're carrying gear for children.
How much should a bug out bag weigh?
Target 20–25% of your body weight fully loaded, and treat 30% as a hard ceiling. Military load carriage research shows mobility, decision-making, and injury risk all degrade sharply beyond that threshold. Water is usually the heaviest single item at 8.34 pounds per gallon, which is why a compact filter beats carrying three days of water.
Is a tactical backpack better than a hiking backpack for SHTF?
Hiking packs almost always carry weight better because their suspension systems are engineered for multi-day distance. Tactical packs offer superior organization, modularity, and abrasion resistance. For pure urban survival and evacuation on foot, prioritize suspension and a low profile over MOLLE webbing.
Affiliate Disclosure: SHTFPlan.net participates in the Amazon Services LLC Associates Program. Some links are affiliate links — we may earn a small commission at no extra cost to you.