Prepper's Guide to Solar Panel Selection: How to Choose the Right System for Home and Bug-Out Power
Not all solar setups are created equal. Learn how to choose, size, and deploy the right solar panel system for both home resilience and mobile bug-out power.
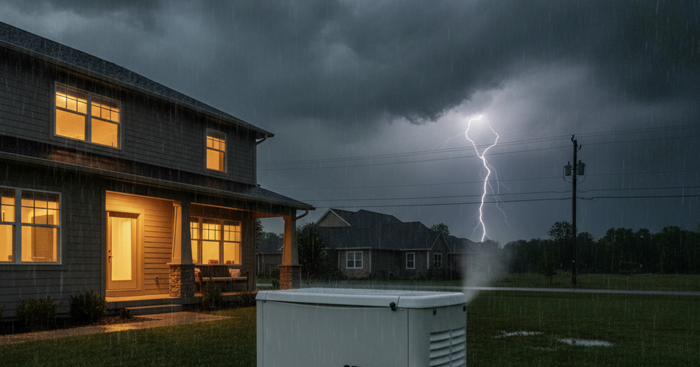
When the grid goes down — whether from a hurricane, an ice storm, a cyberattack, or a prolonged infrastructure failure — those without an independent power source are immediately vulnerable. According to the U.S. Energy Information Administration, the average American experiences over eight hours of power interruptions per year, and in major disasters that number can stretch into days or weeks. Solar power is one of the most reliable, scalable, and silent solutions available to the modern prepper, and it works whether you live in a high-rise apartment, a suburban neighborhood, or a remote off grid homestead.
But walking into the solar market without preparation is a fast way to waste hundreds — or thousands — of dollars on the wrong equipment. Panel wattage, battery capacity, charge controllers, inverters, and system compatibility all matter. This guide breaks it all down so you can make smart, mission-critical decisions about your emergency preparedness power strategy.
Why Solar Power Is a Core Prepper Asset
Unlike generators, solar panels produce electricity silently and without fuel. That matters for two reasons: fuel storage is complicated and dangerous (see our guide on Fuel Storage for Preppers), and a noisy generator advertises your operational status to everyone within earshot — a serious OPSEC concern during SHTF scenarios. Solar operates invisibly, keeps your profile low, and produces power indefinitely as long as the sun rises.
For apartment dwellers and urban preppers, the equation is different but not impossible. Balcony-mounted panels, window-facing portable units, and compact solar generators give city residents a viable path to independent power — enough to charge communications gear, run medical devices, power LED lighting, and keep a small refrigerator running. If you're building out your urban survival strategy, power independence is just as critical as emergency food storage and water.
Understanding Solar Panel Types and Efficiency Ratings
Not all solar panels are created equal. There are three main panel technologies you'll encounter:
- Monocrystalline panels are made from single-crystal silicon, offering the highest efficiency ratings (typically 18–22%) and the best performance in low-light conditions. They're the preferred choice for most preppers.
- Polycrystalline panels are slightly less efficient (15–17%) but more affordable. They're a reasonable option for stationary installations where space isn't at a premium.
- Thin-film panels are lightweight and flexible, making them useful for curved surfaces and portable applications, but their efficiency (10–13%) is considerably lower.
For most preppers, monocrystalline panels offer the best balance of performance and durability. The Renogy 100 watt monocrystalline solar panel kit is one of the most popular entry-level options on the market — it includes wiring, mounting hardware, and a basic charge controller, making it ideal for first-time builders who want a complete, field-tested package.
How to Calculate Your Power Needs Before Buying Anything
The single biggest mistake preppers make is buying panels before calculating their actual load requirements. Start by listing every device you'd need to power in an emergency. For each device, note its wattage and estimated daily hours of use. Multiply wattage by hours to get watt-hours (Wh) per day.
A basic emergency setup might include:
- LED lighting: 10W × 6 hours = 60 Wh/day
- Phone and radio charging: 20W × 2 hours = 40 Wh/day
- Small fan or CPAP machine: 50W × 8 hours = 400 Wh/day
- Laptop for communications: 65W × 4 hours = 260 Wh/day
That's roughly 760 Wh/day for a moderate emergency setup. Add 20–30% for inefficiencies and cloudy days, and you're looking at a system capable of producing around 1,000 Wh daily. For anyone who relies on powered medical equipment, check out our article on Backup Power for Medical Devices for specialized guidance.
Portable Solar Generators: The All-in-One Solution
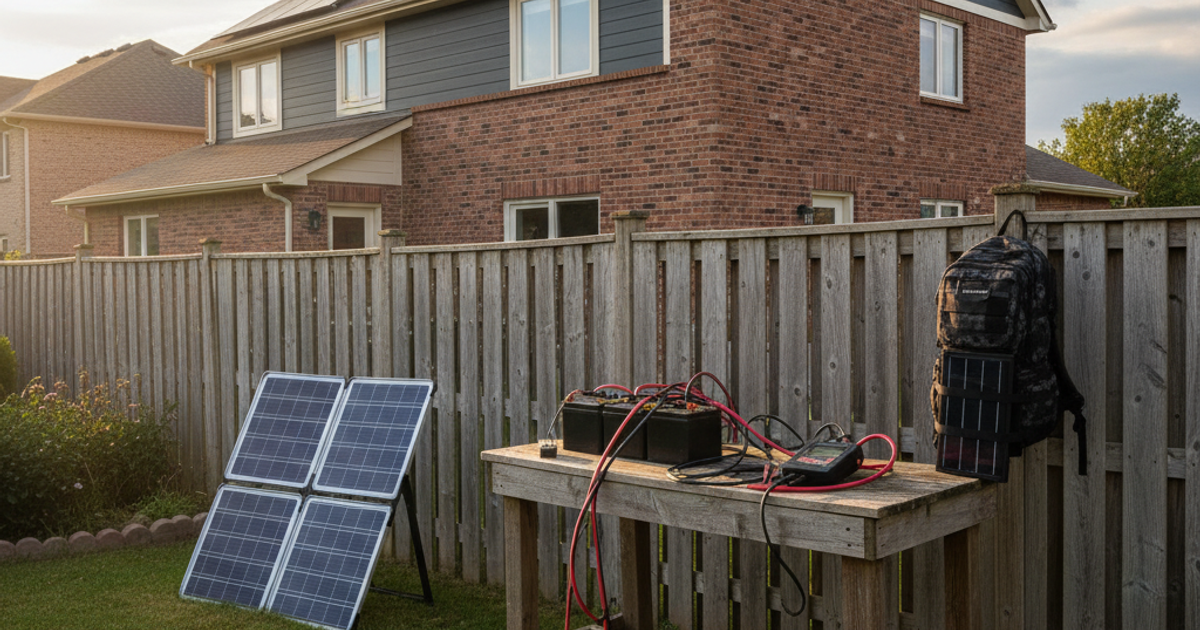
For renters, apartment dwellers, and anyone building a bug out bag-compatible power solution, an all-in-one solar generator (also called a portable power station paired with solar input) is often the most practical starting point. These units combine a lithium battery bank, an inverter, and a charge management system in a single portable case.
The Jackery Explorer 1000 portable power station is a widely respected option in the prepper community — it delivers 1,002 Wh of capacity, supports AC, DC, and USB outputs, and can be recharged via solar panels, a wall outlet, or a car port. It's substantial enough to run a CPAP machine through the night or power critical communications gear for days.
For a mid-range option with a slightly smaller footprint, the Goal Zero Yeti 500X solar power station offers 505 Wh of capacity in a compact form factor. It's particularly well suited for apartment preppers who need reliable emergency power without dedicating significant storage space. Goal Zero's build quality and customer support are consistently rated among the best in the industry.
At the higher end, the EcoFlow DELTA portable solar generator stands out for its rapid recharge capability — it can go from 0 to 80% in under an hour via AC power. In a deteriorating situation where grid power is intermittently available, that fast charging window could be the difference between a fully charged system and a dead one.
For preppers planning a large-scale stationary installation — think rural homestead or suburban home backup — the Bluetti AC200P solar power station expandable is worth serious consideration. With 2,000 Wh of LFP (lithium iron phosphate) battery capacity, dual AC output, and expandable solar input up to 700W, it can handle serious loads including refrigerators, power tools, and multiple devices simultaneously.
Charge Controllers: The Brain of Your Solar System
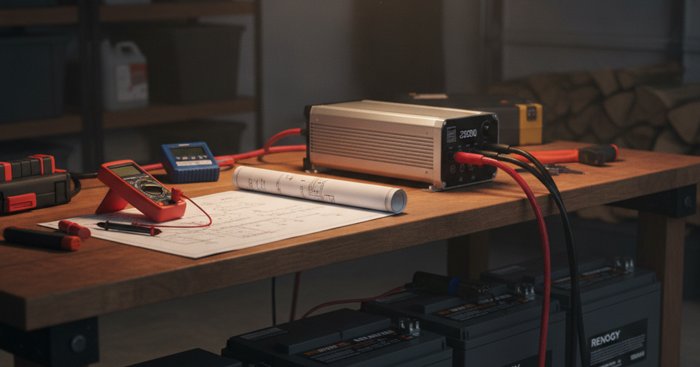
If you're building a DIY panel-and-battery system rather than using an all-in-one unit, a quality charge controller is non-negotiable. This device regulates the voltage and current from your panels to prevent overcharging your batteries — a leading cause of battery failure and fire risk in poorly designed systems.
There are two types: PWM (Pulse Width Modulation) and MPPT (Maximum Power Point Tracking). MPPT controllers are significantly more efficient — typically 10–30% more productive than PWM — by continuously optimizing the power conversion from your panels. They cost more but pay for themselves quickly in real-world solar harvesting.
The Renogy 40 amp MPPT solar charge controller is compatible with 12V, 24V, and 48V battery banks and supports up to 520W of solar input on a 12V system. It's a reliable workhorse for mid-size home systems. For preppers who want premium performance and Bluetooth monitoring capability, the Victron Energy SmartSolar MPPT charge controller is considered professional-grade equipment and is widely used in marine, RV, and off-grid homestead installations worldwide.
Portable Panels for Bug-Out Power
Your home solar setup won't help you if you have to leave. Every serious prepper should have a portable solar charging solution that fits in or attaches to a bug out bag or vehicle. Foldable panel technology has matured significantly, offering surprisingly high output in a compact, weather-resistant format.
The Anker 625 solar panel foldable portable charger is a 100W foldable unit that can charge USB-C devices, power banks, and compatible portable stations directly. It's lightweight enough to attach to the back of a pack or prop against a vehicle during a rest stop, and Anker's reputation for quality control makes it a dependable choice for field use.
For more on building a complete portable power strategy, read our detailed guide on Blackout Battery Banks: How to Choose and Use Portable Power for Any Emergency.
What You'll Need
Tools
- Multimeter (for testing voltage and connections)
- Wire strippers and crimping tool
- Drill with bits (for mounting hardware)
- Torque wrench or screwdriver set
Supplies
- Renogy 100 watt monocrystalline solar panel kit
- Renogy 40 amp MPPT solar charge controller
- Marine-grade or AGM deep-cycle battery (or lithium battery bank)
- MC4 connectors and appropriately gauged solar cable
- Fuse or circuit breaker rated for your system
- Battery terminal connectors and mounting brackets
Step-by-Step Instructions
Step 1: Calculate Your Daily Power Consumption in Watt-Hours
List every device you need to power during an emergency, note its wattage, and estimate daily hours of use. Multiply wattage by hours to get daily watt-hours per device, then total all devices. Add a 25% buffer for system inefficiencies and cloudy days to arrive at your minimum daily generation target.
Step 2: Choose the Right System Type for Your Living Situation
Apartment and urban preppers should focus on portable power stations paired with foldable panels. Suburban homeowners can build a hybrid system using rooftop or ground-mounted panels with a battery backup. Rural and off-grid preppers should size a full fixed installation capable of meeting 100% of critical loads. Match your system architecture to your actual environment — a rural homestead solution is impractical for a third-floor apartment dweller.
Step 3: Select Panels Based on Efficiency, Wattage, and Available Space
Monocrystalline panels deliver the best efficiency-to-space ratio and are recommended for most preppers. Calculate how many panels you need by dividing your daily watt-hour target by average peak sun hours in your region (typically 4–6 hours in the contiguous U.S.). A 400 Wh daily need in a 4-peak-sun-hour region requires at least 100W of panel capacity, assuming full efficiency.
Step 4: Size Your Battery Bank to Cover Nighttime and Cloudy Days
Your battery bank should store at least two days of power consumption to cover nights and overcast conditions. For a 1,000 Wh daily load, target a minimum of 2,000 Wh of usable battery capacity. If using lead-acid batteries, only 50% of rated capacity is usable without damaging the battery; lithium (LFP) batteries allow 80–90% depth of discharge.
Step 5: Install a Quality MPPT Charge Controller Between Panels and Battery
Never connect panels directly to a battery — always route through a charge controller. Match the controller's voltage and amperage ratings to your panel array and battery bank specifications. Wire panels to the controller's solar input terminals, then connect the battery to the controller's battery terminals, and finally connect your load (inverter or direct DC devices) to the load terminals.
Step 6: Test Your System Under Real Conditions Before You Need It
Run your system for a full week under normal conditions before relying on it in an emergency. Monitor battery voltage each morning before panels activate and each evening after full sun exposure. Document your real-world daily output versus theoretical output — this reveals shading issues, inefficient connections, or undersized components before lives depend on the system.
Step 7: Secure and Weatherproof All Outdoor Components
Use MC4 waterproof connectors for all panel-to-wire connections. Mount charge controllers in a protected, ventilated indoor location away from moisture and extreme heat. Anchor panels with appropriate racking hardware rated for your region's wind loads — improperly secured panels become dangerous projectiles in high-wind events. For those building more permanent structures, our guide on Off-Grid Cabin Construction covers weatherproofing and structural considerations in detail.
Step 8: Build a Portable Bug-Out Solar Kit as a Backup System
Regardless of your home installation, assemble a portable kit that can travel with you during evacuation. This should include a foldable solar panel, a compact power station or battery bank, and essential charging cables. Store this kit in a dedicated bag or case near your primary bug out bag so both can be grabbed in minutes. Review our Complete 72-Hour Bug Out Bag Checklist to ensure your power kit integrates with your broader emergency gear loadout.
Recommended Gear Summary
To recap the core products referenced throughout this guide: for all-in-one portable solutions, the Jackery Explorer 1000 portable power station, the Goal Zero Yeti 500X solar power station, the EcoFlow DELTA portable solar generator, and the Bluetti AC200P solar power station expandable each represent different capacity tiers to match your budget and power needs. For DIY builds, start with the Renogy 100 watt monocrystalline solar panel kit and pair it with either the Renogy 40 amp MPPT solar charge controller or the Victron Energy SmartSolar MPPT charge controller for a reliable, expandable installation. Don't forget a portable foldable panel like the Anker 625 solar panel foldable portable charger for your mobile kit. You can find additional vetted options on our Recommended Survival Gear & Equipment page.
Frequently Asked Questions
How many solar panels do I need to power my house during an emergency?
For full home backup, most households need 10–20 panels (300–400W each) combined with a substantial battery bank. However, most preppers are better served by a critical loads approach — identifying only the essential circuits (lighting, refrigerator, communications, medical equipment) and sizing a system to cover those specifically. A 2–4 panel system with a 2,000–5,000 Wh battery bank can cover critical loads for most households at a fraction of the cost of a whole-home system.
Can apartment dwellers or renters use solar power for emergency preparedness?
Absolutely. Renters and apartment dwellers have more options than ever. Portable power stations charged via balcony-mounted or window-facing foldable solar panels can provide meaningful emergency power without any permanent installation. Even a 100W foldable panel and a 500–1,000 Wh power station can keep phones, radios, LED lights, and small medical devices running for days. Some cities also now allow small balcony solar installations — check your local ordinances and lease terms. For more apartment-specific strategies, see our guide on Apartment Prepping: How to Build a Serious Emergency Stockpile in a Small Space.
What's the difference between a solar generator and a regular generator for SHTF preparedness?
A traditional fuel-powered generator offers higher wattage output and can run indefinitely as long as fuel is available, but it requires stored fuel (which degrades and poses storage risks), makes significant noise, and produces exhaust that requires outdoor ventilation. A solar generator (portable power station with solar input) is silent, requires no fuel, has far fewer moving parts to fail, and recharges automatically in sunlight — making it significantly more sustainable in a long-term grid-down scenario. The tradeoff is lower instantaneous wattage and dependence on sunlight. For most preppers, having both types provides the most resilient power strategy.
Affiliate Disclosure: SHTFPlan.net participates in the Amazon Services LLC Associates Program. Some links are affiliate links — we may earn a small commission at no extra cost to you.