Pressure Cooker Canning: How to Preserve Meat, Beans, and Soups for Long-Term Emergency Food Storage
Learn how to safely pressure can meat, beans, and hearty soups at home to build a shelf-stable emergency food supply that lasts for years.
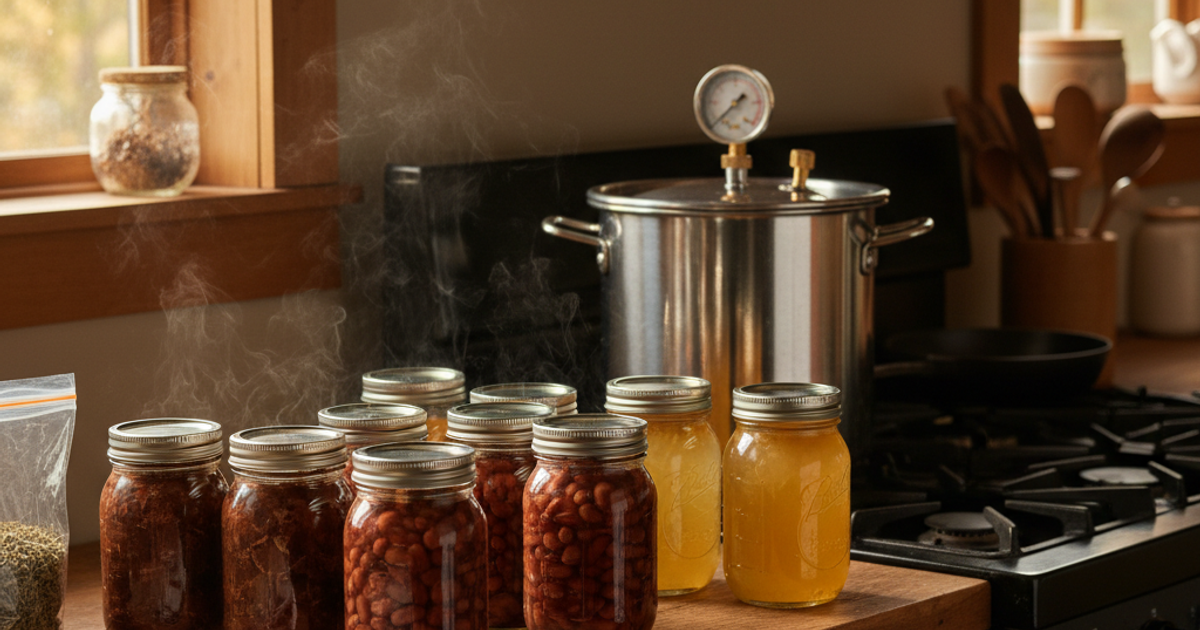
When the grid goes down, supply chains collapse, or a regional disaster cuts off access to grocery stores, your food stockpile becomes your lifeline. Freeze-dried meals and store-bought canned goods have their place, but nothing beats the shelf-stable, nutrient-dense, cost-effective power of home pressure-canned meat, beans, and soups. Done correctly, pressure canned food can last 2–5 years or more — some studies suggest properly sealed jars remain safe and nutritious well beyond that window when stored in cool, dark conditions.
Unlike water bath canning — which is only safe for high-acid foods like fruits, pickles, and jams — low-acid foods such as meat, poultry, fish, beans, and vegetable-based soups require a pressure canner. The reason is simple and serious: Clostridium botulinum, the bacterium that causes deadly botulism, produces heat-resistant spores that only die at temperatures above 240°F (116°C). Boiling water reaches only 212°F. A pressure canner brings internal jar temperatures to 240°F or higher — the only reliable way to eliminate the botulism risk in low-acid foods. This is non-negotiable. Never attempt to can meat, beans, or soups in a water bath canner.
Whether you're an apartment prepper building a serious emergency food storage system in a closet, a suburban homeowner stocking a basement pantry, or a rural homesteader processing a deer harvest, pressure canning is one of the most powerful skills in the prepper's toolkit. Combined with a solid understanding of long-term food stockpiling strategies, it gives you genuine food independence. This guide will walk you through everything you need to know to do it safely and effectively.
What You'll Need
Tools
- Presto 23 quart pressure canner
- All American 921 pressure canner 21 quart
- Jar lifter and canning funnel
- Large stockpot for pre-cooking ingredients
- Lid wand or tongs for handling lids
Supplies
- Ball Mason wide mouth canning jars quart
- Kerr regular mouth pint mason jars
- Ball Sure Tight canning lids and bands
- Canning salt (non-iodized)
- Fresh or frozen meat, dried beans, and soup vegetables
Why Pressure Canning Is Essential for Your Emergency Food Storage
The USDA National Center for Home Food Preservation has extensively tested and published processing times for virtually every low-acid food you'd want to can — and those guidelines exist for a reason. Following tested recipes and processing times isn't optional if you're serious about safety. Improvising processing times or using untested recipes can result in under-processed food that harbors invisible, odorless, and potentially lethal toxins.
That said, once you understand the core principles, pressure canning is genuinely accessible to anyone with a stove, whether it's a gas range in a city apartment, an electric cooktop in the suburbs, or a wood stove in a rural cabin. The Presto 23 quart pressure canner is one of the most popular entry-level options — it's affordable, widely available, and works on most stovetops including glass-top ranges with some precautions. For those who want a premium, gasket-free option with a metal-to-metal seal that never needs replacement parts, the All American 921 pressure canner is widely considered the gold standard in serious prepper and homesteading communities.
For apartment preppers and urban survivalists, there's one important caveat: some landlords and building codes restrict pressure canning on certain stovetop types. Check your lease and local regulations. If you have outdoor space — even a small balcony with a propane burner — that can serve as your canning station during large batches. For more ideas on building a comprehensive emergency food supply in tight quarters, see our guide to apartment prepping and emergency stockpile building in small spaces.
What Foods Can You Safely Pressure Can?
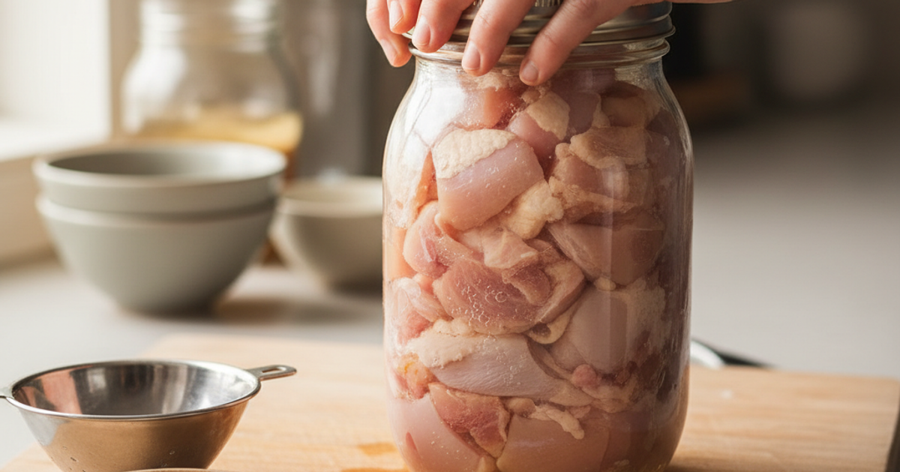
Meat and poultry: Beef, pork, chicken, turkey, venison, rabbit, and lamb all pressure can beautifully. You can pack raw meat directly into jars (raw pack) or pre-cook it before packing (hot pack). Raw pack is faster; hot pack generally produces better texture and allows you to fit more into each jar. Always follow USDA-tested processing times — typically 75 minutes for pints and 90 minutes for quarts of most meats at 10 PSI (adjusted for altitude).
Dried beans and legumes: Black beans, pinto beans, kidney beans, navy beans, chickpeas, and lentils are all excellent candidates. You must pre-soak or pre-cook dried beans before canning — never pack dry beans directly into jars, as they absorb liquid and expand during processing, which can lead to seal failures and dangerously under-processed product.
Soups and stews: Home-canned soups are arguably the most versatile item in a prepper pantry — a complete, ready-to-eat meal that just needs heating. You can pressure can vegetable beef soup, chicken noodle (without the noodles — pasta turns to mush during processing; add it fresh when you open the jar), bean and ham soup, and more. Keep the fat content low, as fat can interfere with sealing.
For hunters and those who process wild game at home, pairing your pressure canning skills with field processing knowledge is a force multiplier. Our article on hunting and fishing for survival food covers how to source and process wild protein when store shelves are empty.
Choosing the Right Jars and Lids for Long-Term Storage
Not all mason jars are created equal for pressure canning. Always use jars specifically designed for home canning — never reuse commercial jars from store-bought pasta sauce or mayonnaise, as these are not manufactured to withstand repeated pressure cycling. Ball Mason wide mouth quart jars are ideal for chunky meats, soups, and stews, while Kerr regular mouth pint jars work well for single-serving portions of beans and shredded meat.
Lids deserve equal attention. Standard single-use lids like Ball Sure Tight lids and bands are reliable, widely tested, and affordable — stock up in bulk as part of your emergency preparedness supplies. For serious long-term preppers, Tattler reusable canning lids offer a compelling SHTF advantage — they can be used repeatedly, reducing your dependence on supply chains for consumable canning supplies. In a long-term grid-down scenario, the ability to reseal jars with lids you already own is a significant asset.
Step-by-Step Instructions
Step 1: Inspect and Prepare Your Equipment Before Canning Day
Before each canning session, examine all jars for chips, cracks, or nicks — especially around the rim where the lid seals. A damaged jar rim will not seal reliably and poses a safety risk. Check your pressure canner's gasket (if it has one) for cracks or brittleness, and verify that the pressure gauge reads accurately. If you have a dial-gauge canner, it should be tested annually at your local cooperative extension office — or replace it with a Presto pressure canner gauge replacement if readings seem off. Weighted-gauge canners are generally more reliable since they don't require annual calibration.
Step 2: Prepare Your Meat, Beans, or Soup Filling
For raw-pack meat, trim excess fat and cut into jar-appropriate chunks — roughly 1-inch cubes for beef and pork, or leave chicken thighs whole for pints. For beans, soak dried beans overnight and pre-cook for 30 minutes before filling jars. For soups, prepare your full recipe on the stovetop until ingredients are nearly cooked through — soups will finish cooking under pressure. Season lightly with canning salt (½ tsp per pint, 1 tsp per quart) but avoid thickeners like flour, cornstarch, or dairy, which are not safe for pressure canning and can prevent adequate heat penetration.
Step 3: Fill Jars Using Correct Headspace
Use a canning funnel to fill hot, clean jars to the correct headspace — 1 inch of headspace for all meats, beans, and soups. This is critical: too little headspace can prevent proper sealing, while too much can result in liquid loss and potential spoilage. Remove air bubbles by running a thin spatula or bubble remover around the inside edge of the jar. Wipe the jar rim clean with a damp cloth before placing the lid — any food residue on the rim will prevent a proper seal.
Step 4: Load the Canner and Build Pressure Correctly
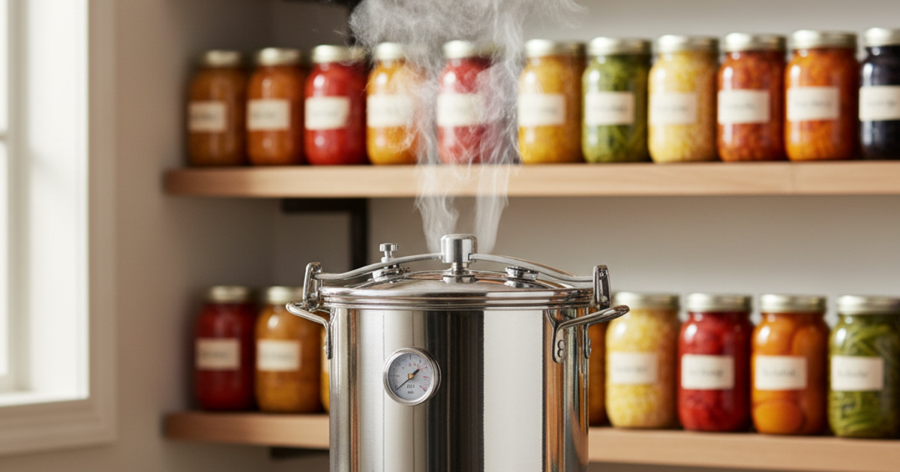
Place the rack in the bottom of your pressure canner and add 2–3 inches of hot water (some canners require specific amounts — check your manual). Load jars using a jar lifter, ensuring they sit straight and don't touch each other. Lock the lid and heat on medium-high until steam vents steadily from the vent pipe — then let steam exhaust continuously for 10 full minutes before placing the weight or closing the petcock. This exhausting step removes air from the canner and ensures accurate pressure readings throughout the process.
Step 5: Process Jars at the Correct Pressure and Time
Once the canner reaches the correct pressure (typically 10 PSI for altitudes below 1,000 feet; higher altitudes require adjusted pressure — consult USDA tables), start your processing timer. Common times: chicken pieces — 75 min (pints) / 90 min (quarts); beef or pork chunks — 75 min (pints) / 90 min (quarts); bean soups — 60 min (pints) / 75 min (quarts). Maintain steady pressure throughout by adjusting heat — pressure fluctuations can cause liquid loss and siphoning. Never leave the canner unattended during processing.
Step 6: Depressurize Safely and Remove Jars
When processing time is complete, turn off heat and allow the canner to depressurize naturally — never attempt to rush depressurization by running it under cold water or removing the weight prematurely. This can cause liquid loss and seal failure. Wait until the pressure gauge reads zero and the safety lock drops (typically 30–45 minutes), then carefully remove the lid, tilting it away from you to avoid steam burns. Use a jar lifter to remove jars and place them on a towel-lined surface with at least 1 inch between jars.
Step 7: Check Seals and Label Jars for Your Prepper Pantry
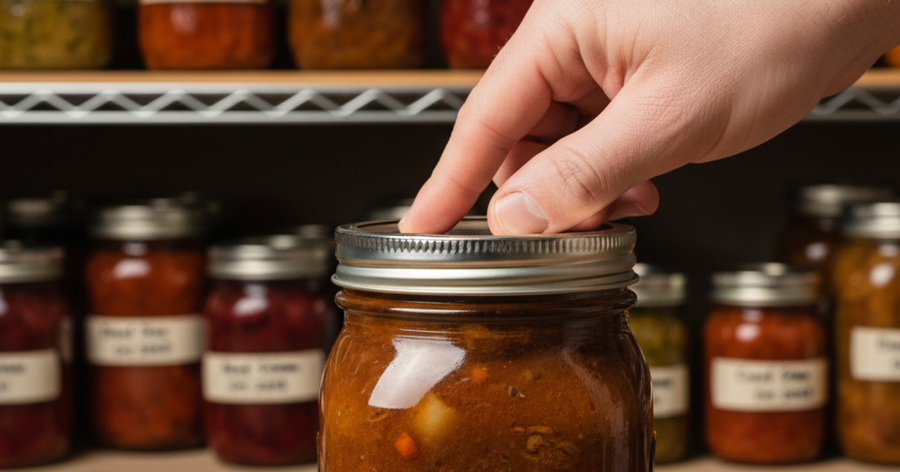
After 12–24 hours of undisturbed cooling, check each jar's seal by pressing the center of the lid — it should be concave and firm, with no flex or "ping" when pressed. Remove the screw bands and try to lift the lid with your fingertips — a properly sealed lid will not release. Any jars that haven't sealed must be refrigerated and used within a few days or reprocessed within 24 hours with a new lid. Label sealed jars with contents and date, then store in a cool (50–70°F), dark location. Never store canned goods near heat sources, in freezing conditions, or in direct sunlight.
Recommended Gear for Pressure Canning Preppers
Every serious canner should have a reference guide they trust completely. The Ball Blue Book Guide to Preserving is the most widely used home canning reference in America, containing USDA-approved processing times and tested recipes for hundreds of foods including meats, soups, beans, and produce. It should be on every prepper's shelf alongside their canning supplies — in a true SHTF scenario, having authoritative written references you don't need the internet to access is invaluable. Pair this with your pressure canner and a well-stocked pantry for a truly robust food independence system. You may also want to explore our guide to pressure canning vegetables for long-term storage to round out your prepper pantry with shelf-stable produce alongside your proteins.
Storage, Rotation, and OPSEC Considerations
Home-canned food is only as good as your storage conditions. The USDA recommends using home-canned goods within 1–2 years for best quality, though safety can extend well beyond that when jars remain properly sealed. Implement a first-in, first-out (FIFO) rotation system — always pull from the front and stock new jars from the back. Store jars with the bands removed to make seal failures immediately visible. If a jar shows any sign of spurting liquid when opened, off odors, unusual color, or a compromised seal — discard it without tasting.
For urban and suburban preppers, consider the OPSEC implications of a visibly stocked pantry. Not everyone in your building or neighborhood needs to know the extent of your food storage. Our article on hidden rooms and concealed storage for protecting your stockpile offers practical strategies for keeping your supplies secure and discreet, whether you're in a studio apartment or a suburban home.
Frequently Asked Questions
How long does home pressure canned meat actually last?
The USDA recommends using home-canned meats within 2–5 years for peak quality, though properly sealed jars stored in cool, dark conditions can remain safe for longer. Quality — including texture, color, and flavor — degrades gradually over time even in sealed jars, but food safety is maintained as long as the seal remains intact and there are no signs of spoilage. Always inspect jars carefully before consuming and discard any with compromised seals, off odors, or unusual appearance.
Can I pressure can beans and soup in an apartment without special equipment?
Yes — you only need a pressure canner, a stovetop burner capable of sustaining medium-high heat, and standard canning supplies. Most apartment stovetops, including electric coil and gas burners, work fine. Glass-top ranges require extra caution — check your canner manufacturer's guidelines, as heavy canners can crack glass cooktops. A portable propane burner used safely on a balcony or in an outdoor space is a popular alternative for apartment preppers who want to can large batches. Always ensure adequate ventilation during the process.
What is the most dangerous mistake people make when pressure canning meat and soups?
The most dangerous mistake is using untested recipes or reducing processing times to save time or energy. Botulism toxin is odorless, colorless, and can be present in food that looks and smells perfectly fine. Always use USDA-tested recipes with verified processing times — the Ball Blue Book and the USDA Complete Guide to Home Canning (available free online) are your two most authoritative sources. Never modify ingredient ratios, densities, or processing times in tested recipes, as these variables were specifically accounted for during safety testing.
Affiliate Disclosure: SHTFPlan.net participates in the Amazon Services LLC Associates Program. Some links are affiliate links — we may earn a small commission at no extra cost to you.