DIY Hand-Dug Well: How to Access Groundwater for Off-Grid Water Security
Learn how to locate, dig, and line a hand-dug well to access reliable groundwater when municipal water fails.
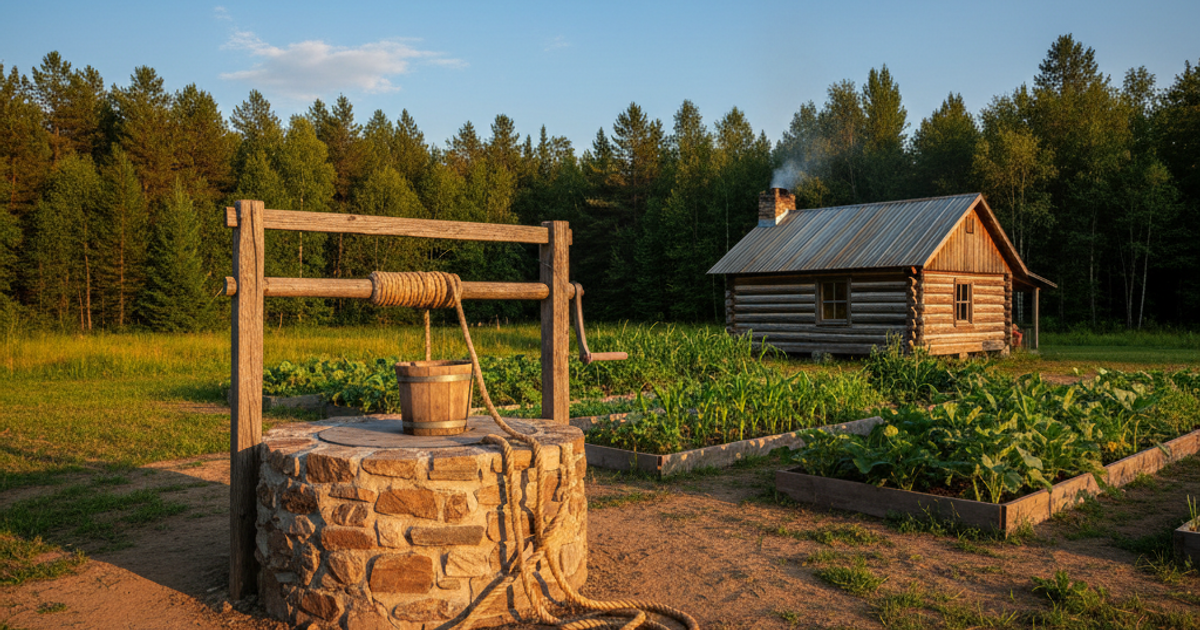
Water is the single most critical resource in any survival scenario. You can survive weeks without food, but without clean water, you're looking at 72 hours before your body begins to shut down. For serious off grid preppers and homesteaders, relying solely on municipal water supplies, stored reserves, or even rainwater collection creates a dangerous single point of failure. A hand-dug well changes that equation permanently — giving you direct access to groundwater that exists beneath nearly every property in the country.
This guide covers everything you need to know about hand-dug well construction: how to locate water, how to dig safely, how to line and cap the well, and how to equip it for long-term use. Whether you're building out a full emergency preparedness infrastructure or simply want to reduce your dependence on systems that can fail, a properly constructed well may be the most valuable investment you make in your property's resilience.
Why a Hand-Dug Well Is a Core Off-Grid Survival Strategy
Modern drilled wells are expensive — averaging $3,750 to $15,300 depending on depth and geology, according to HomeAdvisor data. Hand-dug wells, by contrast, can be completed for a few hundred dollars in materials and significant physical labor. They're shallow by definition (typically 10 to 30 feet), which limits them to the water table rather than deep aquifers, but in the right location they provide a reliable, gravity-fed or easily pumped water source without electricity or complex equipment.
For the prepper community, the advantages are substantial. A hand-dug well requires no power to access. It doesn't depend on infrastructure that can be disrupted by a cyberattack, earthquake, or grid failure. It's a permanent feature of your property that adds real value and creates genuine water purification independence. Combined with our guide on DIY Rainwater Harvesting: Build a Low-Cost Collection System for Off-Grid Water Security, a hand-dug well gives you a redundant, multi-source water strategy that can sustain a household or small community indefinitely.
How to Find Groundwater on Your Property Before You Dig
Digging in the wrong location wastes enormous effort. Before you break ground, invest time in locating the most promising area on your property.
- Study your topography: Water flows downhill and collects in low-lying areas. Look for natural depressions, valley floors, or the inside curves of dry streambeds. These areas are statistically more likely to have a high water table.
- Observe vegetation: Certain plants are reliable indicators of shallow groundwater. Willows, cottonwoods, cattails, and rushes tend to grow where roots can reach water. A dense patch of deep-green vegetation in an otherwise dry landscape is worth investigating.
- Check geological surveys: The USGS maintains extensive groundwater mapping data available free online. Your county extension office may also have local well logs showing depths at which neighbors struck water.
- Talk to neighbors: Existing well owners nearby are your best intelligence resource. Depth to water and seasonal variation are highly localized — a neighbor 200 feet away can tell you more than any survey.
- Consider water witching cautiously: While scientifically unproven, many experienced rural landowners swear by dowsing. It costs nothing to try, but don't rely on it exclusively.
Essential Tools and Safety Equipment for Hand-Digging a Well
Digging a well by hand is physically demanding and carries real risks, primarily cave-in, oxygen depletion, and toxic gases. Proper tools and safety protocols are non-negotiable.
For initial excavation, a quality long-handled spade is essential. The Fiskars long handle digging spade shovel is a top-tier option — its forged steel blade and ergonomic handle reduce fatigue during hours of sustained digging, and the extra length gives you better leverage in confined spaces as the hole deepens.
For versatility during the project — cutting roots, prying rocks, and managing materials — a good multi-tool is invaluable. The Leatherman multi-tool shovel digging kit belongs in any serious survival gear collection and will serve you far beyond well construction.
Additional required equipment includes:
- Rope and bucket system for removing excavated soil
- Wooden or steel tripod for hauling materials up and down
- Gas detector (methane and hydrogen sulfide can accumulate in wells)
- Safety harness and rope for the person working below
- A second person on the surface at all times — never dig alone
- Work gloves, steel-toed boots, and eye protection
Step-by-Step Well Excavation and Lining Process
Step 1 — Mark and Begin Excavation
Mark a circle 4 to 6 feet in diameter. This gives you enough working room below while remaining structurally manageable. Begin digging straight down, removing soil in buckets via your rope-and-tripod system. Rotate diggers every 30 minutes to maintain safety awareness and physical capacity.
Step 2 — Shore the Walls as You Go
This is where most accidents happen. Never dig deeper than 2 to 3 feet without shoring the walls. Traditional hand-dug wells use concrete rings (precast well tiles) that are lowered in sections as digging progresses — each ring sitting on the one below it and sinking under its own weight as soil is removed from beneath. Alternatively, dry-stacked stone or brick can be used in stable soils, but concrete rings are far safer and more durable.
Step 3 — Recognize the Water Table
As you approach groundwater, the soil will become noticeably wetter and darker. Digging becomes harder as water begins seeping in. At this point, work quickly — water will accumulate faster as you penetrate the saturated zone. Plan to dig 2 to 4 feet into the water-bearing layer to ensure reliable yield even in dry seasons.
Step 4 — Install Gravel Pack and Cap
Once at depth, place a 12-inch gravel pack at the bottom to allow water to enter while filtering out sediment. Bring the concrete ring lining up to at least 12 inches above grade. Cap the well with a tight-fitting, sanitary concrete or steel cover to prevent surface contamination, insects, and debris from entering.
Step 5 — Seal the Annular Space
Pack clay or bentonite grout around the outside of the well casing from ground level down at least 3 feet. This prevents surface water — which carries pathogens, agricultural chemicals, and other contaminants — from migrating down along the outside of the casing into your water supply. This step is critical and frequently skipped, creating a well that looks functional but is chronically contaminated.
Equipping Your Well: Hand Pumps for Off-Grid Water Access
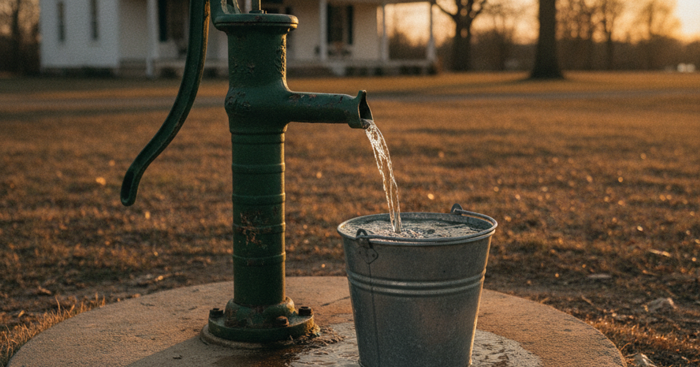
Once your well is complete, you'll need a reliable method of bringing water to the surface without electricity. This is where purpose-built hand pumps earn their place as essential survival gear.
For shallow wells under 25 feet, the Flojak hand pump well water pump is an excellent, field-serviceable option that can be installed by a single person with basic tools. Its modular design means repairs can be made with components carried in a bug out bag.
For wells reaching 25 to 50 feet, consider the Simple Pump stainless steel hand well pump — a premium, American-made unit built for decades of daily use. Its stainless steel construction resists corrosion and eliminates concerns about leaching into drinking water.
If your local geology requires going deeper, or if you're equipping a well that may need to access water during drought conditions when the table drops, the Bison Pump deep well hand pump is the gold standard — capable of lifting water from 200+ feet and built to last generations with minimal maintenance.
Water Testing and Purification: Don't Skip This Step
Groundwater is not automatically safe to drink. Shallow wells in particular are vulnerable to bacterial contamination from nearby septic systems, livestock operations, and agricultural runoff. According to the EPA, approximately 23 million U.S. households rely on private wells, and testing is the responsibility of the homeowner — not the government.
Test your new well immediately after construction and annually thereafter. At minimum, test for total coliform bacteria, nitrates, and pH. In agricultural areas, also test for pesticides and heavy metals. Your county health department often provides low-cost or free testing kits.
For day-to-day use, treat well water as you would any untreated source until you have consistent clean test results. Mastering Water Harvesting and Purification covers the full range of treatment options available to off-grid households, from boiling and chemical treatment to ceramic filters and UV systems.
For comprehensive off-grid water management, pair your well with a DIY Solar Water Heater to handle heating needs without grid power — a natural complement to your groundwater infrastructure.
Legal Considerations and Permitting
Regulations governing private well construction vary dramatically by state and county. Many jurisdictions require a permit before digging, mandate minimum setback distances from septic systems and property lines, and require inspection before the well is put into use. Ignoring these requirements can result in fines, mandatory well closure, and liability if your well contaminates a neighbor's water supply.
Research your local requirements before breaking ground. In many rural areas, permits are inexpensive and straightforward. In some jurisdictions, hand-dug wells occupy a regulatory gray area that's worth clarifying with your county health department proactively. Build emergency preparedness into your legal strategy — a permitted, documented well is a protected asset; an unpermitted one is a liability.
What You'll Need
- Shovel, post-hole digger, and pickaxe
- Buckets and rope for removing soil
- Ladder or rope ladder for well access
- Concrete well rings or wooden cribbing (3-4 feet diameter)
- Gravel and sand for filtration layers
- Water testing kit
- Hand pump or bucket system
- Safety harness and ventilation equipment
- Perforated PVC pipe or clay tiles for water intake
Step-by-Step Instructions
Step 1: Locate the Optimal Digging Site
Survey your property for low-lying areas where water naturally accumulates, and look for indicators like lush vegetation or proximity to existing water sources. Ensure the site is at least 50 feet away from septic systems, livestock areas, or other contamination sources. Consult local well records or hire a dowser to estimate the water table depth, ideally targeting areas where groundwater is 25 feet or less from the surface.
Step 2: Excavate the Well Shaft
Begin digging a circular pit 3-4 feet in diameter, removing soil in buckets as you descend. Work in shifts if digging deeper than 10 feet, and never dig alone—always have someone at the surface for safety. Test for toxic gases by lowering a lit candle into the hole; if it extinguishes, ventilate thoroughly before continuing. Stop digging once you've penetrated 3-5 feet into the water-bearing layer and water begins seeping in steadily.
Step 3: Install Cribbing or Well Rings
Lower concrete well rings or construct wooden cribbing as you dig to prevent cave-ins and maintain the shaft's integrity. Stack rings or crib sections tightly, sealing joints with hydraulic cement to prevent surface water contamination. Ensure each section is level and plumb, as crooked walls will compromise structural stability and make pump installation difficult.
Step 4: Create a Filtration System
Place a 6-inch layer of clean gravel at the bottom of the well, followed by a 4-inch layer of coarse sand to act as a natural filter. Install perforated intake pipes or leave gaps in the bottom ring sections to allow water entry while keeping out larger sediment. This filtration layer will help maintain water clarity and reduce the amount of debris entering your water supply.
Step 5: Test and Purify the Water
Allow the well to fill completely, then bail out all water at least three times to clear construction debris and sediment. Collect a sample and test for bacteria, nitrates, pH, and heavy metals using a comprehensive water testing kit or send it to a certified laboratory. If contamination is present, consider installing additional filtration, chlorinating the well, or relocating to a better site.
Step 6: Install a Pump System
Mount a hand pump at ground level with the intake pipe extending to at least 10 feet below the static water level to ensure consistent access. Alternatively, install a simple bucket-and-pulley system with a weighted retrieval line for a low-tech backup option. Seal all openings around the pump installation to prevent debris, insects, and surface water from entering the well shaft.
Step 7: Construct a Protective Well Head
Build a raised concrete or stone collar extending at least 12 inches above ground level to prevent surface runoff from entering the well. Install a tight-fitting, lockable well cap or cover to keep out animals, insects, and debris while allowing access for maintenance. Create a drainage slope away from the well head and consider adding a small roof structure to provide additional protection from the elements.
Frequently Asked Questions
How deep do I need to dig a hand-dug well to reach water?
Depth to groundwater varies enormously by location — from as little as 5 feet in some river valleys to 50+ feet in arid or elevated areas. The national average depth to groundwater for shallow wells is approximately 10 to 30 feet. Research local well logs through your county extension office or the USGS groundwater database to get a realistic estimate for your specific property before committing to the project.
How do I keep a hand-dug well from getting contaminated?
Contamination prevention starts with proper construction: sealing the annular space with clay or bentonite, raising the casing above grade, and installing a sanitary cap. Maintain a minimum 50-foot setback from any septic system, outhouse, or animal pen. Divert surface water drainage away from the well head. Test annually and after any flooding event. Disinfect with diluted bleach solution (1 quart of 5% bleach per 100 gallons of well volume) if contamination is suspected.
Can a hand-dug well support a full household's water needs during a SHTF scenario?
A properly sited well in good geology can yield 1 to 5 gallons per hour of recharge, which is typically sufficient for basic drinking, cooking, and sanitation needs for a small household. The average person requires about 1 gallon per day for survival, and 3 to 5 gallons for basic comfort. For a family of four in a grid-down scenario, a hand-dug well with a reliable hand pump provides a sustainable foundation — especially when combined with stored water from your emergency food storage and water rotation system, and supplementary collection from rainwater harvesting.
Affiliate Disclosure: SHTF Plan participates in the Amazon Services LLC Associates Program. Some links are affiliate links — we may earn a small commission at no extra cost to you.