Livestock Butchering for Beginners: How to Process and Preserve Meat When There's No Grocery Store
When supply chains fail, knowing how to butcher and preserve your own meat could mean the difference between eating and starving. Here's how to do it right.
When the grocery store shelves go empty and supply chains collapse, your ability to raise, slaughter, and preserve your own meat could mean the difference between feeding your family and going hungry. This isn't a skill reserved for rural homesteaders with acres of land — even suburban preppers with a small backyard can raise meat rabbits or a few chickens, and every serious prepper should understand the fundamentals of whole-animal processing and off-grid meat preservation. According to the USDA, the average American consumes roughly 220 pounds of meat per year. When SHTF, that protein has to come from somewhere.
Learning to butcher livestock is one of the most valuable and underrated skills in any emergency preparedness toolkit. It's messy, physically demanding work — but it's also entirely learnable. This guide walks you through the process from slaughter to preservation, covering the tools you'll need, the techniques that work, and the methods that will keep your meat safe and edible for months without refrigeration. Whether you're raising goats on a rural homestead, keeping meat rabbits in a suburban backyard, or simply building the knowledge base to barter and cooperate with local farmers when the grid goes down, this information belongs in your prepper skillset. If you're also raising small livestock, be sure to check out our guide on how to raise goats for milk, meat, and long-term food security.
What You'll Need
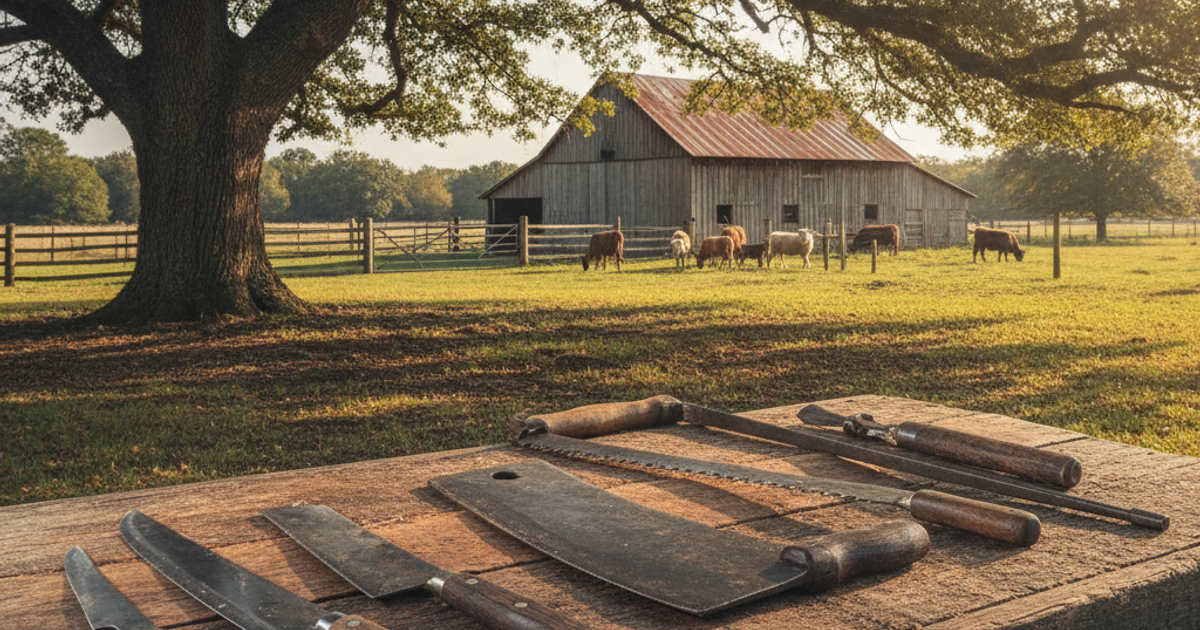
Tools
- Victorinox butcher knife set meat processing
- Victorinox boning knife flexible butchering
- Lehman's meat saw bone hand butchering tool
- LEM Products meat grinder electric heavy duty
- Weston vacuum sealer meat preservation
Supplies
- Morton Tender Quick curing salt meat preservation
- Heavy-duty plastic wrap and freezer paper
- Large food-grade buckets or brining containers
- Meat thermometer
Why Every Prepper Needs to Know How to Process Meat
Most people have never seen where their food comes from. The industrial food system has insulated modern consumers so thoroughly from the realities of animal husbandry and slaughter that the idea of processing a chicken or a rabbit feels foreign — even disturbing. But for most of human history, this was simply life. Every farm family knew how to kill, gut, skin, and preserve an animal. That knowledge kept communities alive through hard winters, crop failures, and economic collapse.
For the serious prepper, livestock butchering bridges two critical pillars of emergency preparedness: food production and food storage. You can't have one without the other. Raising animals without the ability to process them means you're dependent on commercial slaughter facilities. And when those facilities close — as we saw during COVID-19, when over 20 major meatpacking plants shut down simultaneously in 2020 — your food security evaporates overnight. Pair this skill with your long-term food stockpile strategy and you'll have a much more resilient system.
Start Small: Best Livestock for Beginners
If you're new to livestock butchering, don't start with a 600-pound hog. Work your way up in size and complexity. Here's a practical progression:
- Meat rabbits — The ideal beginner animal. Small, fast-growing (harvest-ready in 8–12 weeks), and can be raised in a suburban backyard or even a garage. A single doe can produce 180+ pounds of meat per year. Processing requires only a sharp knife and takes less than 20 minutes per animal once you've practiced.
- Backyard chickens — Widely legal in suburban and even some urban areas. Processing a chicken takes 30–45 minutes for a beginner. Dual-purpose breeds like Plymouth Rock or Rhode Island Red provide both eggs and meat.
- Ducks and geese — Slightly more involved than chickens due to pin feathers, but extremely resilient birds that forage well.
- Goats — A medium-sized animal that's manageable for one or two people to process. An average meat goat yields 40–50 pounds of usable meat.
- Pigs — High yield (a 250-pound hog will yield 150+ pounds of pork), but require more equipment, space, and labor. Best tackled with a group.
For apartment and urban preppers who don't have space for livestock right now, focus on building the knowledge and tools so you can assist neighbors, farmers, or community members when the time comes. Your skill is as valuable as any piece of survival gear. Check out our article on raising meat animals for long-term food security for a detailed look at setting up a small operation in limited space.
Sanitation and Food Safety: The Rules That Keep You Alive
Before we talk technique, we need to talk about contamination. Improperly processed meat kills people. The two most dangerous scenarios are gut contamination (fecal matter entering the meat during evisceration) and improper temperature management during processing and preservation. The USDA recommends keeping meat at or below 40°F (4°C) during processing. In a grid-down scenario, this means working in cool weather whenever possible — early morning in fall and winter — or working quickly and moving meat into cold storage, a root cellar, or a cold stream immediately.
- Withhold feed from the animal for 12–24 hours before slaughter to reduce gut content
- Use clean, sharp knives — dull blades tear rather than cut, increasing contamination risk
- Keep processing surfaces clean; wash hands frequently with clean water and soap
- Chill meat to below 40°F as quickly as possible after slaughter
- Never let raw meat contact surfaces that haven't been sanitized
Step-by-Step Instructions
Step 1: Prepare Your Processing Area and Tools Before Slaughter
Set up a clean, shaded work area with a sturdy hanging point (a gambrel hoist or a strong tree branch works well), a clean table or surface, and all your tools within reach. Sharpen every blade before you begin — a quality butcher knife set is a lifetime investment that will serve you for every processing job you'll ever do. Have clean water, soap, and clean rags or paper towels on hand. Good preparation prevents contamination and reduces processing time significantly.
Step 2: Humanely Slaughter the Animal
Humane slaughter is both an ethical obligation and a practical one — stressed animals release cortisol and adrenaline that toughens meat. For poultry, cervical dislocation or a sharp axe to the neck are traditional methods. For rabbits, a firm blow to the back of the skull (rabbit punch) is quick and effective. For larger animals like pigs and goats, a well-placed shot to the brain with a .22 LR or .22 magnum is the most reliable method — aim for the center of the forehead, slightly above the eyes. Immediately sever the carotid arteries and jugular veins to bleed the animal out fully; hanging the carcass head-down helps gravity do the work.
Step 3: Skin or Scald the Carcass
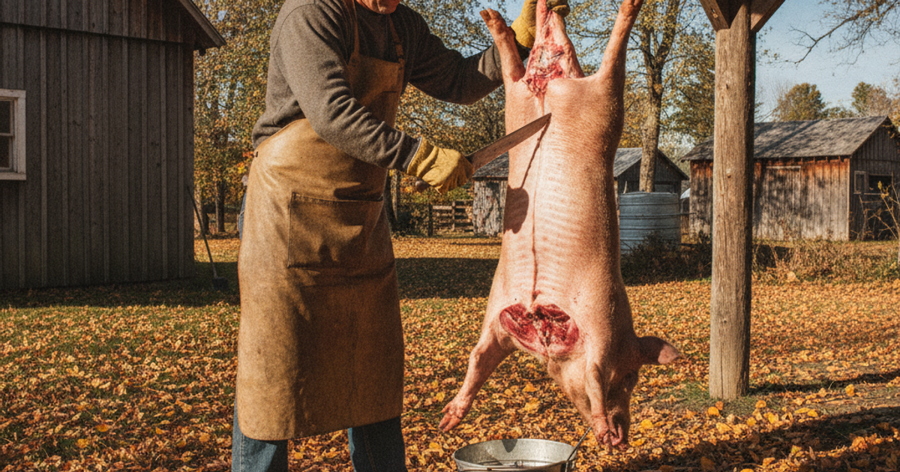
Pigs are scalded rather than skinned — submerge or pour 145–150°F water over the carcass and scrape off hair with a bell scraper or dull knife. Goats, rabbits, and deer are skinned by making careful cuts around the legs and peeling the hide away from the carcass, keeping the blade angled away from the meat to avoid contamination. A flexible boning knife with a thin, curved blade excels at separating skin from subcutaneous fat without nicking the meat. For poultry, scald in 145°F water for 30–60 seconds, then pluck immediately.
Step 4: Eviscerate the Carcass Carefully
This is the step where most beginners make mistakes. The goal is to remove all internal organs without puncturing the stomach, intestines, or bladder. Make a shallow cut from the sternum to the pelvis, using only the tip of your knife and keeping your fingers inside the incision to guide the blade away from the organs. Tie off the rectum with twine before cutting free to prevent fecal contamination. Remove the organs in this order: cut the windpipe and esophagus at the throat, then pull everything forward and down. Save the heart, liver, and kidneys — these are highly nutritious organ meats that keep well when preserved properly.
Step 5: Break Down the Carcass Into Primal Cuts
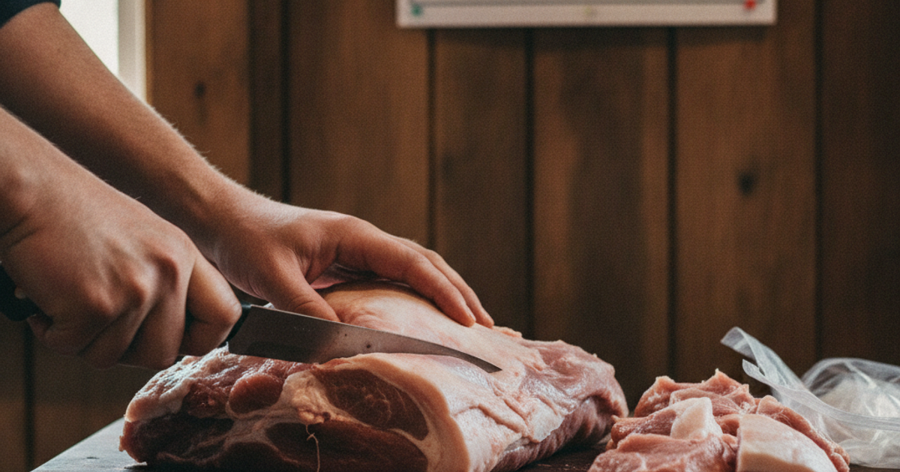
Once the carcass is clean and chilled, begin breaking it down into workable sections. For a goat or pig, the standard primal cuts are the shoulder, loin, ribs, belly, and leg (ham). Use a hand meat saw for cutting through bone cleanly — it's far safer and more precise than an axe. Work from the larger sections down to the smaller cuts, trimming fat as needed. Scraps and odd-shaped pieces go in a separate bowl for grinding.
Step 6: Grind Scraps and Trim Into Ground Meat
No part of an animal should go to waste in a SHTF scenario. Meat scraps, trim, and secondary cuts can be ground into versatile, storable ground meat using an electric meat grinder — or a hand-crank grinder if the power is out. Keep the meat cold during grinding to maintain food safety. Ground meat can be seasoned immediately for sausage making, or preserved plain for later use.
Step 7: Preserve the Meat Using Multiple Methods
Processed meat must be preserved immediately if you lack refrigeration. Use a combination of methods for maximum shelf life (detailed in the preservation section below). Vacuum-sealed frozen cuts using a heavy-duty vacuum sealer can last 2–3 years in a freezer, while cured, smoked, or dehydrated products can last 1–2 years at room temperature when properly stored. Diversify your preservation methods so a single failure doesn't spoil your entire yield.
Step 8: Document Your Yield and Rotate Your Supply
Label every package with the animal type, cut, processing date, and preservation method. Track your total yield — this data helps you plan how many animals you need to process per year to meet your family's protein needs. A 150-pound pork yield processed, cured, and stored correctly can supply a family of four for 2–3 months. Situational awareness about your food stores is just as important as situational awareness about security threats.
Off-Grid Meat Preservation Methods That Actually Work
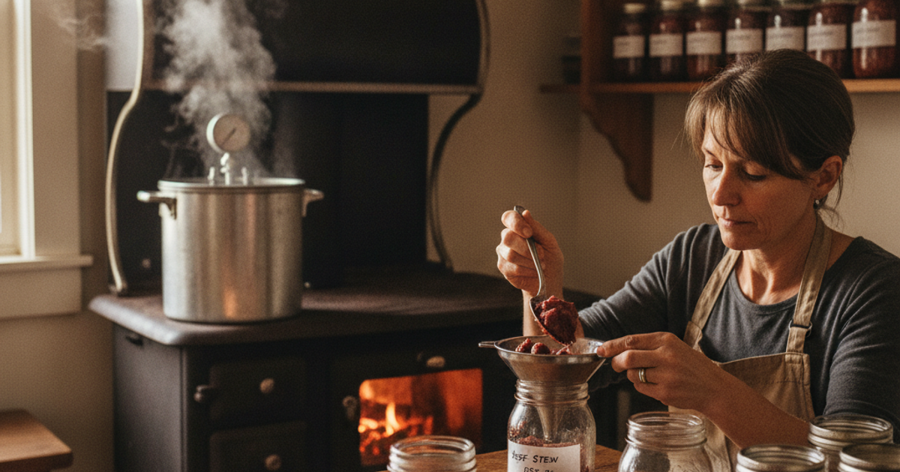
Modern freezing is convenient but fragile — a power outage or a busted generator wipes out your entire supply. Serious preppers rely on multiple overlapping preservation methods, just as our ancestors did for thousands of years.
Curing With Salt
Salt curing is one of the oldest and most reliable preservation methods in human history. Morton Tender Quick curing salt is a blend of salt, sugar, and sodium nitrite that draws moisture from meat and inhibits bacterial growth — particularly the deadly Clostridium botulinum. Rub it generously into pork bellies for bacon, pack it around whole hams, or submerge cuts in a salt brine for corned beef-style preservation. Properly cured and stored in a cool, dry location, salt-cured meats can last 6–12 months without refrigeration.
Smoking
Smoking combines heat, dehydration, and antimicrobial compounds from wood smoke to preserve meat while dramatically improving its flavor. Cold smoking (below 90°F) preserves and flavors without fully cooking — use it in combination with curing for the best shelf life. Hot smoking (225–250°F) cooks the meat fully and extends its safe storage life significantly. A Smoke Hollow electric smoker makes the process consistent and controllable, though improvised smokers built from barrels or cinder blocks work just as well off-grid. Hardwoods like hickory, apple, cherry, and oak all produce excellent smoke. Check out our detailed guide on building and using a DIY smokehouse for long-term meat preservation.
Dehydrating Into Jerky
Jerky is one of the most calorie-dense, lightweight, and portable preserved proteins available — a staple of any bug out bag or emergency food storage system. Slice lean meat (fat goes rancid quickly) against the grain into 1/4-inch strips, marinate with salt, soy sauce, and your choice of spices, and dry at 160°F until leathery and dry. An Excalibur food dehydrator is the gold standard for consistent, even drying — its adjustable temperature and large capacity make it ideal for processing bulk batches of jerky from a whole-animal harvest. Properly dried and vacuum-sealed jerky will last 1–2 years at room temperature.
Pressure Canning
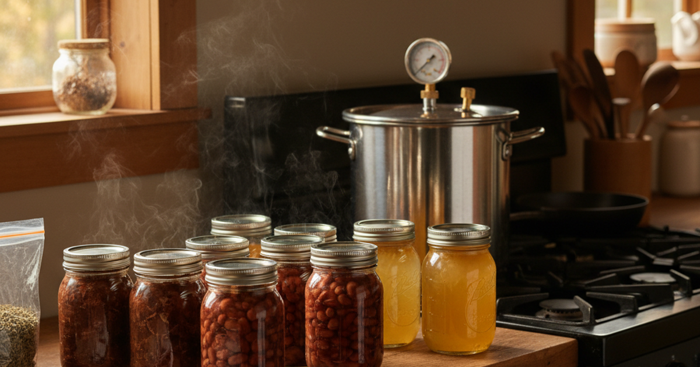
Pressure canning is the only safe method for canning low-acid foods like meat. It reaches 240°F under pressure, destroying botulism spores that standard water bath canning cannot eliminate. Cubed or ground meat packed into sterilized Mason jars with a small amount of salt and processed for 75–90 minutes at 10–15 PSI (depending on altitude) will remain shelf-stable for 3–5 years. This is an excellent option for apartment preppers who lack outdoor smoking or curing space — a pressure canner and a gas burner is all you need. Read our full guide on pressure canning meat, beans, and soups for emergency food storage for detailed instructions.
Making Lard and Rendering Fat
Don't discard the fat trimmings. Rendered lard (pork fat) and tallow (beef or goat fat) are traditional preservation mediums — meat can be submerged in rendered fat and kept cool for months in a technique called confit. Lard also stores up to a year at room temperature and is an invaluable cooking fat, soap-making ingredient, and fire-starting material. Render fat by chopping it into small pieces and slowly melting it in a pot over low heat, straining out the solids, and pouring the clear liquid into clean jars to solidify.
For Urban and Suburban Preppers: Building the Skill Without the Livestock
If you're an apartment dweller or suburban prepper without space for livestock, you can still build this skill set. Look for local farms that offer "farm days" or hands-on slaughter workshops — these are increasingly common in the homesteading community. YouTube channels dedicated to homesteading and butchering provide excellent visual references. Consider starting with processing whole chickens purchased from a grocery store or farm stand — learning to break down a whole bird into parts is the foundational skill that translates directly to larger animals.
You can also practice preservation techniques immediately, regardless of where you live. Cure and smoke store-bought pork belly into bacon. Make jerky from grocery store beef. Practice pressure canning chicken thighs. These hands-on skills build the muscle memory and confidence you'll need when real SHTF protein is on the line. Your emergency food storage will be far more robust with home-preserved meats than with commercial freeze-dried products alone.
Frequently Asked Questions
How do I process a whole animal without a walk-in cooler or refrigeration?
Work in the coolest part of the day — early morning in fall, winter, or spring when ambient temperatures are below 50°F. Process the animal quickly (experienced butchers can break down a goat in under two hours), and move each section immediately into your preservation method of choice: salt cure, smoke, dehydrate, or pressure can. If you're in warm weather, prioritize organ meats first as they spoil fastest, and have your salt cure and canning supplies ready before you begin slaughter. A root cellar or cold spring water can also keep freshly processed cuts at safe temperatures while you work through the rest of the carcass.
What is the best meat preservation method for long-term off-grid storage?
No single method is best — the most resilient approach combines multiple techniques. For maximum shelf life without electricity, salt curing combined with smoking is the traditional gold standard, producing products like country ham and smoked sausage that were historically stored at room temperature for a year or more. Pressure canning adds redundancy and produces ready-to-eat product with a 3–5 year shelf life. Dehydration into jerky offers the most portability. In a grid-down scenario where a generator is available, vacuum sealing and freezing extends shelf life to 2–3 years. Diversify your preservation methods so a single failure doesn't compromise your entire meat supply.
Can I butcher and process livestock in a suburban backyard legally?
It depends heavily on your local ordinances. Many suburban municipalities permit the keeping of meat rabbits and chickens, and home slaughter of animals you raise is often legal on your own property — but check your local zoning laws before investing in livestock. Some areas explicitly prohibit the slaughter of animals within city limits. In those cases, you may need to transport animals to a small USDA-inspected facility or a rural property. Regardless of current legal status, learning the skill now is prudent — during a true SHTF scenario, those regulations may become irrelevant. Focus on building your knowledge, tools, and preservation supplies so you're ready when the moment comes.
Affiliate Disclosure: SHTFPlan.net participates in the Amazon Services LLC Associates Program. Some links are affiliate links — we may earn a small commission at no extra cost to you.