Micro-Hydro Power: How to Turn a Creek Into Year-Round Off-Grid Electricity
Solar dies at night and wind quits when the air goes still, but running water never stops. Here's how to measure, build, and maintain a micro-hydro system that powers your homestead 24/7.
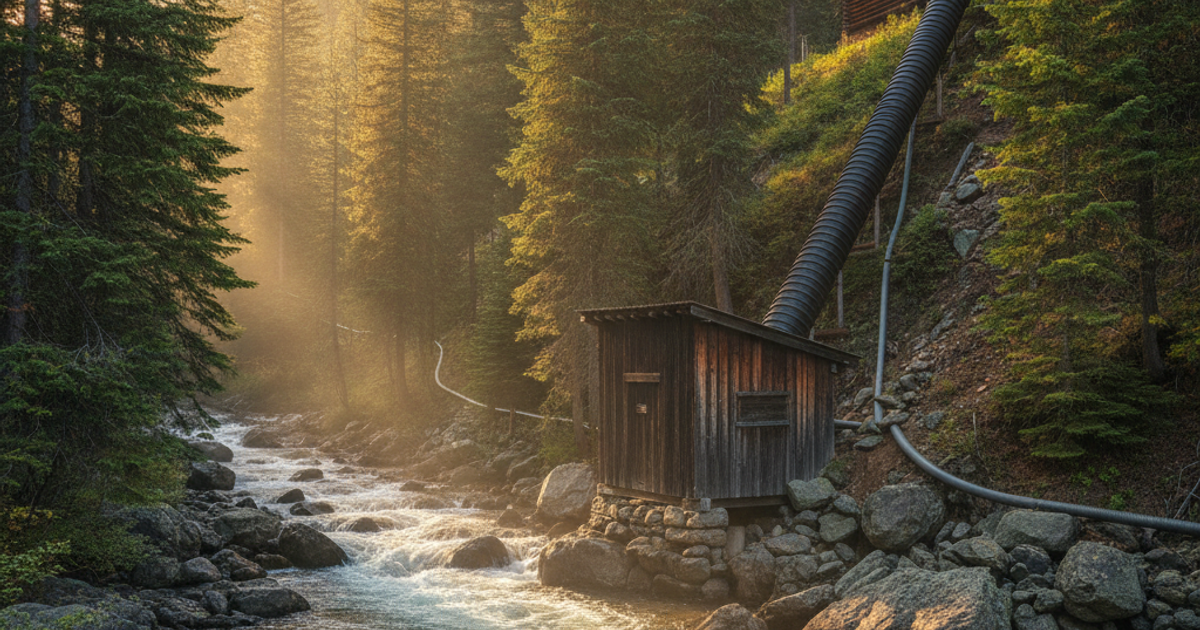
Solar panels get all the attention in the off-grid world, but there's a dirty secret among experienced homesteaders: a creek beats a solar array almost every time. A photovoltaic system in the continental United States runs at a capacity factor of roughly 15–25 percent, meaning a 1,000-watt array delivers about 4–6 kWh on a good day and nearly nothing under a week of overcast winter sky. A micro-hydro turbine sitting in a year-round stream runs at 80–95 percent capacity factor — 24 hours a day, through blizzards, smoke, and moonless nights. A modest 300-watt turbine produces about 7.2 kWh every single day, which is more usable energy than a 1.5 kW solar array in most climates, for a fraction of the panel cost.
The U.S. Department of Energy estimates there are more than 65 gigawatts of undeveloped small-hydro potential in American waterways, much of it in streams too small for commercial interest. If you own or have legal access to a creek with a few feet of drop, you may be sitting on the most reliable off grid power source available to a private citizen. And if you live in an apartment or a dense suburb, the electrical half of this system — charge controllers, battery banks, inverters, load management — is identical to what you'd build for solar, so the knowledge transfers directly.
What You'll Need
Tools
- Clinometer or laser level for head measurement
- Multimeter and clamp ammeter
- 100-foot tape measure and surveyor's rod or marked pole
- Shovel, pick, and trenching tools
- Pipe cutter, PVC primer/cement, and pipe wrenches
Supplies
- Micro-hydro turbine (turgo or Pelton type)
- Diversion load charge controller
- Deep-cycle LiFePO4 batteries
- Schedule 40 PVC or HDPE penstock pipe, intake screen, and gate valve
- Direct-burial transmission cable (sized for voltage drop)
How to Measure Head and Flow on a Small Creek
Everything in micro-hydro comes down to two numbers: head (vertical drop, in feet) and flow (volume, in gallons per minute). Multiply them and you have power potential. The field-proven rule of thumb used by off-grid installers is:
Watts ≈ (net head in feet × flow in gpm) ÷ 10
That divisor accounts for roughly 50–55 percent total system efficiency after pipe friction, turbine losses, and wiring losses. So 40 feet of head and 50 gpm yields about 200 watts continuous — 4.8 kWh per day, enough to run LED lighting, a chest freezer, a well pump on a timer, and radio gear indefinitely.
Measuring Head Accurately
The cheapest accurate method is the "level and rod" walk: use a builder's level or a long straight board with a bubble level, sight downhill to a marked pole, record the drop, then move your station to that point and repeat. Sum the increments. For longer runs, a Suunto PM-5 clinometer paired with a tape measure lets you calculate drop from slope angle and slope distance in a fraction of the time — it's the same tool foresters use to measure tree height, and it's worth owning for any property survey work.
Measuring Flow
For very small streams, dam the channel with a board and route all water through a pipe into a five-gallon bucket. Time the fill: a bucket in 6 seconds equals 50 gpm. For larger creeks, use the float method — measure cross-sectional area (width × average depth), time a floating object over a 10-foot stretch, and multiply area × velocity × 0.83 correction factor. Critical: measure in late summer and again in early fall, not during spring melt. Your system must be sized for the driest month, or it will sit idle when you need it most.
Choosing the Right Micro-Hydro Turbine for Your Site
Turbine type is dictated by head, not by preference:
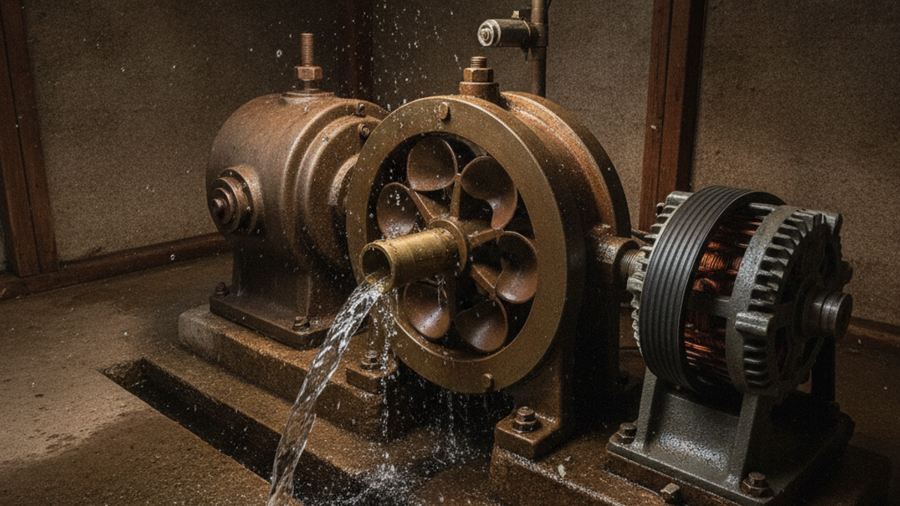
- Pelton wheel (high head, low flow): Best above 50 feet of head. Nozzles fire jets at cupped buckets. A 12V Pelton wheel micro hydro generator is the classic entry point for mountain properties with a steep ravine and modest water.
- Turgo (medium-to-high head, moderate flow): Handles more water than a Pelton of the same diameter. The Scott Hydroelectric turgo water turbine generator is a well-known permanent-magnet unit that works in the 15–150 foot head range and is commonly configured for 12V, 24V, or 48V battery charging.
- Crossflow / breastshot wheel (low head, high flow): For 2–10 feet of drop with substantial volume. Slower, bigger, usually DIY-fabricated.
Higher system voltage always wins for transmission. Going from 12V to 48V cuts current to one-quarter and slashes wire losses dramatically — a 200-watt load at 12V draws nearly 17 amps and needs heavy copper over 300 feet, while the same load at 48V draws just over 4 amps.
How to Size a Penstock Without Losing Half Your Power
The penstock is the pressure pipe from your intake to the turbine, and it's where amateurs bleed away their head. Friction loss scales brutally with velocity — target under 5 feet per second inside the pipe and keep total friction loss below 10 percent of gross head. In practice, that means going one or two pipe sizes larger than you think you need. For 50 gpm over 300 feet, 2-inch Schedule 40 PVC is reasonable; 1.5-inch would cost you a significant fraction of your output.
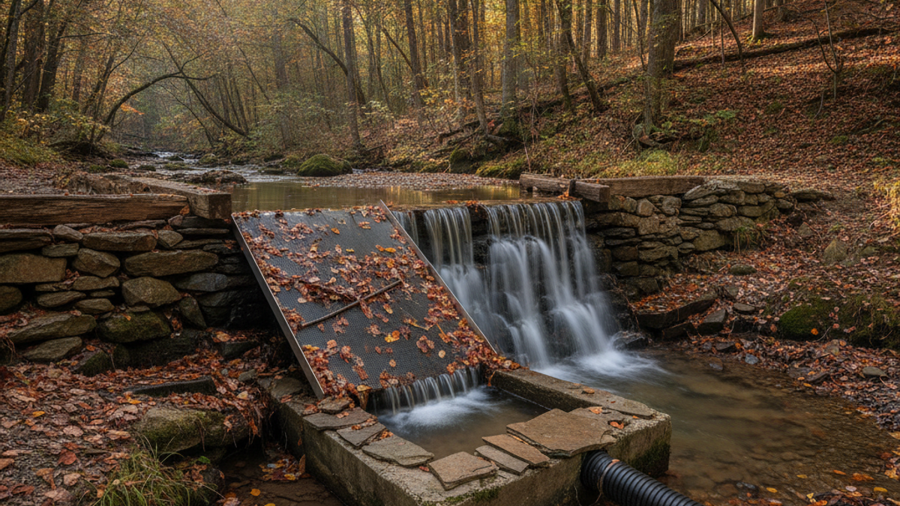
Bury the penstock below frost line where you can, use long-radius sweeps instead of sharp elbows, install a gate valve at the turbine so you can shut down for maintenance, and build a settling basin with a self-cleaning screen at the intake. Leaves and gravel are the number-one cause of micro-hydro downtime. If your property has freeze risk, the same principles from our guide on winterizing plumbing to prevent frozen and burst pipes apply directly to your intake and tailrace.
Charge Controllers, Diversion Loads, and Battery Banks
Here's where hydro differs fundamentally from solar, and where people destroy equipment. A hydro turbine must never be left unloaded. Water keeps arriving whether your batteries are full or not, and an unloaded permanent-magnet alternator will overspeed and overvolt. The solution is a diversion-load controller that dumps surplus power into a resistive heating element — a water heater coil or an air heater — once the battery bank hits absorb voltage. The Morningstar TriStar diversion load controller is the industry standard for this job and can be configured in diversion mode for 12V, 24V, or 48V systems.
Some higher-voltage turbine outputs benefit from MPPT conversion to squeeze more watts out of variable flow conditions; a Victron SmartSolar MPPT charge controller can serve that role while also handling a supplemental solar array on the same battery bank — and its Bluetooth monitoring makes remote diagnostics easy.
For storage, lithium iron phosphate has largely displaced lead-acid for off-grid use. LiFePO4 delivers 3,000–5,000 cycles at 80 percent depth of discharge versus 400–1,200 for flooded lead-acid, and it needs no watering or equalization. A Renogy 12V 100Ah LiFePO4 deep cycle battery is a cost-effective building block, while a Battle Born 100Ah LiFePO4 battery commands a premium for its internal BMS and cold-weather handling. Because hydro charges continuously, you need far less storage than a solar-only system — typically one to two days of autonomy instead of five.
Finally, convert to household AC with a true sine wave unit. An AIMS Power 3000W pure sine wave inverter will run a refrigerator, well pump, and power tools without the buzzing and motor damage that modified sine units cause. If inverter selection is new territory, read our inverter basics guide for preppers before you buy.
Step-by-Step Instructions
Step 1: Verify Your Legal Water Rights First
Before buying anything, confirm you can legally divert water. Eastern states generally follow riparian doctrine; western states use prior appropriation, where diversion may require a state permit even on your own land. Federal FERC licensing is typically waived for small conduit and qualifying projects, but state fish-and-wildlife screening rules often still apply.
Step 2: Measure Head and Flow in the Driest Month
Run the level-and-rod or clinometer survey to establish gross head, then bucket-test or float-test flow. Do this in August or September in most climates. Record both numbers, apply the head × gpm ÷ 10 formula, and compare the result against your daily kWh needs.
Step 3: Select a Turbine Matched to Your Head Range
Choose Pelton above 50 feet, turgo for 15–150 feet, and a crossflow or low-head propeller unit below 10 feet. Specify battery voltage at purchase — 48V for runs over 200 feet — and confirm nozzle sizing matches your measured flow.
Step 4: Build the Intake and Bury the Penstock
Construct a settling basin with a sloped screen to shed debris. Size pipe for under 5 ft/s velocity, trench below frost line, cement joints carefully, and install a shutoff valve and pressure gauge at the turbine end.
Step 5: Wire the Turbine, Controller, and Battery Bank
Run properly sized direct-burial cable to your powerhouse. Install a DC breaker, then the diversion controller, then the battery bank with fuses on every positive run. Ground the turbine frame and add surge protection — creekside installations are lightning magnets.
Step 6: Commission and Test the Diversion Load
Fill the penstock slowly to purge air. Verify output voltage and amperage with a clamp meter. Then deliberately charge the bank to full and confirm the diversion load engages and the turbine RPM stays stable. Never run water through the turbine without a functioning dump load.
Step 7: Log Output and Schedule Seasonal Maintenance
Keep a written log of daily kWh, intake screen cleanings, and nozzle wear. Inspect bearings annually, swap nozzles seasonally to match flow, and clear the intake after every heavy rain event.
What Urban and Suburban Preppers Should Do Instead
If you live in an apartment, micro-hydro isn't happening on your balcony — municipal water pressure is metered, and tapping it is both illegal and pointless. Your realistic paths are threefold. First, install this system at a rural bug-out location or survival retreat, where a creek should be a top-tier site selection criterion alongside defensibility and road access. Second, focus your energy budget on the components that work anywhere: batteries, inverters, and correctly selected solar panels. Third, build water resilience through rooftop and balcony rainwater harvesting, which uses the same intake-screen and settling-basin logic at a much smaller scale.
For suburban readers with a seasonal drainage or a retention pond outflow, even 100 watts of continuous trickle-charging is meaningful — that's 2.4 kWh a day, enough to keep a communications bench, security cameras, and medical devices alive indefinitely during a long grid-down event.
Frequently Asked Questions
How much water do you need for micro-hydro power?
It depends entirely on head. With 100 feet of drop, just 10 gallons per minute produces roughly 100 watts continuously — 2.4 kWh per day. With only 5 feet of drop, you'd need around 200 gpm for the same output. High head compensates for low flow and vice versa, so measure both before writing off a small stream.
Do I need a permit to build a micro-hydro system on my own property?
Usually yes, at the state level. Water rights are governed by state law, and diverting even a small amount from a flowing stream often requires registration or a permit, plus fish-passage and screening compliance in salmon-bearing watersheds. Small residential systems under 100 kW are generally exempt from federal FERC licensing, but never assume — call your state water resources department first.
Is micro-hydro better than solar for off-grid survival?
Where a year-round stream exists, yes — hydro's 80–95 percent capacity factor delivers steady power day and night through any weather, and it requires far less battery storage. The catch is that hydro is entirely site-dependent, mechanically more complex, and vulnerable to drought and freeze-up. The strongest off-grid setups pair both: hydro as the baseload workhorse and solar as the summer supplement and redundant backup.
Affiliate Disclosure: SHTFPlan.net participates in the Amazon Services LLC Associates Program. Some links are affiliate links — we may earn a small commission at no extra cost to you.