When the Pipes Freeze: How to Winterize Your Plumbing and Prevent Burst Water Lines in a Winter Blackout
A single burst pipe can flood your home and destroy your shelter in the middle of a winter blackout. Here's how to winterize plumbing, protect vulnerable lines, and safely thaw frozen pipes without power.
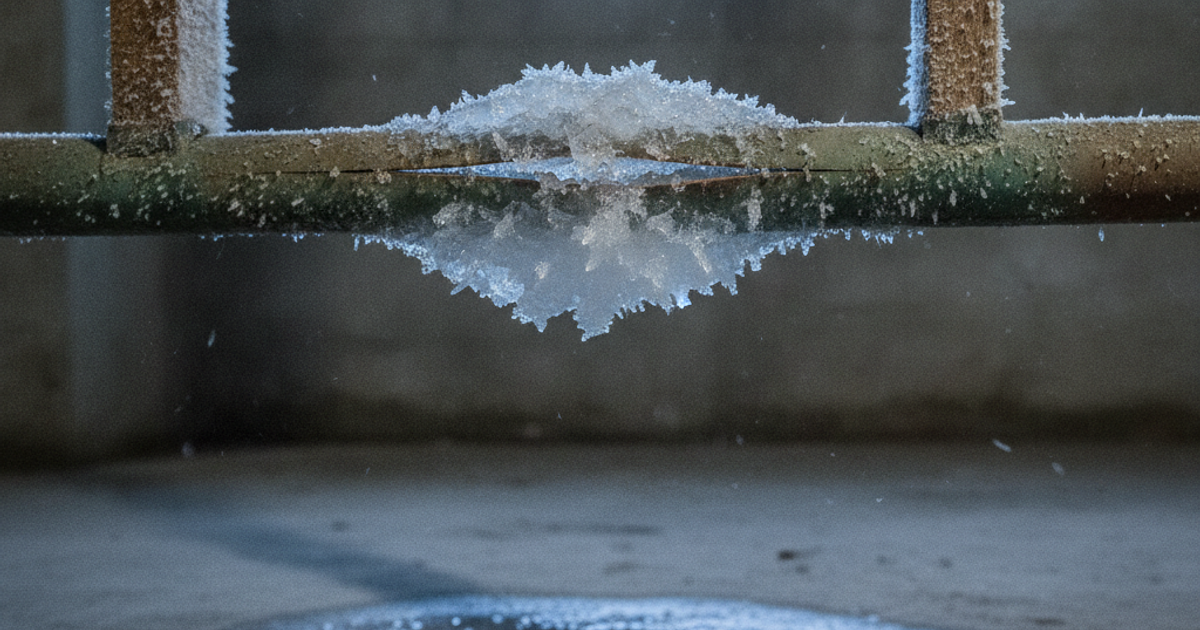
When the grid goes down in January, the clock starts ticking on your plumbing. A house without heat loses roughly 1 to 3 degrees per hour depending on insulation and outside temperature — and once interior temps slide below about 32°F at the pipe surface, water begins to freeze and expand. Water expands roughly 9% when it turns to ice, generating pressures that can exceed 2,000 psi inside a closed pipe. Copper, PEX, CPVC, galvanized steel — none of them win that fight.
The Insurance Institute for Business & Home Safety reports that a burst pipe can discharge hundreds of gallons of water per hour, and frozen pipe claims average well over $10,000 in damage. During the February 2021 Texas grid collapse, insurers processed billions of dollars in burst-pipe claims in a state where almost nobody had winterized plumbing. That event proved a critical point for preppers: frozen pipes aren't just a northern problem. They're a grid problem, and the grid is fragile everywhere.
Whether you're in a third-floor apartment with exposed risers, a suburban house with a crawlspace, or a rural property on a well, the physics are identical. Here's how to protect your water lines before the temperature drops — and what to do when they freeze anyway.
What You'll Need
Tools
- Heat gun or electric pipe thawing tool
- Adjustable wrench and pipe cutter
- Caulk gun and utility knife
- Wireless thermometer with temperature alarm
Supplies
- Foam pipe insulation sleeves
- Thermostatically controlled pipe heating cable
- Expanding foam gap sealant
- Push-to-connect repair couplings
- Window insulation shrink film kit
Why Pipes Burst — And Why It's Rarely Where the Ice Forms
Most people assume the pipe splits at the ice plug. It usually doesn't. As ice forms, it expands lengthwise down the pipe and pushes a slug of trapped, pressurized water toward the nearest closed faucet. The failure happens at that pressurized section — often downstream of the ice, in a section that never froze at all. That's why the single most effective free countermeasure is simply leaving a faucet cracked open: with an escape path, pressure can't build.
Research from the University of Illinois Building Research Council found that pipes in unheated spaces begin to be at real risk when outdoor temperatures hit around 20°F, though wind-driven infiltration through a foundation vent or a gap around a hose bib can drop a local pipe surface below freezing even when the thermometer reads higher.
How to Winterize Plumbing in an Apartment, House, or Rural Property
Apartments and Condos
You may not control the boiler, but you control your unit. Identify pipes on exterior walls — kitchen sinks and bathrooms on corner units are the usual suspects. Open cabinet doors so room air reaches the supply lines. Seal drafts around windows with shrink-film window insulation kits, which can cut heat loss through single-pane glass dramatically for under $20 a room. If your building has an unheated stairwell or garage with exposed risers, notify management in writing before winter. Apartment dwellers should also review our guide to building a serious emergency stockpile in a small space, since a burst riser can shut down water for the entire building.
Suburban Homes
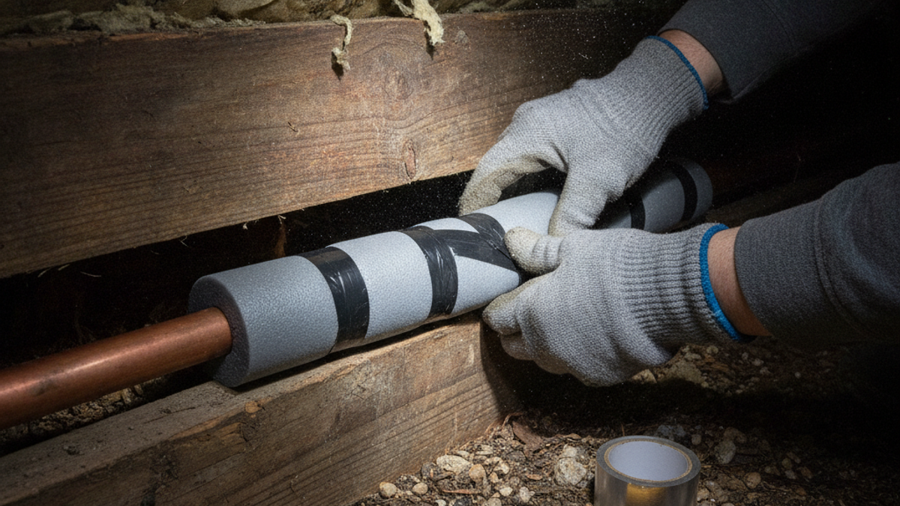
Your vulnerabilities are crawlspaces, garages, attic runs, and outside hose bibs. Disconnect and drain every garden hose — a connected hose traps water in the sillcock and is the number-one cause of exterior wall bursts. Insulate every accessible run with foam pipe sleeves, taping the seams so there are no exposed gaps. Then hunt down air leaks: the rim joist, the dryer vent penetration, the hole where the cable line enters. Expanding foam sealant closes those in minutes and stops the cold jet of air that freezes a pipe while the rest of the crawlspace sits at 40°F.
Rural and Off-Grid Properties
Well systems add a failure point most suburbanites never think about: the pressure tank, pitless adapter, and the pump house. An unheated well house needs insulation and a heat source, and the line from the well head to the house must be below frost depth. Rural preppers should pair winterization with a manual backup — see our guide on drawing water from your well when the power fails. Also stage stored water; a frozen system means zero water regardless of how deep your well is. Our guide to choosing and rotating emergency water containers covers how much to keep on hand.
Step-by-Step Instructions
Step 1: Map every water line in your dwelling
Walk the house with a flashlight and note every pipe that runs through an unheated space: crawlspace, attic, garage, exterior wall cavity, basement rim joist. Mark them mentally as "at-risk." Also locate your main shutoff valve and confirm it actually turns — a seized valve during a burst is a disaster multiplier.
Step 2: Insulate and seal the vulnerable runs
Slide foam sleeves over every at-risk pipe, butt the seams tight, and tape the joints. Insulation alone does not add heat — it only slows loss — so pair it with air sealing. Foam every penetration where cold air enters near plumbing. In crawlspaces, close foundation vents with rigid foam blocks for the winter.
Step 3: Install heat cable on the highest-risk sections
For pipes that have frozen before or sit in brutally cold spots, run thermostatically controlled heating cable along the pipe before insulating over it. Self-regulating cable only draws power when temperatures drop, making it practical even on a modest generator or battery bank. Follow the manufacturer's instructions exactly — never overlap cable on itself.
Step 4: Monitor temperatures with remote sensors
Place a wireless thermometer with a temperature alarm in the crawlspace, garage, and pump house. Set alerts at 38°F so you get warning before anything reaches freezing. This turns a guessing game into actionable data and is one of the highest-value, lowest-cost upgrades in winter emergency preparedness.
Step 5: Drip faucets and open cabinets when the power fails
The moment the grid drops in freezing weather, open the faucets served by at-risk lines to a steady pencil-lead drip — both hot and cold. Moving water resists freezing and, more importantly, relieves pressure. Open every sink cabinet on exterior walls. Cost: a few gallons of water. Savings: potentially $15,000 in damage.
Step 6: Maintain a heat floor in the structure
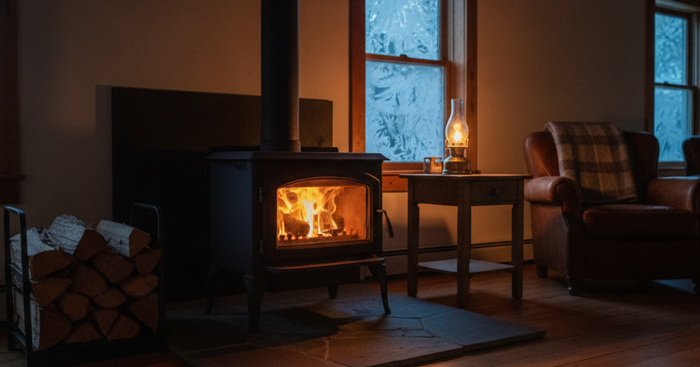
Keep the house above 55°F if at all possible. A portable indoor-safe propane heater with an oxygen depletion sensor can hold a single room or a small crawlspace above freezing on a 1-lb cylinder, but always crack a window for combustion air and run a CO detector. For longer outages, review how to keep your home warm when the power fails and consider installing a wood stove as a true off-grid backup.
Step 7: Drain the system if you must leave
If you're evacuating or the house will go unheated for days, shut off the main, open the lowest faucets and hose bibs, and drain the water heater. Flush toilets to empty tanks and pour RV antifreeze into traps and bowls. A drained system cannot burst — this is the only 100% reliable protection.
Step 8: Thaw frozen pipes safely and slowly
Open the faucet first so meltwater has somewhere to go, then apply heat starting at the faucet end and working back toward the frozen section. Use a hair dryer, a heat gun on low, or hot towels. Never use an open flame or propane torch on a pipe — the American Red Cross and fire departments nationwide cite torch-thawing as a leading cause of winter structure fires.
How to Handle a Burst Pipe When Help Isn't Coming
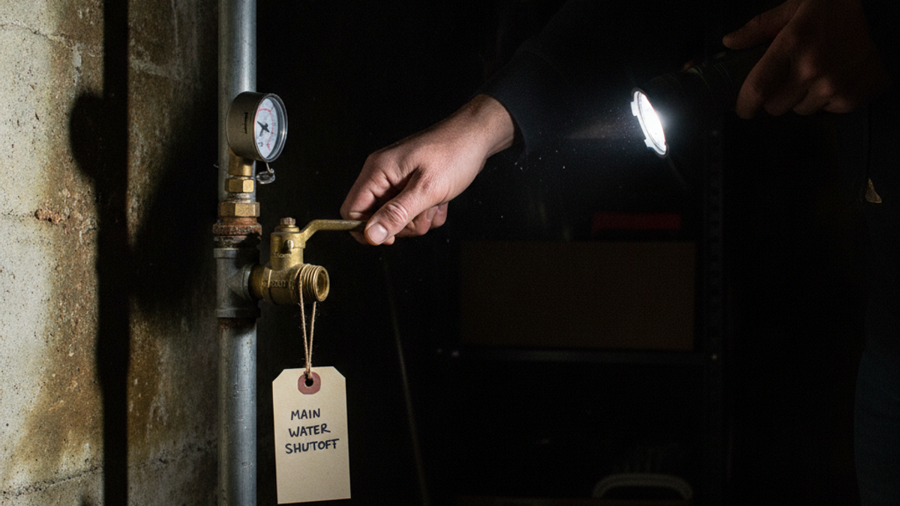
Shut the main immediately, then open all faucets to drain the system and stop the flood. Kill electrical power to any circuit near standing water. Cut out the damaged section with a pipe cutter and splice in a push-to-connect repair coupling — no torch, no solder, no flux, just a deburred pipe end and firm pressure. Keep a few sizes on hand; in a regional freeze event, hardware stores sell out within hours. Pair them with your general repair kit so everything lives in one place.
Frequently Asked Questions
How long does it take for pipes to freeze during a power outage?
In a well-insulated home at 20°F outside, interior temperatures typically stay above freezing for 12 to 24 hours. Poorly insulated homes, mobile homes, and pipes in unheated garages or crawlspaces can freeze in as little as 3 to 6 hours. Wind chill on an exposed pipe accelerates it dramatically.
Should I leave faucets dripping during a winter blackout?
Yes. Drip both hot and cold lines on fixtures served by pipes in exterior walls or unheated spaces. The goal isn't heat — it's pressure relief. An open faucet gives expanding ice somewhere to push, which is what prevents the rupture. If you're on a well with no power, the pump won't run, so drain the system instead.
Can I use antifreeze in my plumbing?
Only non-toxic propylene glycol RV/marine antifreeze, and only in drain traps, toilet bowls, and fully drained lines — never in pressurized potable supply lines you intend to drink from without a full flush. Never use automotive ethylene glycol antifreeze anywhere near a plumbing system; it is lethal if ingested.
Affiliate Disclosure: SHTFPlan.net participates in the Amazon Services LLC Associates Program. Some links are affiliate links — we may earn a small commission at no extra cost to you.