Wood Stove Heat: How to Choose, Install, and Safely Run a Wood Burner When the Furnace Dies
A wood stove is the most reliable heat source you can own when fuel deliveries stop and the furnace goes silent. Here's how to size, install, and operate one without burning your house down.
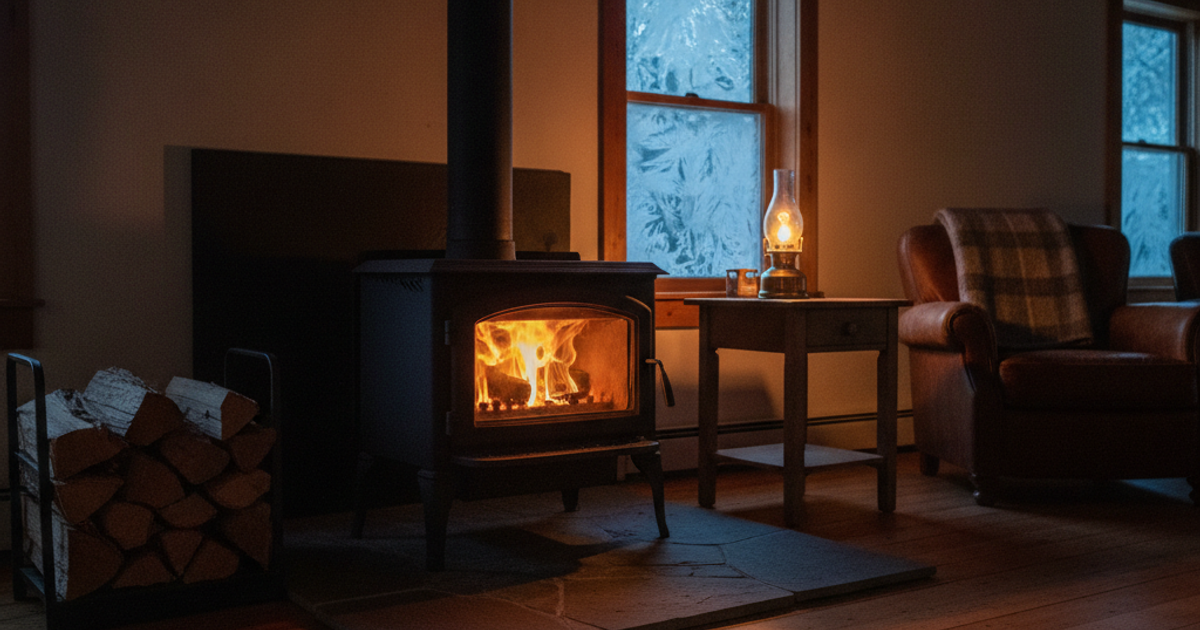
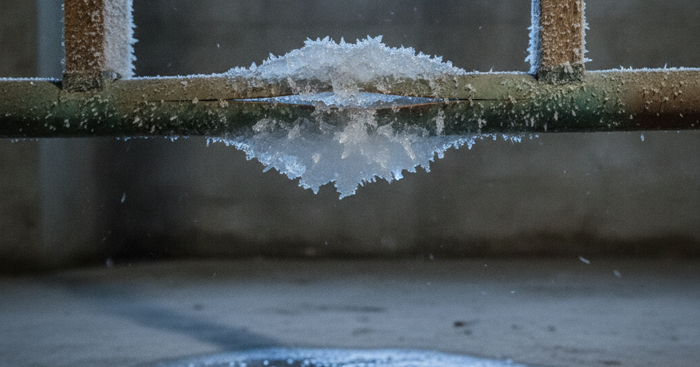
When the grid goes down in February, your natural gas furnace is just an expensive metal box. Nearly every modern furnace — gas, propane, or oil — depends on 120-volt electricity to run the blower, the igniter, and the control board. No power, no heat. The Department of Energy estimates that roughly 40 percent of American homes rely on natural gas as their primary heat source, and virtually all of those systems fail the moment the lights go out. A properly installed wood stove doesn't care. It burns fuel you can cut, scrounge, or buy locally, it produces heat without a single watt of electricity, and it will keep a house above freezing during a multi-week outage.
But a wood stove is also the single most dangerous appliance most preppers will ever install. The National Fire Protection Association attributes roughly 40,000 home fires per year to heating equipment, and solid-fuel appliances — wood stoves, fireplaces, and chimneys — account for a disproportionate share. Failure to clean the chimney is the leading cause. This guide covers selection, installation, chimney safety, creosote control, and firewood seasoning so your backup heat source doesn't become the emergency.
What You'll Need
Tools
- Cordless drill and self-tapping sheet metal screws
- Tin snips and a stud finder
- SOOTEATER rotary chimney cleaning kit
- Magnetic flue thermometer
- Moisture meter for firewood
Supplies
- EPA-certified wood stove
- Class A triple-wall chimney pipe kit
- Single-wall connector stove pipe
- Non-combustible hearth pad and wall shield
- Battery-operated carbon monoxide detectors
- High-temp silicone and stove gasket rope
How to Choose the Right Wood Stove for Your Home Size
The most common mistake is buying too much stove. An oversized unit forces you to run it choked down and smoldering, which is exactly how you glaze a chimney with creosote. A rough rule: 1,000–1,200 square feet needs a small stove (roughly 1.2 cubic foot firebox, 25,000–40,000 BTU), 1,200–2,000 square feet a medium stove, and only large, drafty, or poorly insulated rural homes need the 3+ cubic foot monsters.
Cast iron holds heat longer and radiates gently after the fire dies; steel heats up faster. A compact US Stove Company cast iron wood stove is a solid choice for a cabin, garage shop, or single-room emergency heat zone, and the flat top doubles as a cooking surface when the range is dead. For a primary heat source in a suburban home, an EPA-certified Ashley Hearth wood burning stove burns cleaner, uses roughly a third less wood for the same heat, and is far more likely to satisfy your local building department and insurance carrier.
Apartment and Condo Dwellers: Read This First
If you rent or live in a multi-family building, a wood stove is almost certainly off the table — you cannot penetrate a shared roof or fire-rated assembly. Do not improvise. Your realistic path is passive heat retention: seal a single room, insulate windows, and use safe indoor-rated heat sources. Read our guides on thermal mass and insulation for heating without a furnace and surviving winter blackouts. Urban preppers should also review apartment prepping strategies for small spaces.
Chimney and Clearance Rules That Actually Prevent Fires
The chimney is not an accessory — it is the appliance. Two distinct pipe types are involved. Inside the room, single-wall black connector pipe like DuraVent DuraBlack runs from the stove collar to the ceiling support box, and it requires 18 inches of clearance to combustibles. Everything passing through a ceiling, attic, or wall must be listed Class A insulated chimney such as a DuraPlus triple-wall chimney pipe kit, which is tested to survive a 2,100°F chimney fire.
Follow the 3-2-10 rule: the chimney must extend at least 3 feet above the roof penetration and be at least 2 feet higher than anything within 10 horizontal feet. Keep pipe runs short and vertical — every elbow and horizontal foot kills draft and collects creosote. The hearth pad must extend 16 inches in front of the door and 8 inches to the sides. Pull a permit. An unpermitted install can void your homeowner's insurance entirely, which is a self-inflicted disaster.
How to Prevent Creosote Buildup in a Wood Stove Chimney
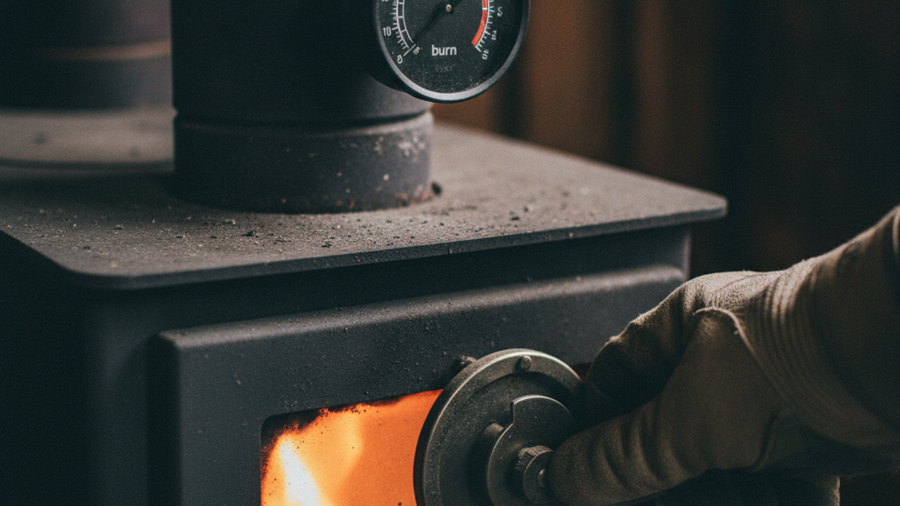
Creosote is condensed, unburned wood gas. It forms when flue temperatures drop below about 250°F, which happens when you burn wet wood or damp down a fire overnight. Keep flue gas in the 250–500°F band using a Rutland magnetic flue thermometer — below that you're making tar, above it you risk overfiring.
Burn hot, short fires rather than long smoldering ones. Inspect monthly during heating season and sweep at least once per cord burned using a SOOTEATER rotary chimney cleaning kit, which works from the bottom up so you never touch a ladder. Between sweeps, a Rutland creosote remover sweeping log helps dry glazed deposits into flakes that brush out more easily. It supplements a sweep — it never replaces one.
Seasoning Firewood: The 20 Percent Rule
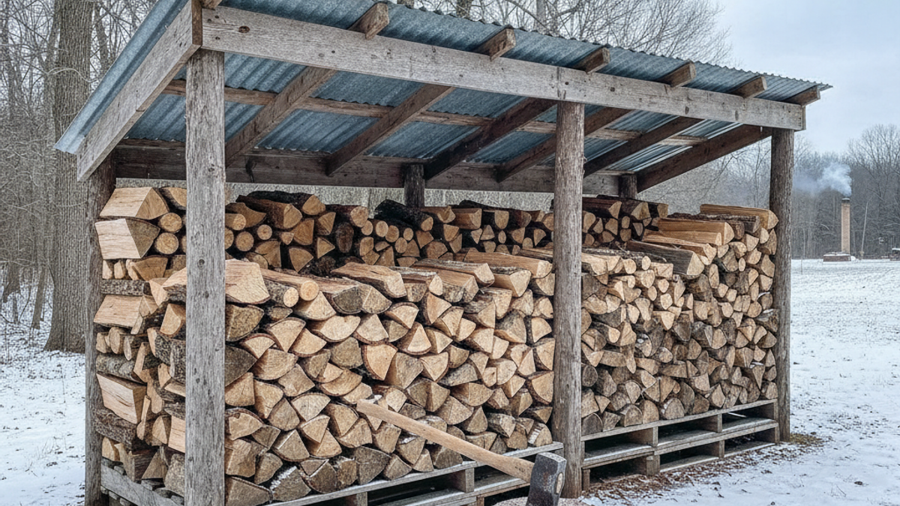
Freshly cut wood is 50 percent water by weight. Burning it wastes energy boiling that water off and dumps it into your flue as creosote. Target under 20 percent moisture, verified with a meter on a freshly split face. Oak needs 18–24 months; ash, maple, and birch 6–12. Stack off the ground on pallets, single rows, gaps between rows, top covered but sides open to wind. Plan on 3–5 cords per winter for full-time heating, or 1–2 cords as emergency backup. Suburban preppers can stack a cord along a fence line under a tarp; if you're processing your own, brush up on chainsaw safety and storm debris clearing.
Step-by-Step Instructions
Step 1: Measure your space and size the stove
Calculate the square footage you actually need to heat — usually one or two central rooms, not the whole house. Match firebox size to that number and check the manufacturer's listed clearances against your available wall space before you buy anything.
Step 2: Pull a permit and notify your insurer
Contact your local building department for solid-fuel appliance requirements and call your homeowner's insurance agent. Many carriers require a WETT or code inspection certificate. This step protects your coverage and forces a professional set of eyes on your plan.
Step 3: Install the hearth pad and wall shielding
Lay a UL-listed hearth pad with the correct R-value, extending 16 inches beyond the door. If clearances are tight, mount ventilated sheet metal shields on 1-inch non-combustible spacers to legally reduce clearance by up to 66 percent.
Step 4: Assemble the chimney from stove to cap
Run single-wall connector pipe crimped-end-down toward the stove so creosote drains back inside, secured with three screws per joint. Transition to Class A insulated pipe at the ceiling support box and maintain the 3-2-10 rule at the roof, finishing with a spark-arresting cap.
Step 5: Mount carbon monoxide and smoke alarms
Install a battery-operated Kidde carbon monoxide detector in the stove room and outside each sleeping area. CO poisoning kills roughly 400 Americans a year outside of fires — battery units keep working when the grid doesn't. See our guide on choosing smoke, CO, and gas alarms.
Step 6: Break in the stove with small curing fires
Burn three or four progressively larger small fires over several days to cure the paint and slowly expand the cast iron or firebrick. Ventilate the room — the initial off-gassing smells terrible but is normal.
Step 7: Establish a burn and sweep routine
Load small hot fires, keep the flue thermometer in the burn zone, and empty ash into a metal can with a lid stored outdoors on concrete. Log every cord burned and sweep the chimney at that interval, minimum once per season.
Recommended Gear
Round out your setup with a Class A rated fire extinguisher within ten feet of the stove and a written escape plan — see our fire extinguisher and home fire escape planning guide. Browse more vetted equipment on our recommended survival gear page.
Frequently Asked Questions
Can I install a wood stove myself, or do I need a professional?
A competent DIYer can install a wood stove, but the roof penetration and flashing are where most amateurs fail — and where leaks and fires start. At minimum, have the finished installation inspected by your building department or a certified sweep before your first real fire. Your insurance may require it regardless.
How often should I clean my wood stove chimney?
Sweep at least once per year and inspect monthly during heating season. If you find more than 1/8 inch of creosote buildup, clean immediately. Heavy burners running 24/7 through winter should plan on two or three sweeps per season.
Is a wood stove safe to run overnight while sleeping?
Yes, if the installation is code-compliant, the chimney is clean, and you have working CO detectors. Load the stove with fully seasoned hardwood and avoid choking the air control all the way down — a starved smoldering fire is the primary creosote generator and the biggest overnight risk.
Affiliate Disclosure: SHTFPlan.net participates in the Amazon Services LLC Associates Program. Some links are affiliate links — we may earn a small commission at no extra cost to you.