Sew, Patch, and Repair: How to Build a Survival Gear Repair Kit for When Replacements Don't Exist
When supply chains stop and stores stay closed, the gear you already own has to last. Here's how to build a compact repair kit and learn the stitches, patches, and fixes that keep clothing, packs, boots, and shelters in service.
Every prepper obsesses over acquiring gear. Almost nobody plans for what happens when that gear fails. A pack strap tears at mile eight of a foot evacuation. A boot sole delaminates in wet weather. The main zipper on your sleeping bag jumps its track on the coldest night of the year. In normal times, these are annoyances solved by a trip to the store or a two-day shipping window. In a genuine SHTF scenario — grid down, supply chains frozen, retail shelves picked clean — a failed zipper on your only winter coat becomes a cold-weather injury waiting to happen.
This is not theoretical. FEMA's National Household Survey has consistently found that only about half of American households have any emergency plan at all, and repair capability almost never makes the list. Meanwhile, the EPA reports Americans discard roughly 17 million tons of textiles annually — a culture that has forgotten how to mend anything. During the 2020 supply disruptions, basic goods saw stockout rates that spiked above 10% nationally on some categories, and that was with functioning trucks, ports, and power. Strip those away and your gear inventory becomes a fixed, depleting resource. Repair skills are the only thing that extends it.
The good news: a serious gear repair kit weighs under a pound, costs less than a decent flashlight, and fits in a quart-size zip bag. It works identically in a fifth-floor apartment, a suburban garage, or a rural barn. And unlike most survival gear, its value compounds — every repair you make is a piece of equipment you didn't have to replace.
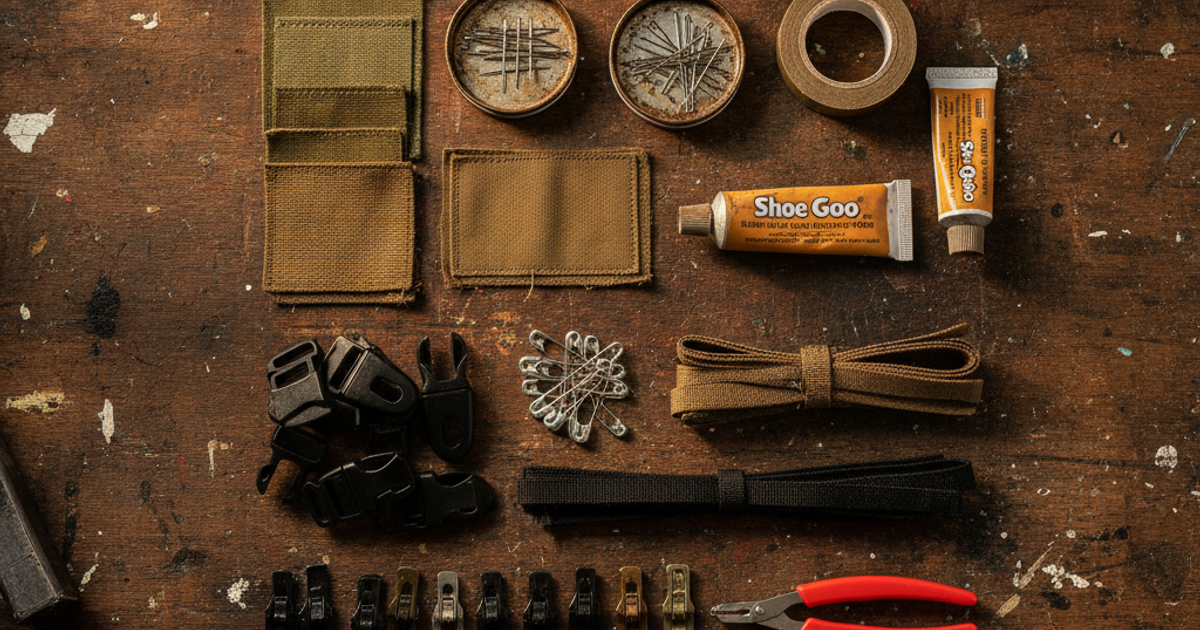
What You'll Need
Tools
- Sewing awl kit
- Assorted hand sewing needles
- Small sharp scissors or snips
- Needle-nose pliers (or a multi-tool)
- Seam ripper or awl point
Supplies
- Heavy-duty upholstery thread
- Adhesive fabric repair patches
- Zipper slider repair kit
- Snap fastener and grommet kit
- Reinforced cloth tape
- Scrap fabric, spare buckles, safety pins
Why a Gear Repair Kit Belongs in Every Bug Out Bag
Most bug out bag checklists cover water purification, emergency food storage, first aid, and fire. Repair gets skipped because it isn't dramatic. But consider the failure math: a loaded 40-pound pack puts constant shear stress on shoulder-strap stitching, and pack manufacturers' own warranty data consistently shows stitching and zippers as the top two failure points. Your pack is the container for everything else you own. When it fails, you're carrying gear in your arms.
The same logic applies to footwear. Boots are the single most consumable item in any long-term scenario — the U.S. Army has long budgeted combat boots as a roughly 6-to-12-month wear item under field conditions. If you've read our guide on choosing the right survival footwear, the follow-on question is obvious: what happens in month 14? Field repair — re-stitching a blown welt, gluing a lifting sole, patching a torn upper — is the answer.
The Sewing Awl: The One Tool That Changes Everything
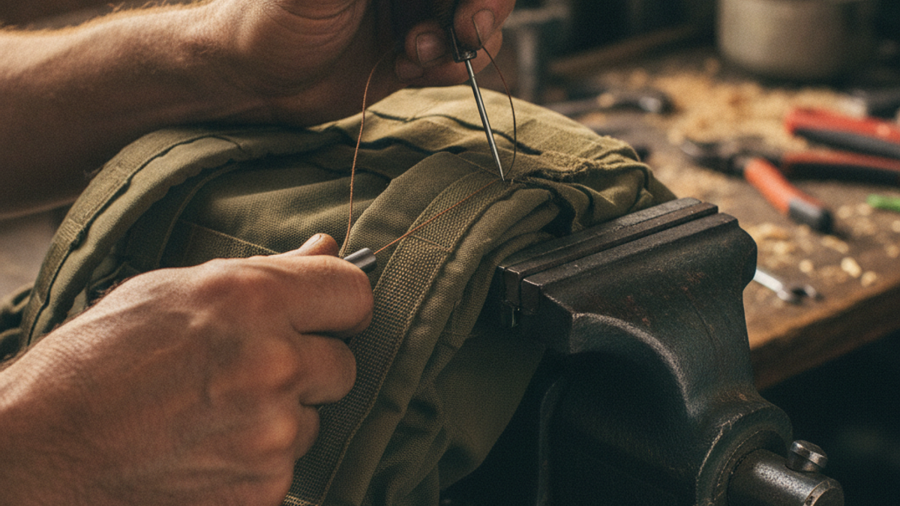
A standard needle and thread will not penetrate pack webbing, boot leather, or truck-bed tarp material. A Speedy Stitcher Sewing Awl Kit solves this by driving a heavy diamond-point needle through thick material and forming a locking stitch on the back side — essentially a hand-powered industrial sewing machine. It's the difference between "I can mend a shirt" and "I can rebuild a load-bearing strap." Learn it now, on a piece of scrap leather, not in the dark during an evacuation.
Adhesives, Tapes, and Chemical Repairs
Not every fix needs a needle. Gear Aid Tenacious Tape repair patches bond permanently to nylon, ripstop, and tent fabric, sealing punctures in rain shells, sleeping bags, and tarps without stitching (stitching a waterproof layer creates new holes — always patch first). For non-fabric failures, Loctite super glue gel control fixes cracked buckles, delaminating boot soles, broken eyeglass frames, and split knife handles. Gel formulas don't run, which matters when you're working vertically or in cold weather. Field medics have also used cyanoacrylate to close small lacerations for decades — a secondary use worth knowing.
Round out the adhesive side with a Gorilla Tape To Go mini roll. It's the fastest triage tool you own: stop a tear from propagating, splint a broken tent pole, wrap a leaking hydration hose, reinforce a heel before a blister forms. Buy the mini rolls and stash one in every bag, vehicle, and desk drawer.
How to Repair Clothing, Packs, and Shelters Without Replacement Gear
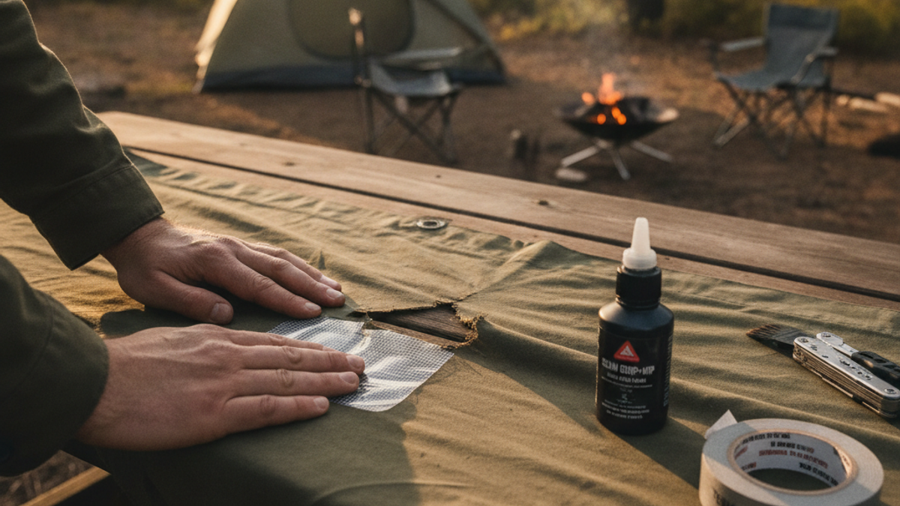
Different materials demand different approaches. Cotton and wool clothing take standard patch-and-stitch repairs with Singer hand sewing needles in assorted sizes — keep sharps for woven fabric, ballpoints for knits, and a curved needle for repairs you can't reach behind. Pack webbing, canvas, and boot uppers need the awl and Coats and Clark heavy duty upholstery thread, which resists UV and abrasion far better than all-purpose thread.
Hardware failures are where most people surrender. Don't. A Dritz snap fastener and grommet kit lets you replace popped snaps on jackets and install fresh grommets in tarps — critical when a tie-out point rips out mid-storm and you need a new anchor two inches inboard. Anyone using improvised shelter systems, like the configurations covered in our tarp shelter guide, should carry grommets and spare cordage as standard equipment.
For zippers, understand this: the teeth almost never fail — the slider wears out and stops meshing them. A YKK zipper repair replacement slider kit restores sleeping bags, coats, and tents in about ten minutes with pliers. Match slider size (stamped on the old one) to the zipper, and keep a few #5 and #8 sliders for packs and bags.
Step-by-Step Instructions
Step 1: Inventory and audit your existing gear
Lay out every pack, coat, boot, tent, and tarp you own. Load packs to weight and check stitching at strap anchors, hip belts, and haul loops. Note every frayed seam, sticky zipper, and worn sole. This audit tells you which repair supplies you actually need instead of guessing.
Step 2: Assemble a core kit in a waterproof pouch
Pack the awl, assorted needles, upholstery thread, adhesive patches, super glue, tape, snaps, grommets, and spare zipper sliders into a quart zip bag or roll-up organizer. Total weight should land between 8 and 14 ounces. Add safety pins, a few feet of paracord, spare buckles, and scrap Cordura cut from a dead pack.
Step 3: Build duplicate mini-kits for each location
Make a full kit for home, a stripped-down version for your bug out bag, a small one for the vehicle, and a pocket kit for your workplace or commuter bag. Apartment dwellers should keep the master kit under a bed or in a closet bin — it needs no workshop space, unlike most preparedness projects.
Step 4: Practice five repairs on sacrificial gear
Buy a thrift-store backpack and a pair of worn boots. Deliberately cut a strap and re-stitch it with the awl. Replace a zipper slider. Set a grommet. Patch a nylon shell. Glue a sole. Skills learned under pressure are learned badly — do this on a Saturday afternoon.
Step 5: Repair damage immediately, not eventually
A one-inch tear becomes a six-inch tear under load. Adopt a rule: any damage discovered gets taped on the spot and properly repaired within 24 hours. This single habit will extend gear life more than any product you can buy.
Step 6: Store consumables correctly and rotate them
Heat and humidity kill adhesives. Super glue lasts roughly a year opened, longer sealed and refrigerated. Keep adhesives in a cool, dark, dry spot, mark purchase dates, and replace annually. Store needles in a pill bottle with a rice grain or silica pack to prevent rust.
Step 7: Stockpile salvage material as a strategic resource
Save zippers, buckles, webbing, snaps, and heavy fabric from anything you throw out. Old jeans, dead luggage, and worn tents are free raw material. In a long emergency, this scrap bin has genuine barter value — a point worth reading alongside our guide to bartering skills and goods when SHTF.
Frequently Asked Questions
What should I put in a survival gear repair kit?
At minimum: a sewing awl with heavy waxed thread, assorted hand needles, upholstery thread, adhesive nylon patches, super glue gel, reinforced cloth tape, replacement zipper sliders, snaps and grommets, safety pins, spare buckles, and scrap fabric. Add shoe goo or urethane adhesive if boots are a priority, and a few feet of webbing for strap rebuilds.
Can I really repair boots without a cobbler?
Yes, for most common failures. Delaminated soles respond well to cleaning, roughing the surfaces, and clamping with a flexible urethane adhesive for 24 hours. Torn uppers and blown stitching are exactly what a sewing awl was designed for. What you can't fix is a fully worn-out midsole — which is why you should own at least two broken-in pairs and rotate them.
How much does a complete repair kit cost and how much does it weigh?
Expect $50 to $80 for a comprehensive kit that will handle dozens of repairs, and 8 to 16 ounces of pack weight for the field version. Compared to replacing a single quality pack or coat, that's a fraction of the cost — and in a scenario where replacement isn't possible at any price, the kit is effectively priceless. Browse our recommended survival gear page for related tools and organizers.
Affiliate Disclosure: SHTFPlan.net participates in the Amazon Services LLC Associates Program. Some links are affiliate links — we may earn a small commission at no extra cost to you.