Cold Frames, Hoop Houses, and Greenhouses: How to Extend Your Growing Season for Year-Round Food Security
Season extension structures let you harvest fresh produce in the dead of winter without electricity. Here's how to choose, build, and manage cold frames, hoop houses, and greenhouses.
Most gardens in North America produce food for about four months out of the year. That's a brutal reality for anyone serious about emergency food storage and long-term food security. If your entire fresh food supply collapses on the first hard frost in October and doesn't recover until late May, you're dependent on a grocery supply chain for roughly two-thirds of the calendar year — the exact months when winter storms, grid failures, and transportation disruptions are most likely to empty shelves.
Season extension changes that math. Using nothing more than clear plastic, wood, and sunlight, growers from Maine to Minnesota harvest spinach, carrots, kale, and mache in January without a single watt of electricity. Market gardener Eliot Coleman, who pioneered much of this work on the Maine coast (USDA Zone 5, with winter lows near -20°F), documented that a single layer of protection shifts a garden roughly 1.5 USDA hardiness zones warmer, and a second layer inside the first shifts it another 1.5 zones. That means a cold frame inside an unheated hoop house in Vermont has the winter climate of coastal Georgia. No fuel required.
The USDA reports that roughly 13.5 percent of American households experienced food insecurity in 2023 — before any real crisis. For the prepper mindset, extending the harvest is one of the highest-leverage moves available, and it scales from a fire-escape balcony to a 40-acre homestead.
Why Season Extension Beats Stockpiling Alone
Stored food is calories. Fresh food is nutrition. Long-term rice-and-beans stockpiles are notoriously short on vitamin C, vitamin A, folate, and the micronutrients that keep immune systems working. Historical famine and siege records are full of scurvy outbreaks among people who technically had enough to eat.
Cold-season greens are among the most nutrient-dense foods you can grow, and cold actually improves them. When temperatures drop, spinach, kale, and carrots convert starches into sugars as natural antifreeze — which is why winter carrots taste candy-sweet. Combine a winter growing setup with lacto-fermentation for preserving vegetables without refrigeration and you cover fresh and preserved nutrition on the same footprint.
What You'll Need
Tools
- Cordless drill/driver and bits
- Hand saw or circular saw
- Tape measure and framing square
- Post pounder or sledgehammer (for hoop ground stakes)
- Soil/compost thermometer and a min-max air thermometer
Supplies
- 6 mil UV-stabilized greenhouse plastic film
- Floating row cover / frost blanket
- Greenhouse plastic snap clips
- Bamboo garden stakes
- 1/2-inch PVC or EMT conduit for hoops, plus rebar stakes
- Cold-hardy seed: spinach, mache, kale, tatsoi, carrots, scallions
How to Choose Between a Cold Frame, Low Tunnel, Hoop House, and Greenhouse
Cold Frames: The Apartment and Small-Yard Solution
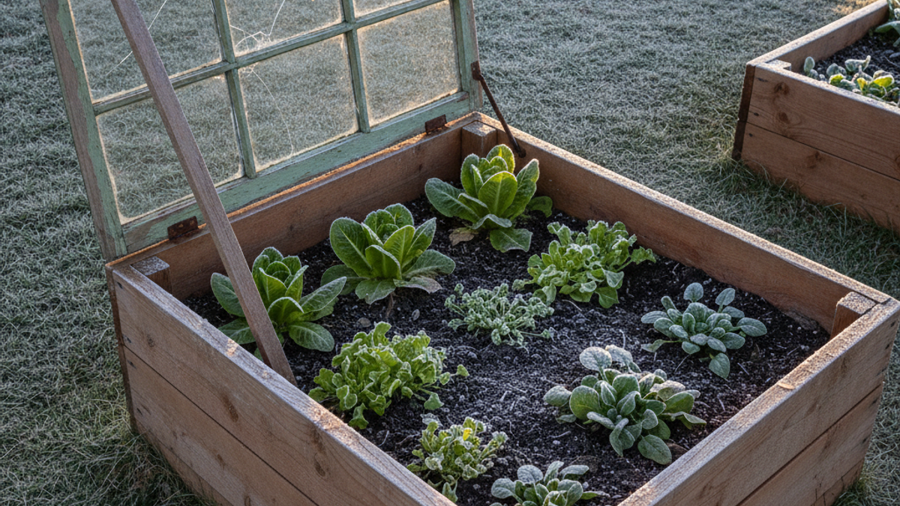
A cold frame is a bottomless box with a clear lid, angled south to catch low winter sun. It's the cheapest entry point and the only option that genuinely works on a balcony, patio, rooftop, or fire-escape-adjacent deck. Old storm windows over a scrap-lumber frame cost nothing; a pre-built unit like a VIVOSUN mini greenhouse cold frame assembles in an afternoon and fits in a 4x2-foot footprint. Expect 8 to 15 degrees of frost protection unvented, and the ability to grow lettuce and spinach through most winters in Zones 6 and warmer.
Low Tunnels: Maximum Protection Per Dollar
Low tunnels are 2- to 3-foot hoops of PVC or conduit over a garden bed, covered with row cover or plastic. They cost pennies per square foot, store flat in summer, and are the workhorse of serious winter growers. Anchor the hoops with rebar driven a foot into the soil, secure the cover with sandbags or buried edges, and use clips to keep film from ballooning in wind. This is also the discreet option — a low, dark row cover reads as landscaping fabric, which matters if you've read our guide to defensive gardening and growing food without advertising it.
Hoop Houses: Walk-In Winter Production
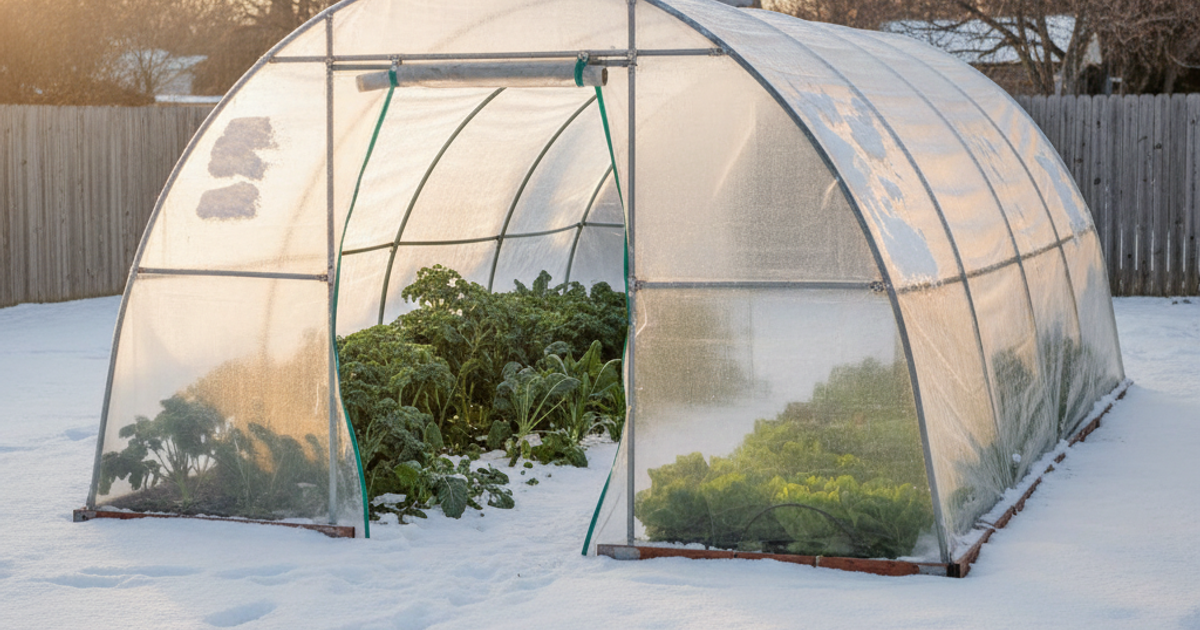
A hoop house is an unheated, walk-in structure. Once you can stand up inside, you can work in a blizzard, start seedlings weeks early, and stack a low tunnel inside for that double-layer zone shift. A kit like the Quictent walk-in greenhouse tunnel is a reasonable suburban starting point; a homebuilt bent-conduit structure covered in 6 mil film is cheaper per square foot and stronger if you brace it properly for snow load.
Rigid Greenhouses: Permanent Infrastructure
Polycarbonate greenhouses last 15 to 20 years and handle wind and hail that shred plastic film. A Palram Nature Series Hybrid greenhouse is the practical suburban choice — twin-wall roof panels diffuse light and add insulation. Anchor it to a gravel or concrete pad; unanchored greenhouses become airborne debris in the first serious storm.
How to Heat and Vent Without Electricity
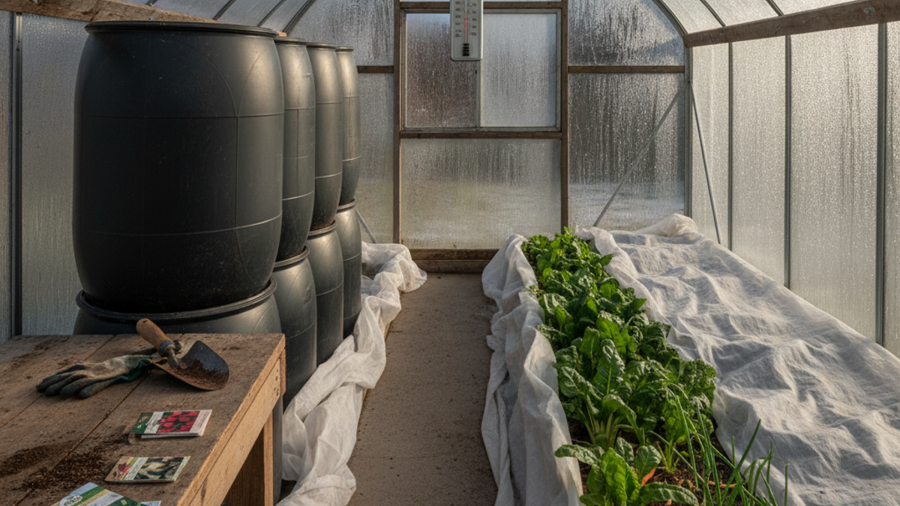
The number one killer of winter crops isn't cold — it's overheating. A sealed tunnel on a sunny 35°F February day can hit 100°F inside and cook your spinach. Since you can't count on power, install a wax-piston thermostatic vent opener, which uses thermal expansion to push a vent or window open at a set temperature and close it as things cool. No batteries, no solar panel, no failure mode.
For heat retention, use thermal mass: black-painted 55-gallon drums or 5-gallon buckets of water absorb daytime sun and radiate it back overnight. Ten gallons of water per 10 square feet noticeably flattens the temperature swing. The same physics we cover in thermal mass and insulation for heating your home without a furnace applies inside a greenhouse. Bank soil, straw bales, or leaf bags against the north wall, and throw a frost blanket over interior beds on nights below 15°F.
Step-by-Step Instructions
Step 1: Identify your winter sun window
In December, the sun is low and travels a short arc. Watch your space over a clear day and note where you get at least four to six hours of direct light between 9 a.m. and 3 p.m. South-facing walls, driveways, and rooftops win. Mark that spot — everything else follows from it.
Step 2: Select the structure that fits your space and skills
Balcony or patio: cold frame or shelf-style mini greenhouse. Suburban yard: low tunnels over existing beds plus one walk-in tunnel. Rural property: a permanent greenhouse or a 12x30-foot hoop house with interior low tunnels. Do not overbuild on your first attempt; a working 8-foot low tunnel teaches you more than an unfinished 40-foot project.
Step 3: Build the frame and anchor it hard
Drive rebar or 2-foot ground stakes at 4-foot intervals and slide 1/2-inch PVC or bent conduit over them to form hoops. Run a bamboo or PVC ridge purlin along the top and lash it at every hoop to prevent racking. Use bamboo garden stakes as interior bracing and to lift row cover off the leaves.
Step 4: Cover and seal with plastic and clips
Stretch UV-stabilized 6 mil film over the frame on a calm, mildly warm day — plastic is more pliable above 50°F. Secure with snap clips every 2 to 3 feet, then bury or sandbag the perimeter. Wind gets under loose plastic and destroys structures faster than snow does.
Step 5: Plant the right crops on the right calendar
Winter growing is about maintaining mature plants, not growing new ones — photosynthesis nearly stops below 10 hours of daylight. Sow spinach, mache, tatsoi, kale, arugula, scallions, and carrots 6 to 8 weeks before your first expected frost so they reach harvest size before the light fades. Then harvest through winter and let them regrow in February.
Step 6: Vent daily and monitor temperatures
Install a min-max thermometer at plant height and check it for the first two weeks to learn your structure's behavior. Vent any time interior temps exceed 75-80°F for cool-season crops. A thermostatic opener automates this, but verify it once a week.
Step 7: Water sparingly and only in the morning
Cold soil plus wet leaves equals rot and botrytis. Water at the root zone on sunny mornings so foliage dries before nightfall. Most winter tunnels need water only every two to three weeks.
Step 8: Clear snow and inspect after every storm
Sweep snow off with a broom from the outside — 6 inches of wet snow can weigh 15 pounds per square foot and collapse a poorly braced hoop. Check clips, seams, and anchors after high wind and patch tears immediately with greenhouse repair tape.
Recommended Gear
Two items deserve a permanent place in your garden supplies regardless of which structure you choose. A roll of 6 mil greenhouse plastic film is the single most versatile season-extension material — it covers hoops, patches tears, lines cold frames, and doubles as emergency shelter or window insulation. And floating row cover buys 4 to 8 degrees of frost protection on its own, blocks cabbage moths and flea beetles in spring, and layers inside a tunnel for those brutal single-digit nights. Pair your growing setup with a home survival seed vault so you're never dependent on next spring's seed shipment.
Frequently Asked Questions
Can you really grow food in winter without electricity or heat?
Yes — for cold-hardy crops. Spinach, mache, kale, claytonia, tatsoi, carrots, leeks, and scallions survive and produce inside unheated structures well below 0°F outside air temperature. What you cannot do without supplemental heat and light is grow tomatoes, peppers, or cucumbers in December; those need warmth and long days. Plan winter around greens and roots, and use the same structures to start warm-season crops 6 to 8 weeks early in spring.
What can I grow in a cold frame if I live in an apartment?
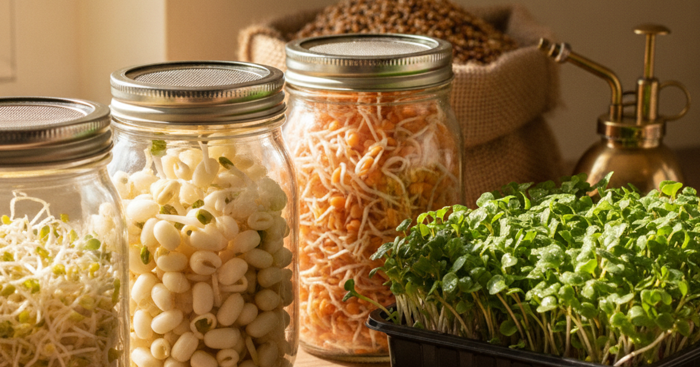
A single 4x2-foot cold frame on a south-facing balcony will produce steady cut-and-come-again salad greens, spinach, arugula, radishes, and herbs like parsley and cilantro for most of the winter in Zones 6 and warmer. Use containers at least 8 inches deep, group them together for shared thermal mass, and add a water jug or two inside the frame. For indoor backup during the darkest weeks, combine it with growing sprouts and microgreens indoors, which need no sun at all and deliver fresh nutrition in seven days.
How much does a season extension setup cost?
A DIY low tunnel over an existing 4x8-foot bed runs $25 to $50 in PVC, rebar, plastic, and clips. A scrap-wood cold frame with a salvaged window can be free; a prefab mini greenhouse runs $60 to $150. Walk-in tunnel kits start around $200, and rigid polycarbonate greenhouses run $700 to $3,000 installed. Measured against the value of six extra months of fresh food, the low tunnel is arguably the highest return-on-investment purchase in all of emergency preparedness.
Affiliate Disclosure: SHTFPlan.net participates in the Amazon Services LLC Associates Program. Some links are affiliate links — we may earn a small commission at no extra cost to you.