Freeze-Dried vs. Dehydrated vs. Vacuum-Sealed: How to Choose the Right Long-Term Food Storage Method for Your Stockpile
Not all long-term food storage methods are equal. Here's how to compare shelf life, cost, nutrition, and practicality before you invest in your stockpile.
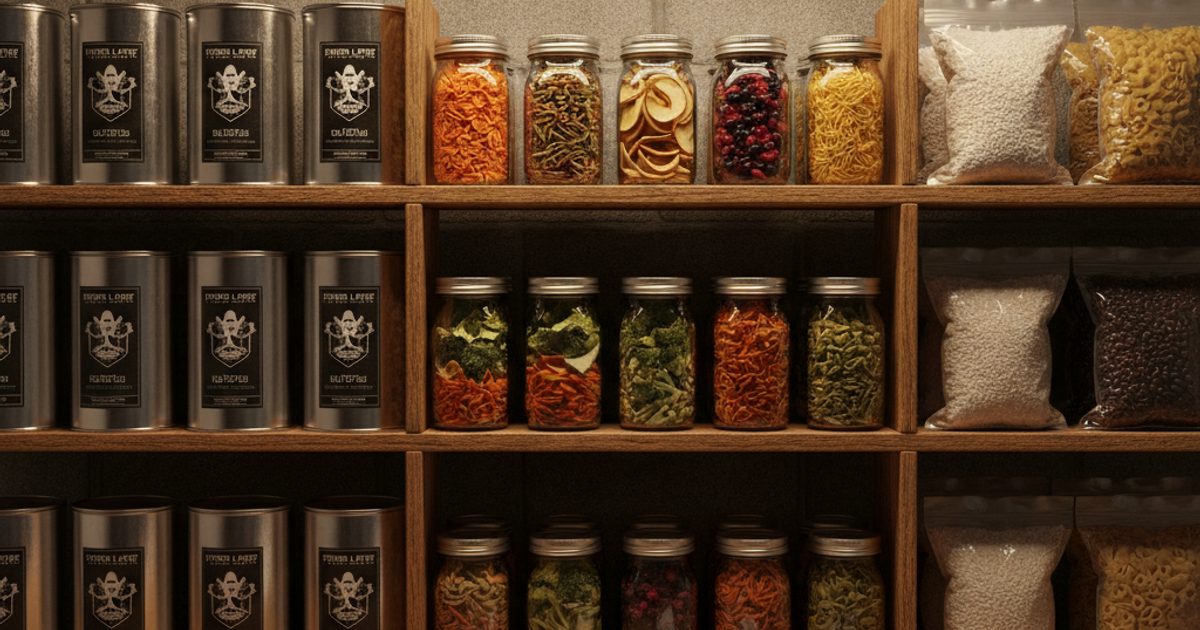
When SHTF, your food supply is your lifeline. A three-day power outage becomes a minor inconvenience when you have a well-stocked pantry. A six-month economic collapse becomes survivable when you've built a deep larder. But not all emergency food storage methods are created equal — and choosing the wrong one for your situation can mean the difference between eating well and eating nothing at all.
Freeze-drying, dehydrating, and vacuum sealing are three of the most popular long-term food storage strategies used by serious preppers. Each has real advantages. Each has meaningful drawbacks. And depending on whether you're prepping in a studio apartment, a suburban home, or a rural homestead, the right answer for your stockpile may look very different. This guide breaks down exactly what you need to know to make smart, informed decisions about your emergency food storage.
For a broader look at building your overall stockpile strategy, check out our article on how to build a long-term food supply that actually keeps you alive.
What You'll Need
Tools
- FoodSaver vacuum sealer machine
- Nesco Snackmaster dehydrator machine
- Harvest Right home freeze dryer machine
- Excalibur food dehydrator 9 tray
Supplies
- Mylar bags with oxygen absorbers for food storage
- Food-grade 5-gallon buckets with gamma seal lids
- Vacuum-seal bags and canisters
- Permanent marker and labels for dating containers
Understanding the Three Core Long-Term Food Storage Methods
Freeze-Drying: The Gold Standard of Emergency Food Storage
Freeze-drying — technically called lyophilization — is the most advanced food preservation method available to preppers today. The process works by first freezing food solid, then placing it in a vacuum chamber where the pressure is dropped so low that ice converts directly to water vapor without passing through a liquid stage. This process, called sublimation, removes roughly 98–99% of the food's moisture while leaving the cellular structure almost entirely intact.
The result is remarkable: freeze-dried food retains up to 97% of its original nutritional content, according to research published in food science literature. Flavor, color, and texture are preserved far better than any other preservation method. And the shelf life? Up to 25–30 years when properly sealed and stored — no other food storage method comes close.
For preppers who want a ready-made option, a Mountain House freeze dried meal variety pack is an excellent starting point. These are military-grade meals that have been trusted by backpackers and preppers alike for decades, with a verified 30-year shelf life and excellent rehydration performance — just add hot water and eat in minutes.
Rehydration is freeze-dried food's other major strength. Because the cellular structure is preserved, water re-enters the food quickly and completely. A freeze-dried chicken breast rehydrates in minutes and looks, tastes, and feels like real chicken — not cardboard. This makes freeze-dried food ideal for high-stress emergency situations where cooking capacity may be limited.
The catch? Cost. Commercial freeze-dried food is expensive, and home freeze-drying requires a significant upfront investment. The Harvest Right home freeze dryer machine runs between $2,000 and $5,000 depending on the model, and it also draws significant electricity. For apartment dwellers or those on tight budgets, this isn't always practical — but for homesteaders and suburban preppers with the space and budget, it represents a serious force multiplier for your food supply.
Dehydrating: The Affordable and Accessible Prepper Classic
Dehydration is one of humanity's oldest food preservation techniques — sun-drying goes back thousands of years. Modern food dehydrators use controlled heat and airflow to remove 80–95% of a food's moisture, slowing or stopping the bacterial and mold growth that causes spoilage.
The advantages of dehydrating are hard to ignore. The equipment is affordable — a quality unit like the Excalibur food dehydrator 9 tray costs a few hundred dollars and can handle large batches efficiently, making it accessible to apartment preppers and homesteaders alike. The electricity consumption is modest. And a wide variety of foods can be dehydrated: fruits, vegetables, herbs, jerky, soups, and even cooked beans.
For preppers who want commercial dehydrated storage without DIY hassle, an Augason Farms dehydrated food storage bucket offers a cost-effective, calorie-dense option with 25+ year shelf life claims on many products — making it one of the best values in emergency food storage.
Shelf life for properly dehydrated and sealed foods typically ranges from 1 to 5 years for home-processed items, though some commercial dehydrated products claim significantly longer when nitrogen-flushed and sealed. The key variable is residual moisture — anything above 10% moisture content accelerates spoilage. Dehydrated food also requires more water and time to rehydrate than freeze-dried food, which is a meaningful consideration in a water-scarce emergency. Nutritional retention is lower than freeze-drying, with heat-sensitive vitamins like vitamin C seeing notable degradation during the drying process.
Vacuum Sealing: A Powerful Complement to Other Methods
Vacuum sealing removes oxygen from airtight packaging, which dramatically slows oxidation, fat rancidity, and aerobic bacterial growth. It's important to understand what vacuum sealing is and what it isn't: it is not a standalone long-term preservation method for most foods. Rather, it's a powerful complement to dehydrating, freezing, and bulk dry goods storage.
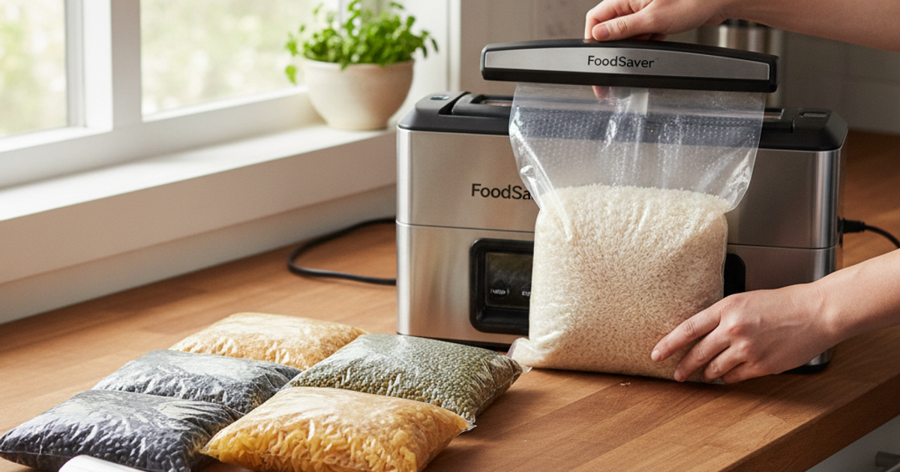
A quality FoodSaver vacuum sealer machine is one of the most versatile tools in any prepper's kitchen. Use it to extend the pantry life of flour, rice, pasta, coffee, and nuts. Use it to package dehydrated foods for compact storage. Use it to portion-control freeze-dried ingredients. For apartment preppers with limited storage space, vacuum sealing reduces the volume of food packaging significantly — a meaningful advantage when every cubic foot counts.
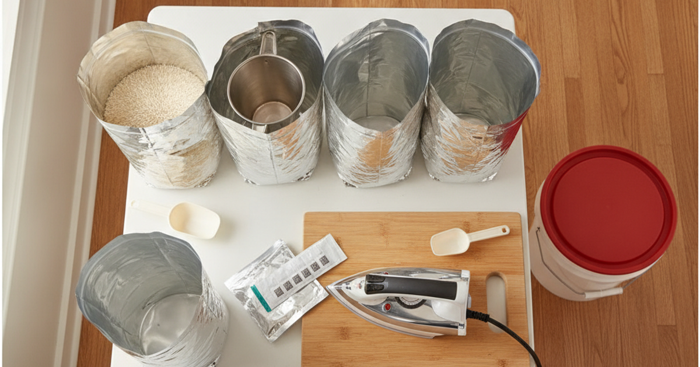
When combined with Mylar bags with oxygen absorbers for food storage, vacuum sealing becomes dramatically more effective. Oxygen absorbers drop oxygen levels inside the bag to below 0.1%, creating an environment where most spoilage organisms cannot survive. Seal Mylar bags with a clothes iron or hair straightener for a food-grade heat seal, then store the bags in food-grade buckets. Dry goods like white rice, hard red wheat, rolled oats, and pasta stored this way can last 25–30 years.
Shelf Life Comparison: How Long Does Emergency Food Actually Last?
Understanding realistic shelf life expectations is critical for emergency preparedness planning. Here's a straightforward comparison:
- Freeze-dried foods: 20–30 years (commercially processed, properly sealed)
- Dehydrated foods (commercial): 5–25 years depending on product and packaging
- Dehydrated foods (home-processed): 1–5 years in sealed containers
- Vacuum-sealed dry goods (with oxygen absorbers in Mylar): 20–30 years for grains and legumes
- Vacuum-sealed foods in refrigerator: 1–3 weeks (vs. 3–5 days unsealed)
- Vacuum-sealed foods in freezer: 2–3 years (vs. 6–12 months unsealed)
The critical caveat for all of these estimates: storage conditions matter enormously. Heat is the enemy of long-term food storage. Every 10°F increase in storage temperature roughly cuts shelf life in half. The ideal storage environment is cool (50–70°F), dark, and dry — which means a basement, interior closet, or insulated storage space. Urban apartment preppers may need to be creative: under-bed storage, interior closets away from exterior walls, or even dedicated storage units can work. Rural preppers have the advantage of cellars and outbuildings.
Nutritional Retention: Which Method Preserves the Most Nutrients?
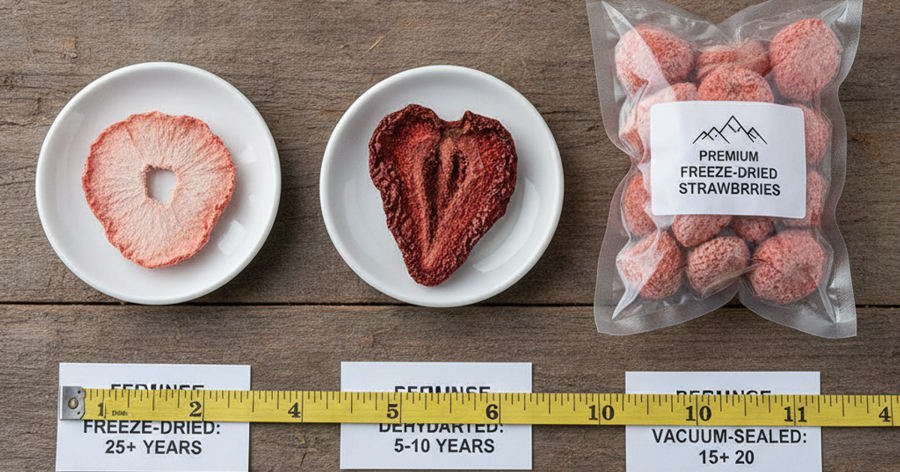
When your food supply may be your only source of nutrition for weeks or months, nutrient density matters. Here's how the three methods compare:
- Freeze-drying wins decisively, retaining approximately 97% of nutritional content. The low-heat, low-moisture process preserves heat-sensitive vitamins, proteins, and carbohydrates effectively.
- Dehydrating causes moderate nutrient loss. Water-soluble vitamins (B and C) are most affected, with losses ranging from 30–50% for vitamin C in some studies. Minerals and fiber are largely retained. Fat-soluble vitamins (A, D, E, K) fare better.
- Vacuum sealing by itself doesn't degrade nutrients — it simply slows oxidation. Combined with other methods, it helps preserve whatever nutritional content was present at the time of sealing.
For a well-rounded emergency food storage strategy, plan for nutritional gaps. Store a quality multivitamin supply alongside your food stores, and build variety into your stockpile to ensure you're not dependent on a single food source for all micronutrients.
Cost Analysis: What Each Method Actually Costs You
Budget is a real factor for most preppers, whether you're in an apartment or on 50 acres. Here's an honest cost breakdown:
- Freeze-dried (commercial): $8–$15 per serving for premium brands. Higher cost, but zero equipment investment and maximum convenience.
- Freeze-dried (DIY home machine): Equipment cost of $2,000–$5,000 upfront, plus electricity ($1.50–$3.00 per pound of food processed). Per-serving cost drops significantly over time for high-volume users.
- Dehydrated (commercial): $2–$6 per serving. Much more affordable than freeze-dried, though nutritional quality is lower.
- Dehydrated (DIY): Equipment cost $50–$400. Per-serving cost is extremely low — you're processing your own fresh produce. Best value for budget-conscious preppers.
- Vacuum sealing: Machine cost $80–$300. Bags cost $0.25–$1.00 each. Applied to bulk dry goods, this is the lowest per-calorie storage cost available.
A practical approach: use vacuum sealing and Mylar bag storage for your bulk calorie foundation (rice, beans, oats, pasta), layer in commercial dehydrated options for variety and convenience, and use freeze-dried foods as your premium reserve and bug out bag nutrition.
Rehydration Requirements: Water Is a Critical Variable
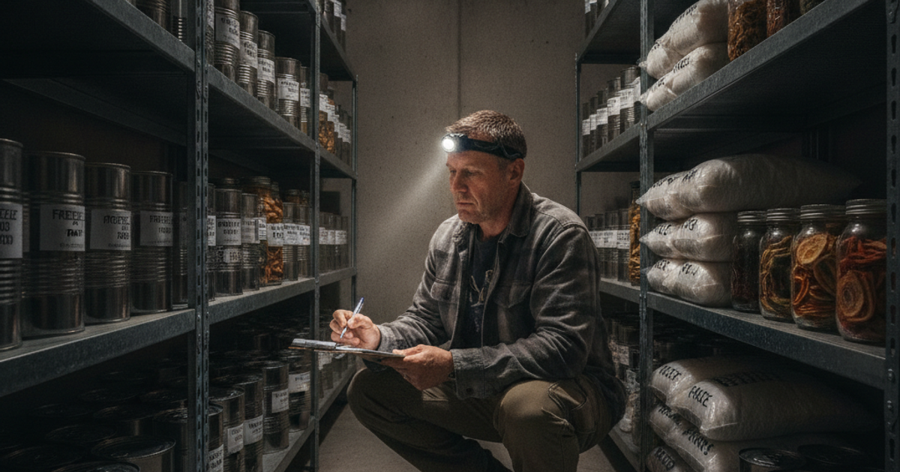
In an emergency, water availability directly determines which food storage method serves you best. This is one of the most overlooked variables in emergency food storage planning.
- Freeze-dried foods: Rehydrate quickly (5–15 minutes) with minimal water. Some products can even be eaten dry in a pinch.
- Dehydrated foods: Require more water and more time — often 20–45 minutes of soaking or simmering. A dehydrated bean soup might need 2–3 cups of water per serving and 30+ minutes of cooking time.
- Vacuum-sealed dry goods: Require normal cooking water and time. White rice still takes 20 minutes to cook; dried beans still need hours of soaking unless pressure-cooked.
If you're concerned about water security in a grid-down scenario, pair your food storage strategy with a robust emergency water storage plan. The two systems are deeply interdependent.
Best Use Cases: Which Method Belongs in Your Specific Stockpile
For Urban Apartment Preppers
Space and budget are your primary constraints. Focus on vacuum-sealed Mylar bag storage for bulk calories (rice, beans, oats) stored in 5-gallon buckets that double as furniture or fit under beds. Add a selection of commercial freeze-dried and dehydrated meals for convenience and variety. A countertop dehydrator is feasible in any apartment and can process seasonal produce into shelf-stable snacks and ingredients. A ReadyWise emergency freeze dried food kit 60 serving provides a solid ready-to-go base for apartment preppers who lack space for bulk dry goods systems. For more apartment-specific strategies, see our guide to apartment prepping and emergency stockpiling in small spaces.
For Suburban Preppers
You likely have a garage, basement, or dedicated pantry space — use it. A full Mylar bag and oxygen absorber system in a basement offers exceptional long-term value. A mid-range dehydrator handles garden surplus from even a small suburban vegetable patch. Commercial freeze-dried meals fill gaps and serve double duty for bug out bags.
For Rural and Homestead Preppers
A home freeze dryer is a legitimate investment at this scale. If you're producing your own meat, dairy, eggs, and garden produce, the ability to freeze-dry and store it at peak nutrition for 25+ years is genuinely transformational for long-term food security. Combine with large-scale dehydrating and pressure canning — see our detailed guide to pressure canning vegetables for long-term food storage.
Step-by-Step Instructions
Step 1: Assess Your Current Food Storage Situation and Goals
Before buying any equipment or supplies, audit what you already have. Determine how many people you're feeding, how much storage space you realistically have, your water availability in an emergency, and your budget. A suburban family of four has very different needs than a single apartment prepper. Write these numbers down — they will guide every decision that follows.
Step 2: Build Your Calorie Foundation with Vacuum-Sealed Bulk Dry Goods
Start with the lowest-cost, longest-life calories: white rice, dried beans, rolled oats, pasta, hard wheat berries, and sugar. Package them in Mylar bags with appropriately sized oxygen absorbers (300cc for quart bags, 2000cc for gallon bags), heat-seal the bags, and store them in labeled 5-gallon food-grade buckets. This foundation can provide the bulk of your calories at minimal cost for up to 30 years.
Step 3: Add Dehydrated Foods for Variety and Nutritional Range
Use a home dehydrator to process seasonal produce at peak freshness and low cost — berries in summer, tomatoes and peppers in fall, herbs year-round. Dehydrate at the correct temperature for each food type (fruit at 135°F, vegetables at 125°F, jerky at 160°F+). Seal finished products immediately in vacuum-sealed bags or airtight jars with oxygen absorbers. The Nesco Snackmaster dehydrator machine is a reliable, affordable entry-level option that handles most food types effectively.
Step 4: Integrate Commercial Freeze-Dried Meals for Convenience and Emergency Readiness
Stock a minimum 2-week supply of commercial freeze-dried meals per person. These require minimal water, minimal preparation, and deliver consistent calories and nutrition under stress. Rotate through your supply every few years to keep your stock fresh and familiarize yourself with the rehydration requirements before you actually need them in a crisis.
Step 5: Organize and Label Everything with Clear Dating and Rotation System
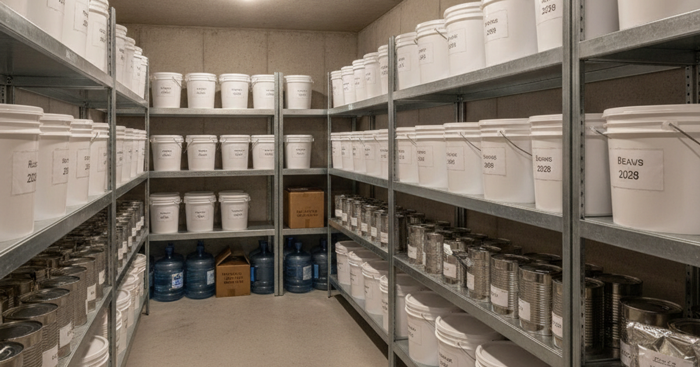
Every container in your stockpile must be labeled with the contents, processing date, and estimated "use by" date. Use the FIFO method — First In, First Out. Place newer packages at the back of shelves and pull from the front. Create a simple spreadsheet or notebook inventory so you always know what you have, where it is, and what needs to be rotated out.
Step 6: Store Everything in Optimal Conditions to Maximize Shelf Life
Identify the coolest, darkest, most stable-temperature location in your home. Basements, interior closets, and climate-controlled storage spaces are ideal. Avoid garages and attics where temperatures fluctuate dramatically with seasons. Keep food storage off concrete floors (use pallets or shelving) to prevent moisture migration. Install a simple thermometer/hygrometer to monitor conditions.
Step 7: Test and Rotate Your Stockpile Regularly Through Actual Meal Use
Schedule quarterly stockpile meals where you prepare and eat from your stored food supply. This serves multiple purposes: it keeps your rotation current, it reveals any storage problems early, it helps your family become comfortable with the taste and preparation of emergency foods, and it lets you identify nutritional gaps or foods your family genuinely won't eat under stress. Don't stockpile foods you hate — you won't eat them when you need to most.
Step 8: Calibrate Your Stockpile to Match Your Bug Out and Bug In Scenarios
Your home stockpile and your bug out bag food supply need to work together. Freeze-dried single-serve packets are ideal for a bug out bag or survival kit — lightweight, calorie-dense, and shelf-stable. Bulk Mylar bag storage is for shelter-in-place scenarios. Make sure you have both bases covered, and that your survival gear and storage systems account for how you'll actually use them in a real emergency.
Recommended Gear for Your Emergency Food Storage System
Rounding out your food storage toolkit: the Augason Farms dehydrated food storage bucket offers excellent calorie density and variety in a single, storable container — ideal for suburban and apartment preppers building out their first serious stockpile. For those ready to invest in serious DIY production, the Harvest Right home freeze dryer machine is the only home-scale freeze dryer on the market and represents a genuine game-changer for homesteaders and high-volume preppers. And for those building out a complete dehydrating operation with serious capacity, the Excalibur food dehydrator 9 tray is widely considered the gold standard among serious preppers — its horizontal airflow design dries food evenly across all trays simultaneously.
Frequently Asked Questions
How long does freeze-dried emergency food actually last, and is the 25-year claim realistic?
The 25–30 year shelf life claims made by companies like Mountain House are based on accelerated shelf-life testing conducted at elevated temperatures, extrapolated to predict real-world storage life. Independent testing has generally supported these claims for products stored at consistent cool temperatures (55–70°F). The key caveat is storage conditions: a can stored in a hot garage at 90°F will degrade far faster than the same can stored in a cool basement at 60°F. In ideal conditions — cool, dark, stable temperature — the 25-year claim is credible for most commercially freeze-dried products sealed in nitrogen-flushed #10 cans or pouches.
Can I use a vacuum sealer as my only long-term food storage method?
A vacuum sealer alone is not sufficient for true long-term emergency food storage. Vacuum sealing removes oxygen but does not remove moisture, and it does not sterilize food. For refrigerated or frozen foods, it extends shelf life significantly but still requires cold storage. For dry goods, vacuum sealing in standard plastic bags provides limited benefit compared to Mylar bags with oxygen absorbers. The most effective approach uses vacuum sealing as one component of a layered strategy — combined with dehydrating, freeze-drying, or