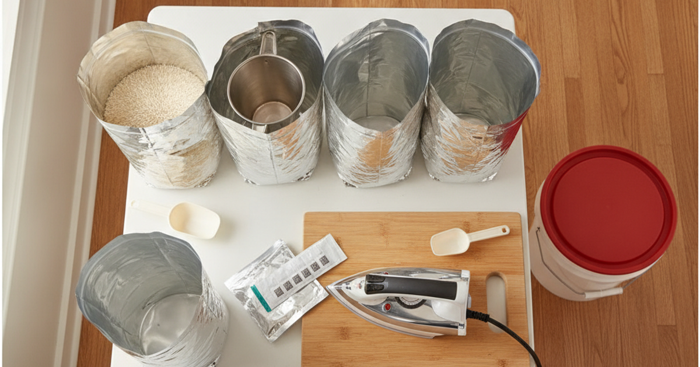
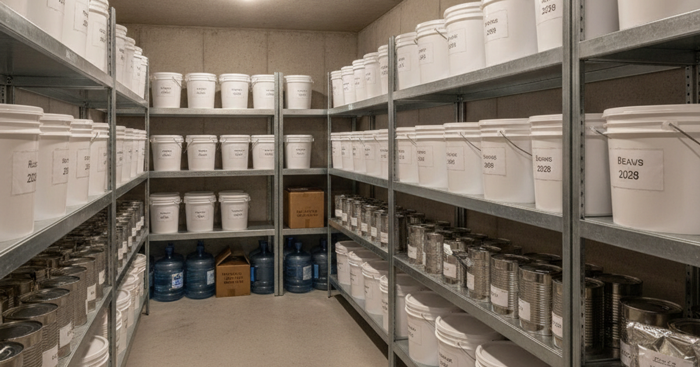
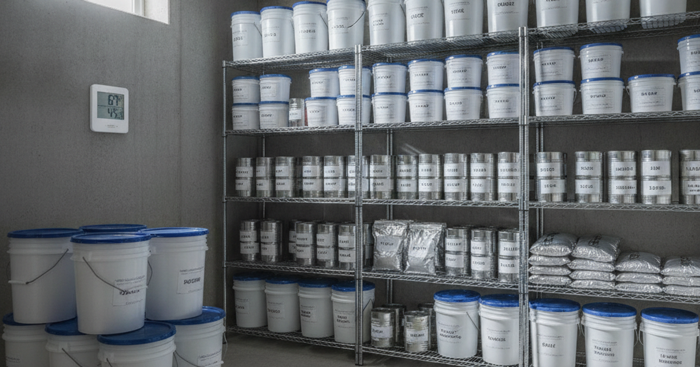
Buried Survival Caches: How to Hide, Seal, and Retrieve Emergency Supply Stashes Along Your Bug-Out Route
A buried survival cache gives you food, water, ammo, and gear waiting down the road when your pack is empty or your home is gone. Here's how to build, seal, hide, and find one again.
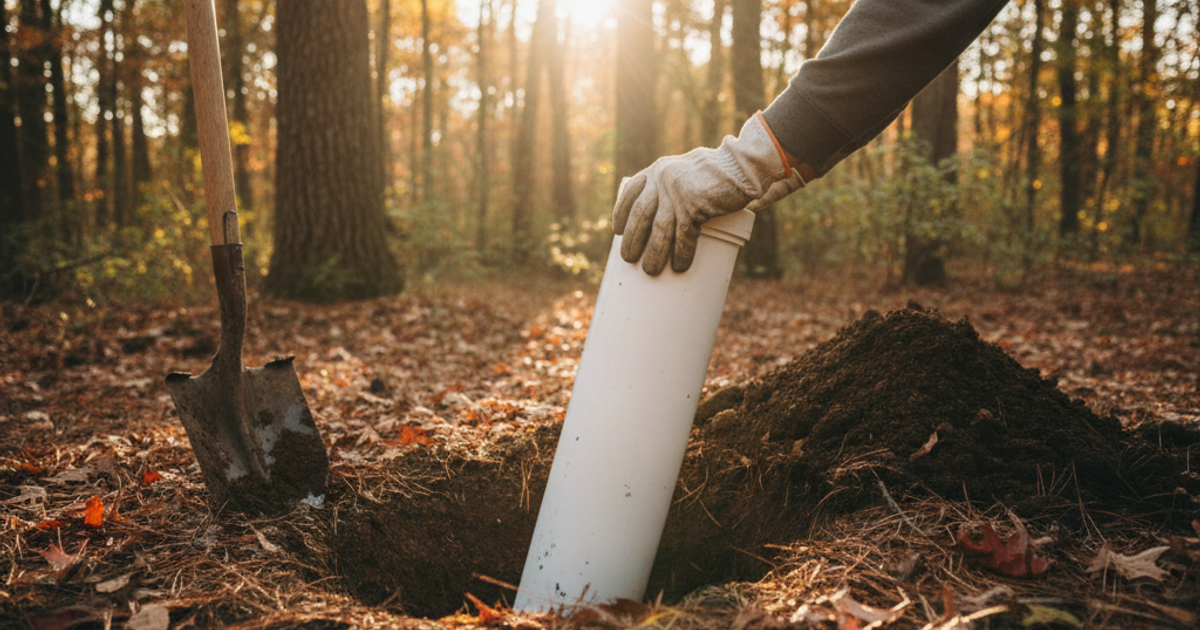
Every bug-out plan has the same fatal assumption baked into it: that you'll be carrying everything you need on your back. But a loaded 72-hour pack runs 30 to 45 pounds, and research from the U.S. Army Research Institute of Environmental Medicine has consistently shown that loads exceeding roughly 30 percent of body weight sharply degrade march speed and dramatically increase injury rates. Walk 20 miles with that weight and you'll find out why soldiers cache supplies rather than carry everything.
A buried survival cache solves that problem. It's a sealed, concealed container of food, water treatment, ammunition, cash, and spare gear placed along your evacuation route — waiting for you when your pack is light and your body is running on empty. Caching is also insurance against the worst-case prepper scenario: losing your home stockpile to fire, flood, looting, or a forced evacuation. Whether you live in a 600-square-foot apartment or on 40 acres, you can build and place caches. You just need to think differently about where.
What You'll Need
Tools
- Post-hole digger or folding entrenching tool
- Hacksaw or PVC cutter
- Baseplate compass and topographic map
- Pin flags or a pin-pointer metal detector (for retrieval testing)
Supplies
- 6-inch Schedule 40 PVC pipe with one glued cap and one threaded cleanout adapter
- Oatey PVC cement and primer kit
- Oatey Great White pipe thread sealant tape
- DRY-PACKS silica gel desiccant packets
- Bull Frog VCI rust blocker emitters
- Heavy-duty contractor bags and vacuum-seal or mylar bags
How to Choose the Right Cache Container for Long-Term Burial
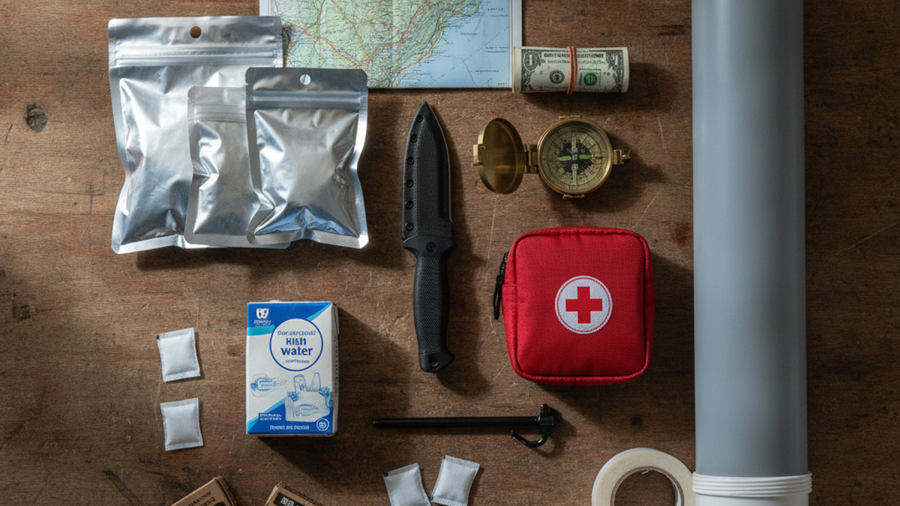
The container is the whole game. Groundwater, freeze-thaw cycles, root intrusion, and burrowing rodents will find any weakness you leave.
PVC Cache Tubes
Six-inch Schedule 40 PVC is the gold standard. It's cheap, chemically inert, crush-resistant under a few feet of soil, and completely non-magnetic — which matters if someone sweeps the area with a metal detector. Build it with a permanently cemented cap on one end using an Oatey PVC cement and primer kit (primer is not optional — it softens the surface so the cement chemically welds the joint), and a threaded cleanout plug on the other so you can open and re-seal it. Wrap the threads with Oatey Great White thread sealant tape to make the removable end watertight. A 24-inch tube holds a surprising amount: a water filter, 3,000+ calories of dense food, a fire kit, a knife, socks, and a 200-round ammo allotment.
Hard Cases and Ammo Cans
For shorter-duration or above-ground caches — a storage unit, a friend's barn, a vehicle stash — a sealed hard case is faster to access. The MTM Survivor Dry Box has an O-ring seal and integrated compass, making it ideal for a compact documents-and-meds cache. The Plano Field Ammo Can and the Sheffield Field Box both offer gasketed, stackable polymer construction that won't rust the way surplus steel cans do. If you do bury a polymer ammo can, double-bag it in contractor bags and bed it in sand or gravel to reduce hydrostatic pressure on the gasket.
How to Stop Moisture and Rust Inside a Buried Cache
A sealed container isn't a dry container. Whatever humidity is in the air when you close the lid stays trapped, and temperature swings drive condensation onto cold metal. Silica gel handles the ambient moisture — figure roughly one 10-gram DRY-PACKS silica gel packet per liter of interior volume, and more if you're in a humid climate.
Desiccant alone won't protect steel. Vapor corrosion inhibitors work differently: they release molecules that bond to bare metal and block oxidation. Drop a Bull Frog VCI rust blocker emitter into any cache holding firearms, tools, or ammunition, and store magazines and blades inside ZORBX VCI rust prevention bags. Together they'll protect steel for years. Food should be sealed separately in mylar with oxygen absorbers — see our guide on packaging bulk food for 25-year storage — and any stockpiled ammunition should be rotated on the same schedule as your home supply.
Where to Bury a Cache — Urban, Suburban, and Rural Options
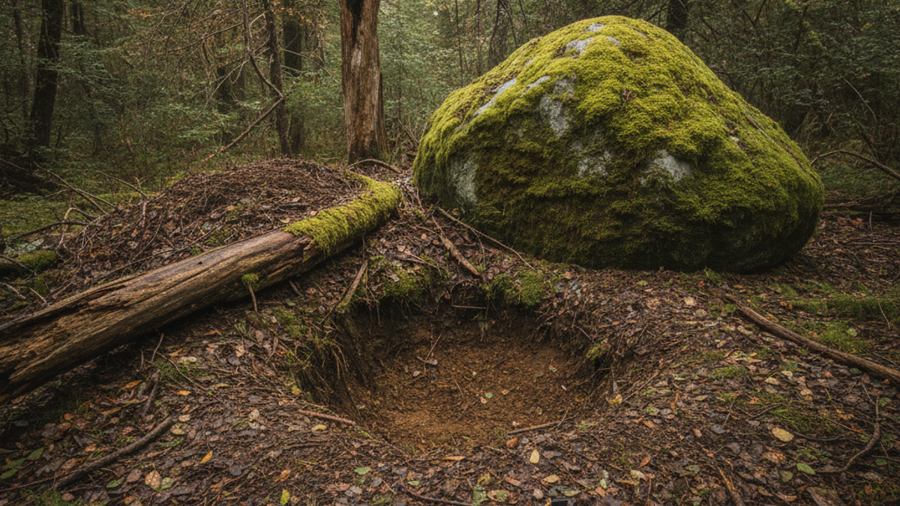
Site selection separates a cache you'll recover from one you'll lose. The rules: high ground above the water table, no floodplain, no active agricultural fields, no utility easements, and no land you don't have legal rights to. Burying on federal or state land is illegal in most jurisdictions and can constitute abandonment of property — know your local statutes before you dig.
Rural preppers have it easiest: fence lines, the base of a distinctive boulder, or the edge of a treeline on your own acreage or a trusted relative's. Suburban preppers can use the back corner of their own lot, a detached garage slab edge, or a rented storage unit along the route. Apartment dwellers should think laterally — a friend's property 15 miles out, a paid self-storage locker near your evacuation corridor, a locked job box at a work site, or a family member's rural land. If you only have one cache, put it where your urban evacuation route transitions from city to countryside, roughly one hard day's walk out.
Cache OPSEC: How to Keep Your Stash Invisible
The single biggest threat to a cache is your own mouth. Never post cache locations, never discuss them at the range or in a prepper group chat, and never let coordinates live on a cloud-synced phone. Our piece on OPSEC for preppers covers this in depth. Practical field measures:
- Dig at night or under weather cover; haul excess spoil away in a bucket rather than mounding it.
- Replace the sod cap intact and scatter natural leaf litter and deadfall over the seam.
- Never create a visible trail — approach from a different direction each time.
- Record locations as encrypted or coded bearings on paper, stored separately from the map.
- Use the gray man principle when traveling to the site: ordinary vehicle, ordinary clothes, plausible reason to be there.
Step-by-Step Instructions
Step 1: Map your route and pick cache intervals
Plot your primary and alternate bug-out routes on a topographic map. Place caches at 15- to 25-mile intervals — roughly one day of loaded foot travel. Mark candidate sites on high, well-drained ground within 100 yards of a route you can actually reach on foot or by bicycle.
Step 2: Build and seal the container
Cut PVC to length, deburr the ends, then prime and cement the fixed cap. Cement the threaded adapter on the opposite end and let it cure a full 24 hours. Tape the plug threads with pipe thread sealant, and test the empty tube by submerging it in a tub overnight. If it takes on a single drop, rebuild it.
Step 3: Pack contents with moisture and rust control
Vacuum-seal or mylar-bag every item group separately. Add desiccant packets and a VCI emitter, cushion with closed-cell foam so nothing rattles, and include a laminated inventory card with the pack date. Keep a copy of that inventory in your home stockpile inventory records.
Step 4: Excavate and bury below the frost line
Cut and set aside a clean sod plug. Dig 24 to 36 inches deep — below the local frost line to avoid frost heave pushing the tube upward. Lay 3 to 4 inches of gravel in the bottom for drainage, place the container horizontally or vertically, and backfill in compacted layers.
Step 5: Record the location with land-navigation references
Do not rely on GPS alone. Take magnetic bearings from three permanent terrain features — a survey marker, a power pole number, a distinctive rock — and pace off distances. Written correctly, these triangulated bearings let you find the cache with nothing but a compass. Brush up with our guide to topographic map and compass navigation.
Step 6: Conceal, then verify from a distance
Replace the sod, water it lightly, and scatter natural debris. Walk 50 yards away and look back with fresh eyes. If you can spot disturbed ground, keep working. Photograph nothing on your phone.
Step 7: Test-retrieve within six months
Navigate to the cache using only your written bearings and compass. Open it, inspect for moisture and corrosion, rotate any dated food or medication, and reseal with fresh desiccant. A cache you've never recovered is a theory, not a plan.
Recommended Gear
Build caches in tiers: a compact MTM Survivor Dry Box for documents and cash, a Sheffield Field Box for ammunition and tools, and a full-length PVC tube for the deep-burial route cache. More field-tested options are on our recommended survival gear page.
Frequently Asked Questions
How deep should I bury a survival cache?
Bury the container 24 to 36 inches deep, and always below your region's frost line. In northern states that can mean 40 inches or more. Shallower caches get exposed by erosion, frost heave, and animals; much deeper ones are miserable to retrieve with a hand tool while you're exhausted and under time pressure.
How long will food and gear last in a buried cache?
Mylar-packed grains, rice, and beans with oxygen absorbers can hold 20-plus years, while freeze-dried pouches typically run 25 years. Batteries, medications, and water filters are the weak links — plan on rotating those every 2 to 3 years. Steel items protected with VCI emitters generally hold up for 5 years or longer before needing inspection.
Is it legal to bury a cache?
On land you own or have the owner's written permission to use, yes — subject to local digging and utility-locate rules (always call 811 before excavating near developed property). Burying caches on public, federal, or state land is prohibited in most jurisdictions and may result in forfeiture or criminal charges. Storing firearms or ammunition in a cache must also comply with all applicable state and federal law.
Affiliate Disclosure: SHTFPlan.net participates in the Amazon Services LLC Associates Program. Some links are affiliate links — we may earn a small commission at no extra cost to you.