Weevils, Rodents, and Mold: How to Pest-Proof Your Emergency Food Storage
A stockpile destroyed by pantry moths, mice, or mold is worse than no stockpile at all. Learn how to seal, treat, and inspect your emergency food storage so it survives the years you need it to.
You can spend two years and several thousand dollars building a food stockpile that will feed your family for a year — and lose the whole thing to something that weighs less than a paperclip. Rice weevils, flour moths, mice, and mold don't care how disciplined your prepping is. They only care that you gave them warm, humid, unprotected calories and then stopped paying attention.
The scale of the problem isn't small. The Food and Agriculture Organization has long estimated that insects, rodents, and microbial spoilage destroy roughly 10 to 20 percent of stored grain worldwide each year, with losses climbing far higher in hot, humid storage conditions. The USDA has documented that a single pair of breeding mice can produce dozens of offspring annually, and that mice contaminate far more food than they consume — urine, droppings, and hair render whole containers unusable. Meanwhile, aflatoxin-producing molds like Aspergillus flavus thrive above 14 percent grain moisture content, and aflatoxin is a recognized human carcinogen that no amount of cooking neutralizes.
The good news: pest-proofing long-term emergency food storage is a solved problem. It requires no land, no homestead, and no special skills — just the right barriers, the right chemistry, and a routine you actually follow. Apartment dwellers on the fourth floor and rural preppers with a basement pantry use the same core methods.
Why Bugs, Rodents, and Mold Ruin Stockpiles
Understanding the enemy determines the countermeasure. Three separate threats require three overlapping defenses.
Insects: They're Already in Your Food
This is the part most new preppers get wrong. Weevils, flour beetles, and Indianmeal moths usually don't invade sealed buckets from outside — they arrive as microscopic eggs already inside the flour, rice, oats, or beans you bought at the store. Given warmth and oxygen, those eggs hatch weeks or months later and you open a bucket to find webbing, larvae, and dust. The fix isn't spraying your pantry; it's removing the oxygen so nothing can complete its life cycle.
Rodents: Chewing Through Almost Anything
Mice can squeeze through a gap the diameter of a pencil — roughly 1/4 inch. Rats need only about 1/2 inch. Both will chew through mylar, cardboard, thin plastic bags, and even soft PVC. Mylar stops oxygen and light; it does not stop teeth. That's why mylar bags belong inside a hard-sided container, not sitting on a shelf alone.
Mold: Moisture Plus Time
Mold needs water activity, not liquid water. Dry goods stored at 10 percent moisture or less are essentially mold-proof; goods sealed damp will mold inside an oxygen-free bag because many spoilage molds tolerate very low oxygen. This is why never seal food you aren't certain is dry is the single most important rule in this entire article.
What You'll Need
Tools
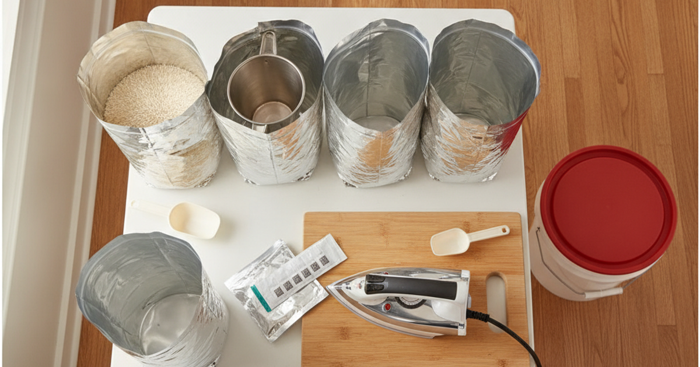
- Impulse heat sealer (12-inch) or a household clothes iron on a hard edge
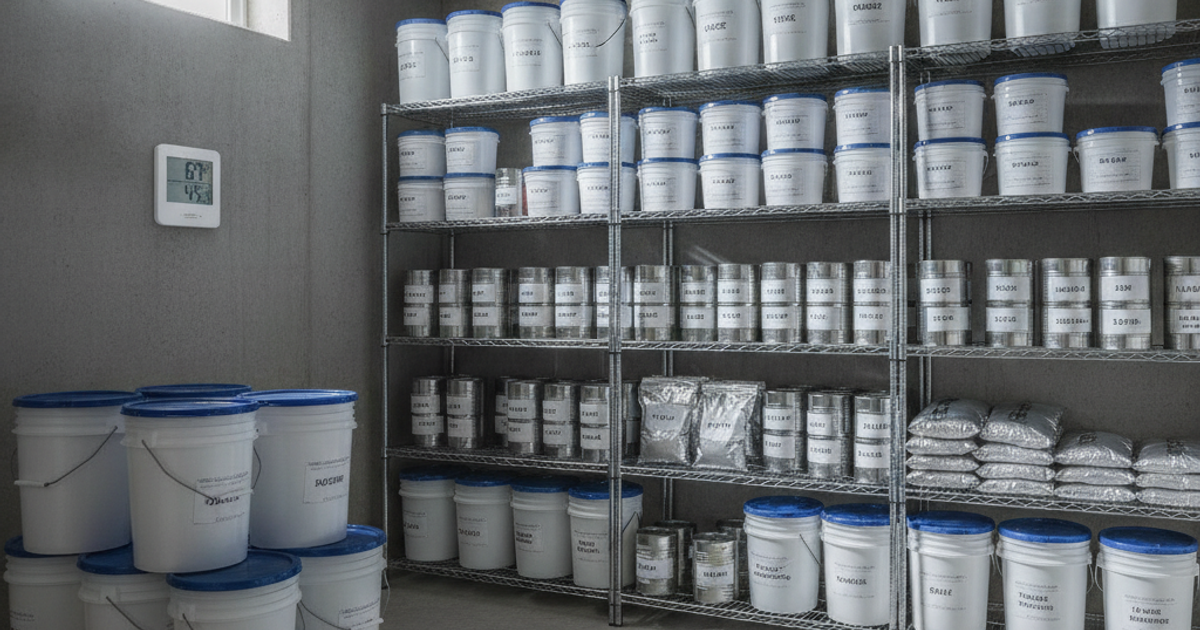
- Digital hygrometer (inexpensive, tells you whether your storage room is safe)
- Permanent marker and labels for dating every container
- Flashlight for inspecting dark corners and behind shelving
Supplies
- 5-gallon mylar bags with oxygen absorbers
- 300cc oxygen absorbers (bulk pack)
- Food-grade buckets with Gamma Seal lids
- Food-grade silica gel desiccant packets
- Coarse steel wool or copper mesh plus expanding foam for sealing rodent entry points
- Renewable mini dehumidifier for closets and small pantries
How to Use Mylar Bags and Oxygen Absorbers Correctly
Mylar (metalized polyester film) blocks light, moisture vapor, and oxygen far better than any plastic bucket alone. Use 5 mil or thicker for long-term storage — 3.5 mil is acceptable for smaller bags, but thin 1.5–2 mil "mylar" from craft suppliers will fail. Wallaby 5 mil bags bundled with oxygen absorbers are a solid starting point because the absorber count is matched to the bag size.
Oxygen absorbers are iron powder sachets that scavenge O₂ and drop the internal atmosphere below 0.1 percent oxygen. At that level, insect eggs and larvae die, aerobic bacteria stall, and oils oxidize far more slowly. Sizing guideline for dry staples:
- 1-gallon bag: 300–500cc
- 5-gallon bag (dense goods like rice, wheat, beans): 1,500–2,000cc
- 5-gallon bag (light goods like pasta, oats, freeze-dried): 2,000–2,500cc, since more air space remains
Work fast. Once you open a bag of absorbers, they begin reacting with room air. Keep the unused ones in a canning jar with a tight lid or heat-seal them in a small mylar pouch. Buying a 100-pack of 300cc absorbers lets you scale count to bag size instead of guessing.
Critical exceptions: Do not use oxygen absorbers with sugar or brown sugar (it turns into a brick), with anything containing more than about 10 percent moisture, or with high-fat items like nuts and jerky unless you accept a shorter shelf life. For more on choosing between preservation formats, see our breakdown of freeze-dried vs. dehydrated vs. vacuum-sealed food storage.
How to Rodent-Proof Food Storage in an Apartment or Rural Pantry
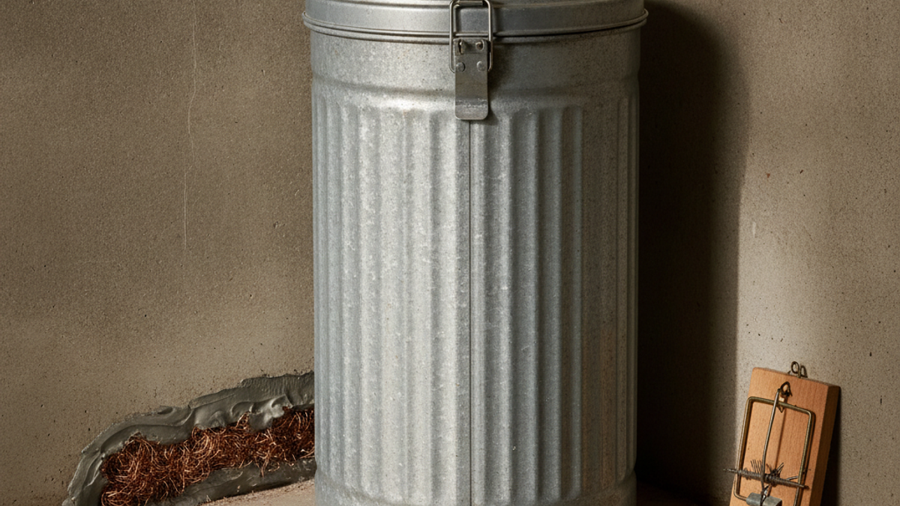
Hard-sided containers are your teeth barrier. Food-grade HDPE buckets, steel trash cans with tight lids, and heavy totes all work. A Gamma Seal lid converts a standard bucket into a screw-top container you can open one-handed without a lid wrench — which matters enormously for rotation compliance, because containers that are annoying to open never get rotated. If you'd rather buy pre-packed, an Augason Farms 6-gallon bucket with a gamma seal lid arrives already nitrogen-flushed and sealed.
Exclusion work by setting:
- Apartments: Seal gaps under sink cabinets where pipes penetrate the wall, the gap beneath the entry door (install a door sweep), and dryer/HVAC penetrations. Stuff copper mesh into gaps and cap with foam. Never store food directly on the floor along a shared wall.
- Suburban homes: Check garage door bottom seals, crawlspace vents, and the dryer vent flap. Garages are the #1 failure point — they're hot, unsealed, and full of cardboard.
- Rural properties: Barns and outbuildings need hardware cloth (1/4-inch mesh) over all vents, plus elevated pallet racking. Keep feed for chickens, goats, or rabbits in metal cans, well away from human food stores.
Eliminate cardboard from your storage area entirely. Cardboard is nesting material, harbors roach eggs, and wicks moisture. Break down every case and store contents in sealed containers instead. If you're stacking supplies in a closet or under a bed, our guide to apartment prepping in a small space covers layout tricks that also improve airflow.
Humidity Control and Temperature: The Silent Shelf-Life Killers
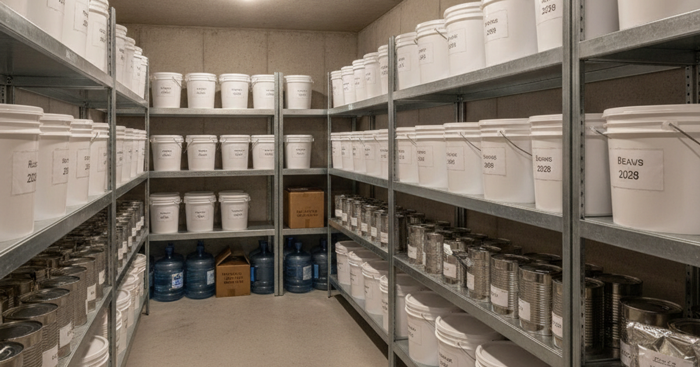
Every 18°F increase in storage temperature roughly halves shelf life. A stockpile at 70°F may last 25 years; the same food in a 95°F garage attic may be inedible in five. Target 50–70°F and below 15 percent relative humidity inside containers, with room humidity ideally under 55 percent.
Practical humidity tactics that work anywhere:
- Toss food-grade silica gel desiccant packets into buckets holding non-mylar items like spices, salt, or hard candy. Note that desiccants remove moisture, not oxygen — they complement absorbers, they don't replace them.
- Run a rechargeable, cordless unit like the Eva-dry E-500 inside a closet pantry or storage bin. It needs no power outlet during use and you simply plug it in to regenerate.
- Never store containers directly on concrete. Concrete transmits moisture and cold; use pallets, 2x4 sleepers, or wire shelving.
- Avoid attics, garages, and vehicles for long-term storage. Interior closets, under beds, and finished basements outperform them dramatically.
Step-by-Step Instructions
Step 1: Verify your food is dry before you seal anything
Home-dehydrated or bulk-bin goods should snap, not bend. If you have any doubt, spread the food on trays in a low oven (140–170°F) for an hour, or run it through a dehydrator. Sealing food above roughly 10 percent moisture invites mold and, in rare cases involving improperly dried food, botulism risk. When in doubt, add a desiccant packet and plan to use that container sooner.
Step 2: Freeze suspect grains to kill insect eggs
Place bagged flour, rice, cornmeal, oats, or beans in a deep freezer at 0°F for a minimum of four days — seven is better. This kills eggs, larvae, and adults at every life stage. Let the package return to room temperature before opening so condensation forms on the outside of the bag, not inside your food.
Step 3: Fill mylar bags and drop in oxygen absorbers
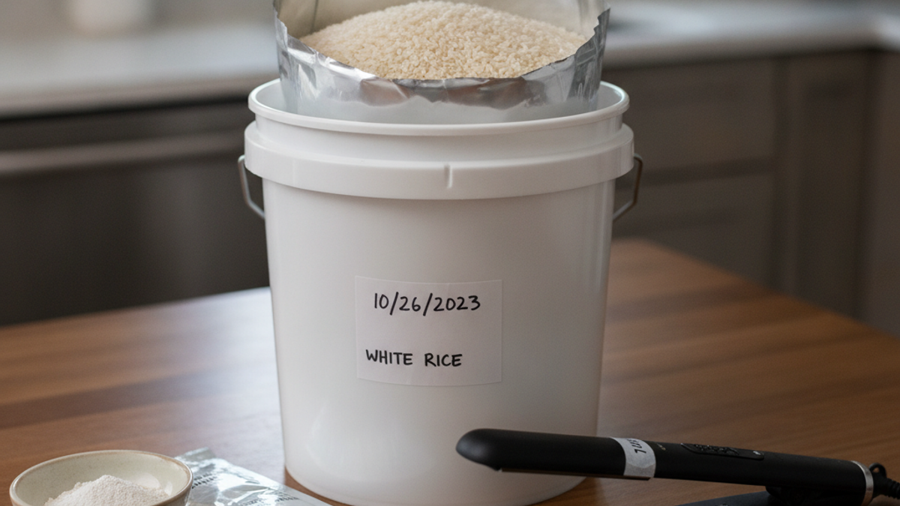
Stand the bag inside its bucket for support, fill to about two inches below the seal line, then add the correct absorber count on top of the food. Work in batches of no more than three or four bags at a time so absorbers aren't sitting exposed. Squeeze out excess air by hand before sealing.
Step 4: Heat-seal the bag with a strong, wide weld
Use an impulse sealer for a consistent 2mm-plus weld, or press a clothes iron on the cotton setting along a board edge. Leave a small gap, press the air out, then finish the seal. Run a second parallel seal above the first for insurance. Wipe food dust off the seal area first — crumbs cause channel leaks.
Step 5: Nest the sealed bag inside a hard container
Fold the bag top over, place it in a food-grade bucket or metal can, and secure the lid. This is your rodent and puncture layer. Attach a label with contents, weight, and pack date — you will not remember in three years.
Step 6: Confirm the seal after 24 to 48 hours
A properly sealed bag of dense food will look shrink-wrapped and feel firm, like a brick. Bags with pasta or granola may look less dramatic due to internal air pockets. A bag that's still puffy after two days has a leak or too few absorbers — re-open, add absorbers, and re-seal immediately.
Step 7: Build a quarterly inspection routine
Put four recurring calendar reminders per year on your phone. Check the hygrometer reading, look for chew marks and droppings, feel bags for lost vacuum, sniff for musty odors, and rotate anything approaching its use-by window into the kitchen. Ten minutes per quarter protects thousands of dollars in supplies.
Step 8: Track and rotate with a written inventory
Keep a printed inventory sheet taped inside the pantry door — not just a spreadsheet on a phone that may be dead when you need it. Log what you remove and what you replace. This same paper-first logic applies to your whole plan; see building a prepper survival library that works when the internet is gone.
How to Tell If Stored Food Has Gone Bad
Discard, don't gamble, when you see any of these:
- Webbing, cocoons, or moving specks — Indianmeal moth or beetle infestation. Isolate the container immediately and inspect every neighbor.
- Musty, sour, or "old paint" smell — mold or rancid oxidized fat.
- Visible fuzz, discoloration, or clumping in grain or flour — assume mycotoxins and throw it out. Do not feed it to livestock.
- Bulging, hissing, or rusted cans — potential botulism. Never taste-test.
- Rodent droppings or urine staining on packaging — hantavirus and salmonella risk. Wear gloves and an N95, wet-wipe with a bleach solution rather than sweeping dry.
One infested bucket doesn't mean total loss. Because sealed mylar-in-bucket packaging compartmentalizes your stockpile, a failure is usually contained to a single unit — which is exactly the point of packing in 5-gallon increments rather than one giant bin. Keep your stockpile split across multiple locations if you can, and read up on concealed storage strategies to protect it from a different kind of pest: people.
Recommended Gear
If you're starting from zero, the highest-leverage purchases are a bundled mylar-and-absorber kit like the PackFreshUSA 5-gallon set, a stack of buckets with Gamma Seal lids, and a dedicated impulse sealer. Browse more field-tested equipment on our recommended survival gear page, and pair your dry goods with wet-pack methods from our guide to pressure cooker canning for long-term emergency food storage.
Frequently Asked Questions
How long does emergency food last in mylar bags with oxygen absorbers?
Properly packed low-oil staples — white rice, hard wheat, dry beans, rolled oats, pasta, sugar, and salt — routinely last 20 to 30 years when stored below 70°F. Brigham Young University shelf-life studies found wheat, rice, and beans remained acceptable and nutritious after 25 to 30 years in sealed containers. High-fat items like brown rice, nuts, and whole-grain flours are the exception; plan on two to five years regardless of packaging because the oils oxidize.
Can I reuse oxygen absorbers that have already been opened?
Generally no. Once exposed to room air, most absorbers are substantially depleted within a few hours. If a packet feels warm, hard, or clumped, it's spent. Save only the ones that are still soft and powdery, and get them into an airtight canning jar within 15 to 20 minutes of opening the package. Given how cheap absorbers are in bulk, using fresh ones is the smart trade.
Do I need both oxygen absorbers and desiccant packets?
They solve different problems and are not interchangeable. Oxygen absorbers kill insects and prevent oxidation; desiccants pull residual moisture. For properly dried grains sealed in mylar, absorbers alone are sufficient. Add desiccants when storing items you can't dry further, when you live in a humid climate like the Gulf Coast, or when packing salt, spices, and hard candy where an oxygen absorber would cause clumping.
What's the best place to store food in an apartment with no pantry?
Interior closet floors, under-bed space, behind sofas, and the bottom of linen closets all beat a balcony or a hot kitchen cabinet above the stove. Prioritize stable temperature over convenience, keep containers off the concrete or exterior walls, and run a small rechargeable dehumidifier in any enclosed space. Stack no more than three or four buckets high to avoid crushing lower lids and creating leak paths.
Affiliate Disclosure: SHTFPlan.net participates in the Amazon Services LLC Associates Program. Some links are affiliate links — we may earn a small commission at no extra cost to you.