Land Navigation Essentials: How to Use a Topographic Map and Compass When GPS Fails
When satellites go dark and your phone dies, a paper map and baseplate compass may be the only things standing between you and getting hopelessly lost.
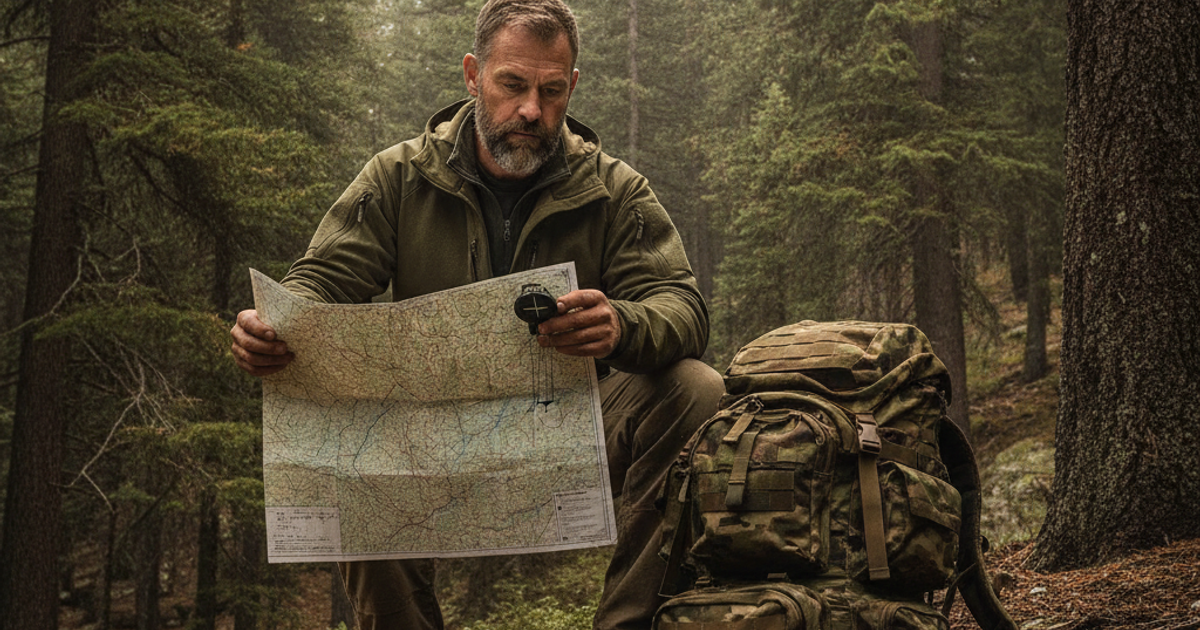
Your smartphone's GPS works flawlessly — right up until it doesn't. Cell towers go down, batteries die, satellites get jammed, and in a serious SHTF scenario, digital infrastructure can vanish overnight. A 2021 study by the Department of Homeland Security identified GPS disruption as one of the most exploitable vulnerabilities in civilian emergency response systems. Yet the vast majority of preppers have never folded a topographic map or taken a compass bearing in their lives.
That's a critical gap in your emergency preparedness. Whether you're navigating out of a flooded urban district, crossing unfamiliar suburban terrain on foot during a 72-hour bug-out evacuation, or moving through wilderness toward a remote rally point, land navigation is a foundational survival skill that requires zero batteries, zero signal, and zero technology. If it's not already part of your skill set, it needs to be.
This guide will teach you how to read a topographic map, use a baseplate compass, and combine both tools to navigate confidently in any environment — urban grid streets or backcountry ridgelines.
What You'll Need
Tools
- Suunto A-10 baseplate compass
- Silva Ranger CL mirror sighting compass
- Cammenga tritium military lensatic compass
- Pencil or grease pencil for marking maps
- Ruler or map scale
Supplies
- National Geographic Trails Illustrated topographic map of your region
- Rite in the Rain waterproof field notebook
- Waterproof map case or gallon zip-lock bag
- US Army Map Reading and Land Navigation FM 3-25.26
Understanding Topographic Maps for Survival Navigation
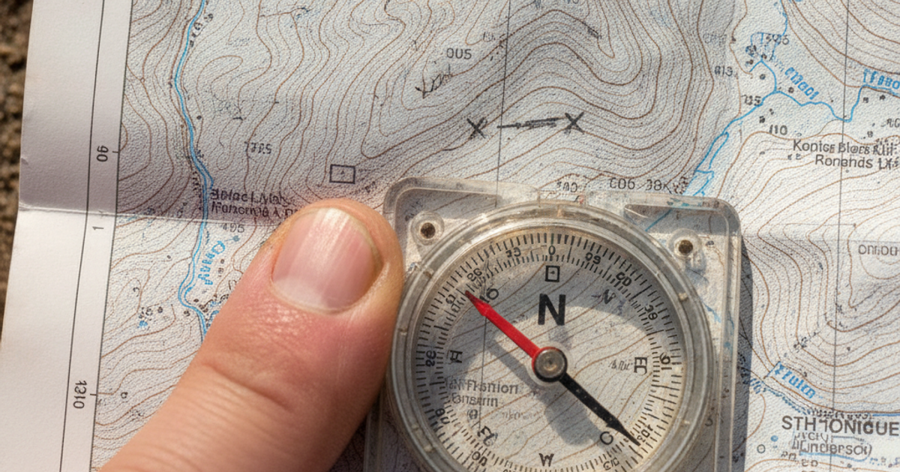
A topographic map — or "topo map" — is a two-dimensional representation of three-dimensional terrain. Unlike a road map or a Google Maps screenshot, it tells you not just where roads and trails are, but what the land actually looks like: hills, valleys, ridges, depressions, cliffs, and water features. For preppers, this is invaluable. Terrain shapes your entire movement strategy.
The most important features to understand are contour lines — those brown curved lines that wrap around the map. Each contour line represents a specific elevation. When lines are close together, the terrain is steep. When they're spread far apart, the ground is relatively flat. A series of concentric circles indicates a hilltop or peak. A V-shape pointing uphill indicates a valley or drainage; a V pointing downhill indicates a ridge.
Learn to recognize these key map symbols:
- Blue lines and areas: Water features — rivers, streams, lakes, swamps
- Green areas: Vegetation — forests, orchards, scrubland
- Black symbols: Man-made structures — roads, buildings, power lines, fences
- Brown lines: Contour lines showing elevation changes
- Red lines: Major roads and sometimes survey lines
Every map has a scale printed on it. A 1:24,000 scale map (the most common USGS 7.5-minute quadrangle) means 1 inch on the map equals 24,000 inches — about 2,000 feet — on the ground. Knowing your scale lets you calculate distances before you move, which is critical for planning routes, estimating travel time, and rationing water and food from your survival kit.
Urban preppers take note: topo maps cover cities too. While dense urban grids lack dramatic terrain relief, topo maps still show parks, waterways, elevation changes between neighborhoods, and the edges of urban areas where terrain becomes tactically significant during an urban evacuation. Knowing you'll cross a drainage channel or hit a ridgeline can change your entire route plan.
How a Baseplate Compass Works and Why It Matters
A baseplate compass is the standard tool for land navigation, and you don't need anything fancy to get started. The Brunton TruArc 3 baseplate compass is an excellent entry-level option with a globally balanced needle and clear baseplate that works well for both beginner and intermediate navigators.
A standard baseplate compass has these key components:
- Magnetic needle: Always points to magnetic north
- Rotating bezel (azimuth ring): Marked 0–360 degrees
- Direction of travel arrow: Printed on the baseplate, points toward your destination
- Orienting lines: Inside the rotating housing, align with map grid lines
- Orienting arrow: Inside the housing, you align with the magnetic needle
- Baseplate: Transparent, with ruler markings for measuring map distances
One critical concept that trips up beginners is magnetic declination — the difference between true north (toward the geographic North Pole) and magnetic north (where your compass needle actually points). Declination varies by location and can be as much as 20 degrees or more in some parts of North America. If you ignore it, a 20-degree error over 5 miles puts you nearly a mile off course. Look up your local declination at ngdc.noaa.gov or find it printed in the margin of your topo map, and adjust accordingly.
For more precise long-range bearings in the field, especially in low-light conditions, the Suunto MB-6 global compass is a wrist-mounted option popular with military and serious outdoorsmen — it's always on your wrist, ready when you need it most.
Declination, Dead Reckoning, and Triangulation Explained
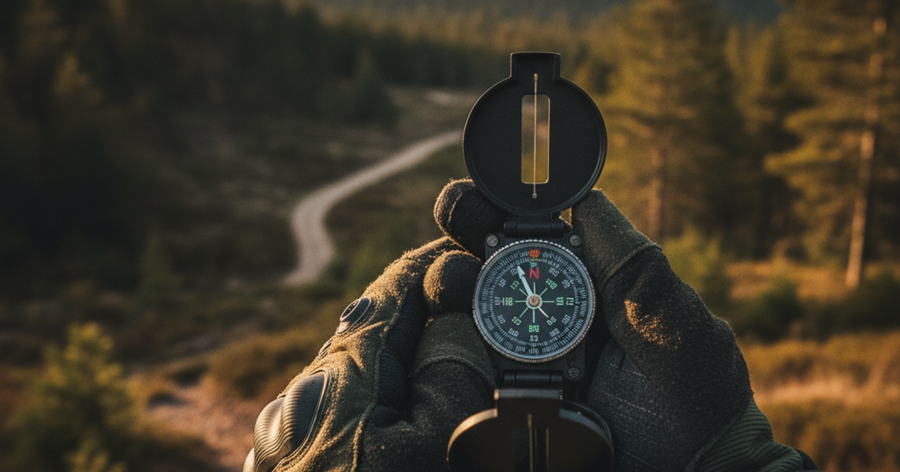
Dead reckoning is the practice of tracking your position by calculating distance traveled and direction from a known starting point. It's the backbone of navigation when you can't see landmarks. You know you walked a bearing of 045 degrees (northeast) for approximately 2 miles based on your pace count — so you can estimate where you are on the map. It's not perfect, but it keeps you in the ballpark.
Triangulation (more accurately called resection when used to find your own position) allows you to pinpoint your location on a map by taking compass bearings to two or more known landmarks — a visible hilltop, a water tower, a distinctive peak — then drawing lines on the map along those back-bearings. Where they intersect is where you are. This technique works in suburban and rural terrain alike, as long as you can identify at least two features on both the ground and the map.
Good situational awareness during navigation means continuously updating your mental model of where you are relative to the terrain. Every ridge you cross, every stream you ford, every road junction you pass should be checked against your map. Never let yourself get more than 15 minutes behind on your position tracking. Losing track of your location is how people die in the backcountry — and how people get caught in dangerous territory during civil unrest in urban environments. For more on maintaining awareness in hostile environments, see our guide on situational awareness and threat detection.
Step-by-Step Instructions
Step 1: Gather Your Maps and Identify Your Area of Operations
Obtain 1:24,000 scale USGS topo maps (or National Geographic Trails Illustrated maps) covering your home location, your bug-out route, and your intended destination. Store paper maps in a waterproof case — moisture ruins a map faster than almost anything. Urban residents should get maps covering the full metropolitan area plus a 30-mile radius in every direction; that's your realistic evacuation envelope on foot.
Step 2: Orient Your Map to the Terrain Using Your Compass
Place your compass on the map with the baseplate edge parallel to a north-south grid line. Rotate the bezel until the declination-adjusted north marking aligns with the orienting arrow. Now rotate the entire map-and-compass together until the magnetic needle floats over the orienting arrow. Your map is now oriented to the real world — features on the map should correspond to actual visible landmarks in front of you.
Step 3: Establish Your Current Position on the Map
Identify at least two visible landmarks you can also find on the map — a hilltop, a prominent building, a road junction, a water tower. Shoot a compass bearing to each landmark. Subtract 180 degrees from each bearing (or add 180 if under 180) to get the back-bearing. Place your compass on the map symbol for that landmark and draw a line along the back-bearing. Where your two (or three) lines intersect is your current position. Mark it lightly with a pencil.
Step 4: Plan Your Route Using Terrain Features and Contour Lines
Choose a route that uses terrain to your advantage: follow ridgelines for visibility and ease of movement, avoid steep contour-line clusters (cliffs and near-vertical slopes), use valleys and stream corridors for cover. Calculate the straight-line distance using the map scale, then add 20–30% for terrain, detours, and obstacles. Write your planned waypoints, bearings, and estimated distances in your Rite in the Rain waterproof field notebook — it writes even in rain and won't disintegrate in the field.
Step 5: Take a Compass Bearing to Your Next Waypoint
Place your compass baseplate on the map with one edge connecting your current position to your destination waypoint. Rotate the bezel until the orienting lines are parallel to the north-south grid lines on the map, with the orienting arrow pointing to map north. Read the bearing at the index line — that's your magnetic bearing (adjust for declination). Now hold the compass level, rotate your entire body until the magnetic needle aligns with the orienting arrow, and the direction-of-travel arrow points to your destination. Pick a distant landmark on that bearing and walk toward it.
Step 6: Calibrate Your Pace Count for Distance Measurement
Your pace count is the number of times one foot hits the ground per 100 meters of travel. Most adults average 62–66 double-paces per 100 meters on flat ground — but this changes uphill, downhill, in thick brush, or carrying a heavy bug out bag. Walk a known 100-meter distance (a football field is close) and count every time your left foot hits the ground. Do it three times and average the results. Record this number. With it, you can estimate distance traveled without any technology at all.
Step 7: Navigate Through Checkpoints and Update Your Position Continuously
Break your route into short legs between identifiable terrain features — a stream crossing, a ridge saddle, a road junction. When you reach each checkpoint, confirm your location on the map before taking your next bearing. This "checkpoint-to-checkpoint" method prevents compounding navigation errors. If you arrive at a checkpoint and the terrain doesn't match the map, stop and re-shoot your position using resection before continuing.
Step 8: Apply Night Navigation and Low-Visibility Techniques
Navigating at night or in poor visibility requires a compass that functions without light. The Cammenga tritium military lensatic compass uses radioactive tritium vials that glow indefinitely without batteries — the same compass issued to U.S. military personnel. In darkness, use a tighter checkpoint interval (every 100–200 meters), rely on your pace count religiously, and use terrain association: follow drainage lines, ridgelines, and roads that you can feel under your feet even when you can't see them.
Choosing the Right Compass for Your Prepper Kit
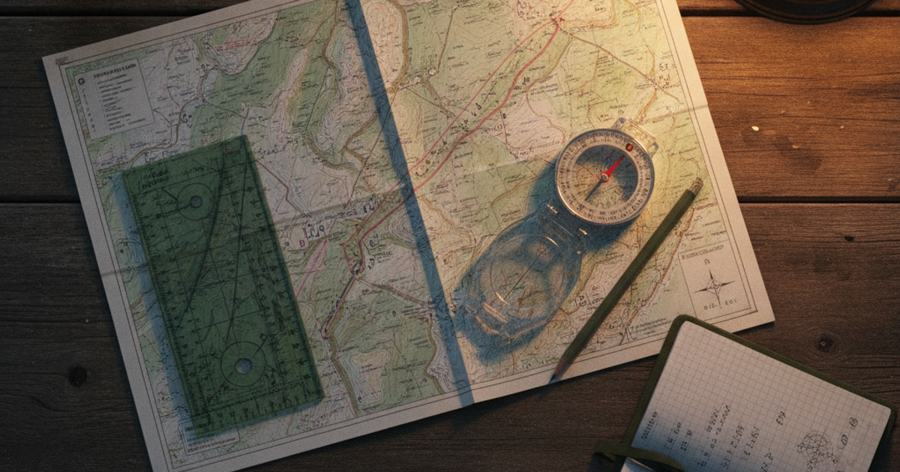
Not all compasses are created equal, and the right tool depends on your intended use. For general prepper navigation, a quality baseplate compass like the Suunto A-10 baseplate compass is the gold standard entry point — it's durable, accurate, and affordable enough to keep one in your bug out bag and one at home. The Suunto A-10 features a clear baseplate for map work, a rotating bezel with clear markings, and a cord loop for neck carry.
For longer-range precision bearings in the field — say, shooting a bearing to a distant mountain or building — consider the Silva Ranger CL mirror sighting compass. The mirror lid allows you to simultaneously read the bearing dial while sighting along the compass toward your target, dramatically improving long-range accuracy. It's the tool of choice for search and rescue teams, serious hikers, and preppers who want professional-grade precision without military pricing.
Regardless of which compass you choose, keep it away from metal objects, vehicle dashboards, and electronics when taking readings — magnetic interference causes false readings that can send you in completely the wrong direction.
Urban Navigation: Applying These Skills in a City Environment
Land navigation isn't just for wilderness survival. In an urban grid-down scenario — think extended blackout, civil unrest, or rapid evacuation — knowing how to navigate without GPS is directly applicable on city streets. Topo maps of urban areas show parks, waterways, elevation changes, and the boundary zones where cities transition to suburbs and rural land. These transition zones are often the most tactically important terrain during an evacuation.
In the city, treat major streets as your "handrails" — linear features you follow to stay on course. Use tall buildings, water towers, and antennas as your triangulation landmarks. Count blocks and intersections instead of pace count. Even apartment dwellers and suburban preppers should study topo maps of their area and identify multiple routes out of their neighborhood, across their city, and toward their bug-out destination.
Pair this knowledge with a solid understanding of escape and evasion tactics and you have a complete movement skill set for grid-down urban scenarios. The grey man approach — moving without attracting attention — is far easier when you know exactly where you're going and don't need to stop and stare at a phone screen.
Building Navigation Into Your Preparedness Practice
A skill you've only read about is not a skill you actually have. The U.S. Army's land navigation doctrine — documented in the US Army Map Reading and Land Navigation FM 3-25.26 — is one of the most comprehensive and freely available navigation references in existence. This field manual covers everything from basic map reading to advanced military grid reference systems and is written to be understood by enlisted recruits, not just officers. Keep a physical copy with your navigation kit.
Practice regularly. Take your compass and a topo map to a local park, nature preserve, or even a suburban green belt. Practice orienting your map, shooting bearings to landmarks, and walking on a heading. Run a simple resection exercise to confirm your position. Do this monthly, and navigation will become second nature rather than a fumbled emergency skill.
Consider enrolling in an orienteering course — a competitive sport built around exactly these skills, available in most metro areas. It's low-cost, social, and the fastest way to build real competence with a map and compass. Your local orienteering club won't advertise it as prepper training, but that's exactly what it is.
Frequently Asked Questions
How do I learn to read a topographic map if I've never done it before?
Start with a 1:24,000 USGS topo map of your local area — somewhere you already know well. Identify familiar hills, valleys, roads, and water features on the map and match them to the contour lines and symbols. This visual matching exercise builds intuition faster than any textbook. The US Army FM 3-25.26 is an excellent free reference, and the USGS also offers free tutorials at usgs.gov. Practice in the field with a real map and compass in a familiar area before you need these skills in an unfamiliar one.
What is the best compass for a prepper bug out bag?
For most preppers, a quality baseplate compass is the right answer — it's versatile, works directly with maps, and is easy to learn. The Suunto A-10 and Brunton TruArc 3 are both excellent budget-to-mid-range options. For serious or advanced navigators, the Silva Ranger CL (mirror sighting) adds precision for long-range bearings. Military-grade navigators or those preparing for night movement should consider the Cammenga tritium lensatic compass, which requires no light source whatsoever. Keep at least one compass in your bug out bag and one in your vehicle emergency kit.
Can I use land navigation skills in an urban environment when GPS fails?
Absolutely. While urban terrain lacks the dramatic elevation features of wilderness, topo maps still show waterways, parks, elevation transitions, and the urban-rural fringe — all critical for route planning during an evacuation. Compass bearings work identically in a city; you use tall buildings, bridges, and water towers as your landmarks instead of mountain peaks. The foundational skills — map orientation, bearing-taking, checkpoint navigation — are directly transferable. Every urban prepper should keep a topo map of their metro area in their vehicle emergency kit and know at least three exit routes from their neighborhood by compass and map alone.
Affiliate Disclosure: SHTFPlan.net participates in the Amazon Services LLC Associates Program. Some links are affiliate links — we may earn a small commission at no extra cost to you.