Butter, Cheese, and Yogurt: How to Preserve Fresh Milk Without Refrigeration When SHTF
Fresh milk spoils in hours without a fridge, but cultured and pressed dairy keeps for weeks to years. Here's how to turn raw milk into butter, cheese, and yogurt with simple tools.
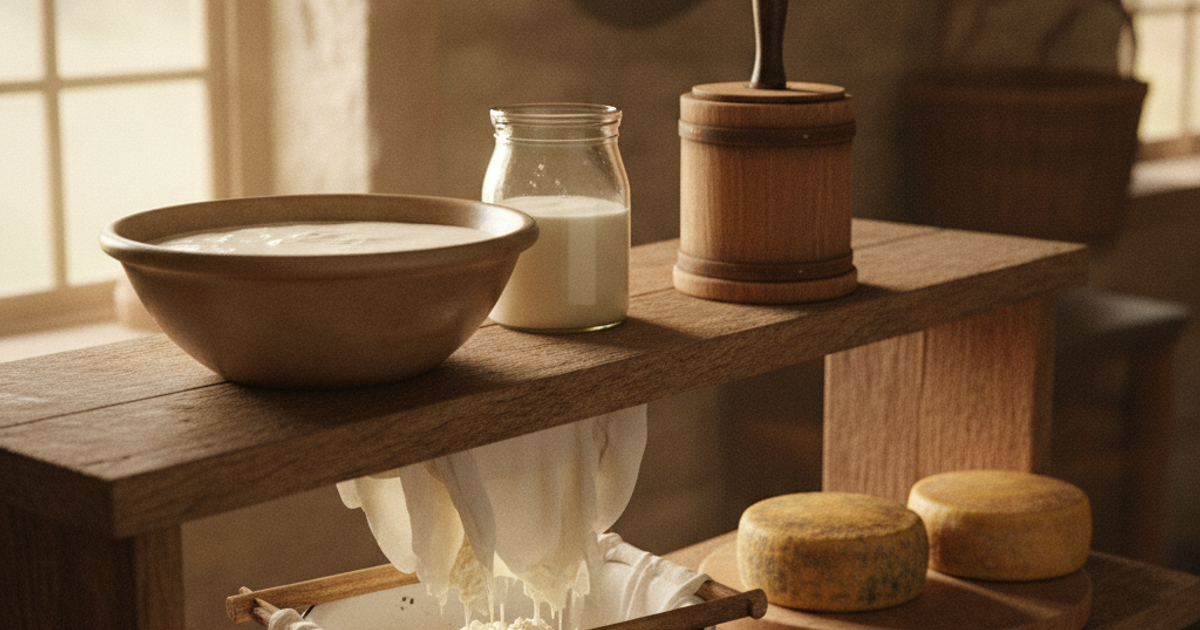
Milk is one of the most nutritionally dense foods a survivor can get their hands on — roughly 150 calories, 8 grams of complete protein, and a meaningful dose of calcium, vitamin A, and B12 per cup. It's also one of the most dangerously perishable. Raw milk is about 87 percent water and loaded with lactose, which makes it a near-perfect bacterial growth medium. At 40°F it will hold for seven to ten days. At 70°F in a grid-down kitchen, it begins souring within hours.
That's the problem every prepper with a dairy goat, a milk cow, or a neighbor who has one will face within a day of the refrigerator going dark. The solution is the same one humanity used for roughly 8,000 years before electricity: don't store milk — transform it. Butter, ghee, hard cheese, yogurt, and cultured buttermilk are all shelf-stable or semi-shelf-stable products derived from a liquid that spoils in a day. These skills matter whether you're on forty acres with a Jersey cow or in a third-floor apartment splitting a raw milk herd share with three other families.
What You'll Need
Tools
- Instant-read thermometer
- Glass hand-crank butter churn
- Stainless steel cheese press
- Heavy stainless stockpot and a long curd knife
Supplies
- Cheese making starter kit
- Rennet tablets
- Heirloom yogurt starter culture
- Ultra-fine cheesecloth
- Non-iodized canning or sea salt (10+ pounds)
- Cheese wax and a natural-bristle brush
How to Turn Fresh Cream Into Butter and Shelf-Stable Ghee
Butter is the fastest win. Let non-homogenized milk sit undisturbed for 12 to 24 hours in the coolest spot you have; the cream rises and can be skimmed with a ladle. A gallon of good Jersey or goat milk typically yields a pint to a quart of cream, which churns down to roughly 6 to 14 ounces of butter plus real buttermilk.
Churning is simple agitation at 55–60°F. A hand-crank glass churn does it in eight to twelve minutes with zero electricity — a critical advantage over a stand mixer when the grid is down. A quart mason jar shaken by hand works too; it just takes 20 minutes and a willing teenager.
Plain salted butter keeps two to three weeks in a cool pantry, longer in a crock under cold water. For true long-term storage, convert it to ghee. Simmer butter over low heat for 20–30 minutes until the water boils off and milk solids brown and sink, then strain through cheesecloth. Ghee is nearly 100 percent butterfat with less than 0.5 percent moisture, and it stores unrefrigerated for 12 months or more. It belongs right alongside the lard and tallow in your long-term fat stockpile.
Hard Cheese vs. Soft Cheese: Which Belongs in a Survival Pantry
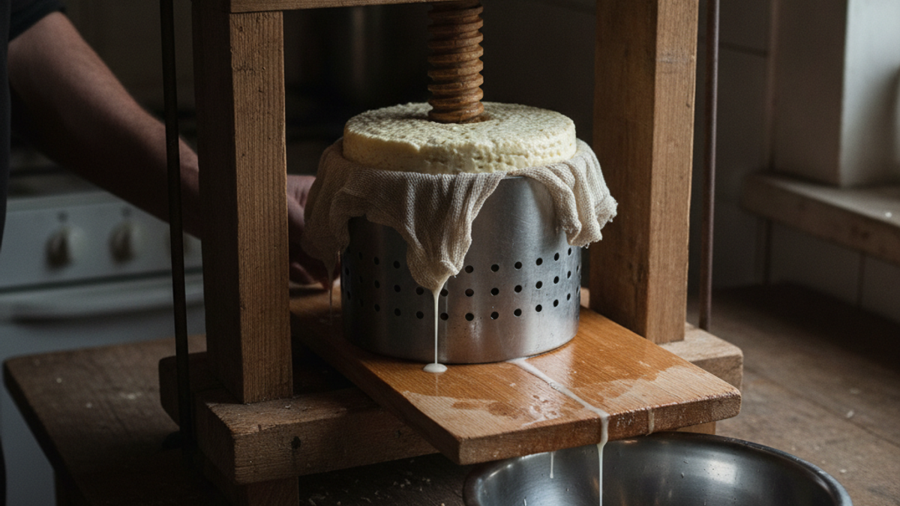
Roughly 10 pounds of milk yields 1 pound of hard cheese — a 10-to-1 concentration that converts a spoiling liquid into a dense, storable protein and fat source. Hard cheeses work because they combine three preservation barriers: acidity from culture, low moisture from pressing, and salt. A pressed, waxed cheddar stored at 50–55°F in a root cellar or cold storage space can age one to two years.
Pressing is where most beginners fail. Hand weight won't drive out enough whey, and residual moisture invites spoilage. A stainless steel cheese press delivering 20 to 50 pounds of consistent pressure is the difference between a cheese that ages and one that molds through.
Soft cheeses — queso fresco, chèvre, farmer's cheese, paneer — require no rennet, no press, and no aging. Heat milk to 180°F, add vinegar or lemon juice at a ratio of about 1 tablespoon per cup of milk, stir until curds separate, and drain through fine cheesecloth. These are same-week foods, not storage foods, but they're how you use surplus milk on a Tuesday. For everything else, a complete cheese making kit with cultures, calcium chloride, and wax is the single best entry point, and rennet tablets store for years in a cool, dry place.
Making Yogurt and Cultured Buttermilk Without Electricity
Yogurt is fermentation, and like lacto-fermenting vegetables, it works by letting beneficial organisms crowd out pathogens. Lactobacillus bulgaricus and Streptococcus thermophilus drop milk pH below 4.6 — the threshold below which Clostridium botulinum and most food-borne pathogens cannot multiply.
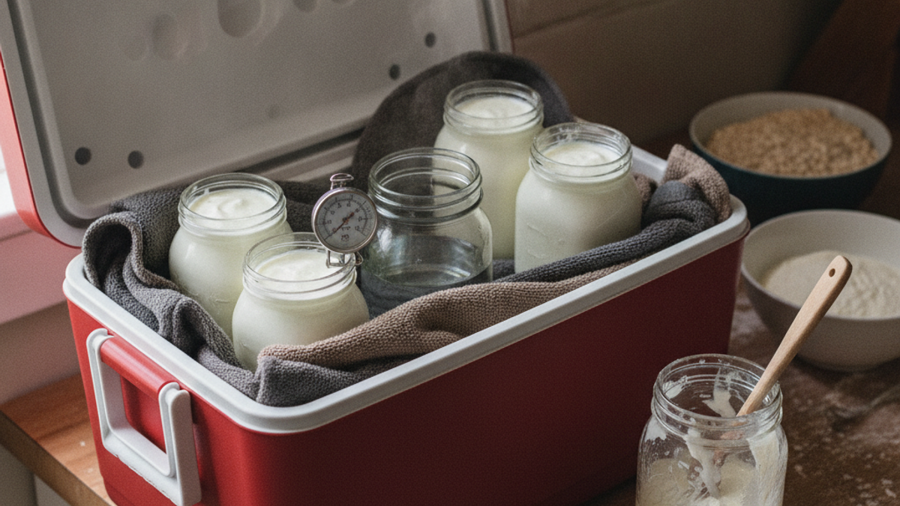
The challenge off-grid is holding 108–112°F for 6 to 12 hours. Practical solutions: a jar wrapped in a wool blanket inside a cooler with a hot water bottle, a Dutch oven on a woodstove hearth, or a vacuum thermos preheated with boiling water. An heirloom yogurt starter culture is worth seeking out over store-bought yogurt because heirloom strains can be re-cultured indefinitely — you save two tablespoons from each batch to seed the next, forever.
Mesophilic cultures are even easier. Cultured buttermilk and clabber ferment at ambient room temperature, 70–77°F, with no heat source at all. Leave a cup of cultured buttermilk in a jar of fresh milk on the counter for 12–24 hours and you have more buttermilk. This is the single most electricity-independent dairy process available, and it's fully viable in an apartment.
Dairy Food Safety When There's No Refrigeration
Be clear-eyed about risk. The CDC has estimated that unpasteurized dairy causes roughly 840 times more illnesses per serving than pasteurized products, with Listeria, Brucella, Campylobacter, and E. coli O157:H7 the primary threats. In a grid-down scenario with no antibiotics and no hospital, a dairy-borne infection can be fatal.
Mitigate it with three rules:
- Pasteurize when you can. 145°F held for 30 minutes, or 161°F for 15 seconds, then cool fast. This requires an accurate instant-read thermometer, not guesswork.
- Age raw-milk hard cheese at least 60 days at 35–45°F — the FDA standard, and the point at which acidity and salt have reduced pathogen viability.
- Sanitize everything. Boiling water on all utensils, cloths, and jars. Wild contamination, not the culture, is what ruins batches.
Keep a fallback too. Whole milk powder sealed in mylar with oxygen absorbers stores two to five years and reconstitutes into usable milk for cheese, yogurt, and cooking. For apartment preppers with no access to fresh milk, powder is the entire dairy plan.
Step-by-Step Instructions
Step 1: Sanitize all equipment with boiling water
Submerge pots, thermometers, knives, cheesecloth, and jars in boiling water for at least 60 seconds. Air-dry on a clean rack. Skipping this step is the leading cause of failed cultures and off-flavors, because wild yeasts and bacteria outcompete your starter.
Step 2: Heat and pasteurize the fresh milk
Bring milk slowly to 145°F in a stainless pot over indirect heat, stirring constantly, and hold it there for 30 minutes. Verify with an instant-read thermometer rather than relying on visual cues. Cool the milk rapidly in a sink or tub of cold water to prevent bacterial regrowth in the danger zone.
Step 3: Separate the cream and churn butter
Let cooled, non-homogenized milk settle 12–24 hours, then skim the cream layer. Churn at 55–60°F until butter grains break from the buttermilk — typically 8 to 12 minutes by hand crank. Reserve the buttermilk for drinking, baking, or as a mesophilic starter.
Step 4: Wash and salt the butter, or render it to ghee
Knead the butter under cold water repeatedly until the water runs clear; residual buttermilk is what turns butter rancid. Work in 1.5 to 2 percent salt by weight. For storage beyond three weeks, simmer the butter into ghee and strain out the milk solids.
Step 5: Culture and set the curd with rennet
Warm milk to 86–90°F, stir in your mesophilic culture, and ripen for 45–60 minutes. Dissolve rennet in cool unchlorinated water, stir it in with a gentle up-and-down motion for 30 seconds, then leave undisturbed for 45 minutes until you get a clean break when a knife is inserted and lifted.
Step 6: Cut, cook, and drain the curds
Cut the curd into half-inch cubes and let them rest five minutes. Slowly raise the temperature to about 102°F over 30 minutes, stirring gently, then drain the whey through cheesecloth. Save the whey — it's protein-rich livestock feed, bread liquid, and ricotta stock.
Step 7: Press, salt, and wax the cheese
Press at increasing pressure over 12 hours, flipping the wheel each stage. Air-dry the wheel for two to four days until a rind forms, then brush on two to three coats of cheese wax to block mold and moisture loss.
Step 8: Store and monitor the aging cheese
Hold waxed wheels at 50–55°F with 80–85 percent humidity in a basement, root cellar, or insulated cooler. Flip weekly and inspect for cracks in the wax. Label each wheel with the make date and track it in your stockpile inventory system.
Recommended Gear
Start with a cheese making kit and an instant-read thermometer — temperature precision drives everything in dairy work. Add reusable cheesecloth, a cheese press, and shelf-stable whole milk powder as insurance. Pair these skills with a reliable milk source — dairy goats produce two to four quarts daily on a fraction of a cow's feed. Browse more recommended survival gear to round out your food preservation setup.
Frequently Asked Questions
How long does homemade cheese last without refrigeration?
A properly pressed, salted, and waxed hard cheese stored at 50–55°F will keep 12 to 24 months and improve with age. Soft cheeses have no meaningful unrefrigerated shelf life — eat them within two to three days, or preserve them submerged in olive oil with herbs for several weeks.
Can I make cheese and yogurt in an apartment with no land?
Absolutely. Every process described here happens in a kitchen, not a barn. Source milk from a herd share, a farmers market, or use reconstituted whole milk powder. A cooler, a thermos, and a stockpot handle yogurt and soft cheese; a closet or the coolest corner of the apartment can age small waxed wheels in the winter months.
Is it safe to drink milk that has soured without refrigeration?
Raw milk that sours naturally through Lactobacillus becomes clabber and is traditionally consumed — it smells tangy and yogurt-like. Pasteurized milk that spoils is different: it putrefies from contaminating bacteria rather than culturing, and should be discarded. When in doubt, trust your nose. Bitter, foul, or rotten odors mean dump it.
Affiliate Disclosure: SHTFPlan.net participates in the Amazon Services LLC Associates Program. Some links are affiliate links — we may earn a small commission at no extra cost to you.