Cold Storage Survival: How to Keep Food and Medicine Safe When Refrigeration Fails
When the power goes out for days, your refrigerator becomes a liability. Here's how to keep food and critical medications safe without electricity.
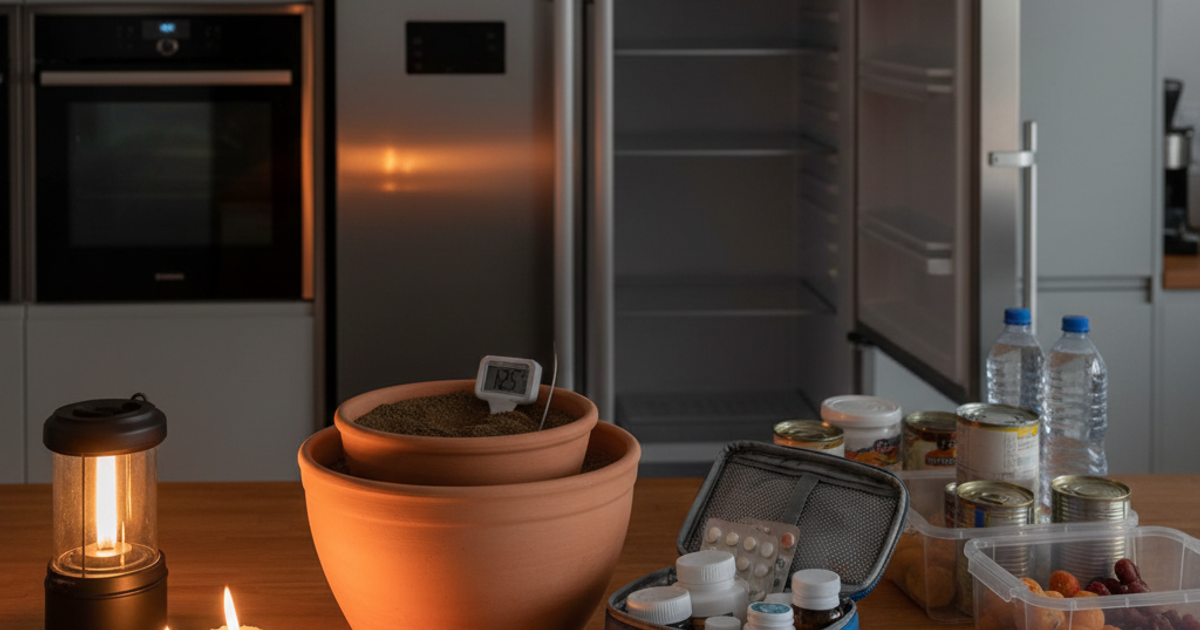
When the power goes out, most people think about candles, flashlights, and staying warm. What they don't think about — until it's too late — is the food quietly warming up in their refrigerator and the insulin sitting on the shelf losing potency by the hour. According to the USDA, a refrigerator will keep food safe for only about four hours after a power failure if the door remains closed. A full freezer buys you roughly 48 hours. After that, you're looking at spoilage, foodborne illness, and wasted money — or worse, a life-threatening situation if critical medications are involved.
For preppers who take emergency preparedness seriously, refrigeration failure isn't just an inconvenience — it's a supply chain collapse in miniature. Whether you live in an apartment in Chicago, a suburb of Phoenix, or a rural homestead in Montana, understanding passive cooling techniques, emergency cold storage methods, and medication safety protocols can protect your health, your emergency food storage, and potentially your life.
This guide covers practical, field-tested strategies for keeping perishables and medications cold without grid power — applicable whether you have a chest freezer in the garage or a mini-fridge in a studio apartment. If you're also thinking about what to eat first and what to throw away during a power outage, that decision tree starts long before the food gets warm.
What You'll Need
Tools
- Thermometer (refrigerator/freezer type and a probe thermometer)
- Insulated cooler or hard-sided chest
- Portable power station (for short-term appliance use)
Supplies
- Techni Ice reusable dry ice packs
- Igloo MaxCold ice block freeze packs
- Dry ice (for extended freezer backup)
- Mylar emergency blankets (for insulation wrapping)
- Waterproof labels and permanent marker
Understanding Why Passive Cooling Works — and When It Doesn't
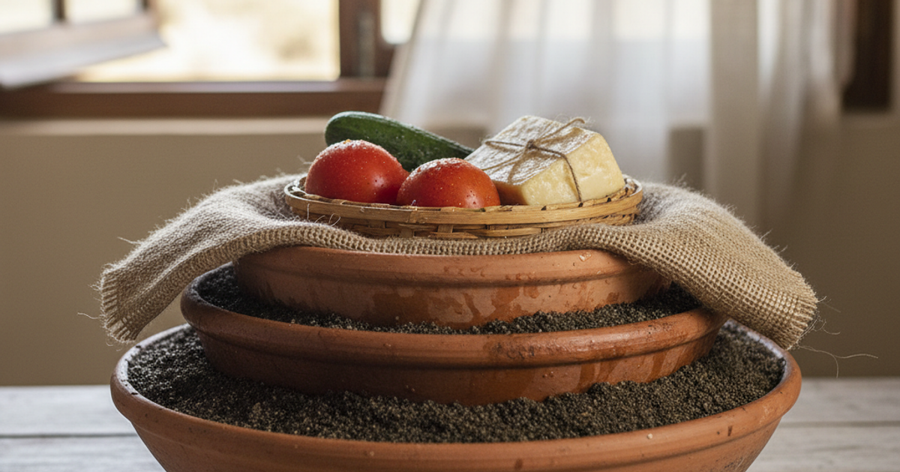
Passive cooling is the practice of maintaining low temperatures without mechanical refrigeration. It relies on thermal mass, insulation, evaporation, and the physics of heat transfer. Done correctly, it can extend the safe storage life of perishables by days or even weeks. Done poorly, it creates a false sense of security that gets people sick.
The core principle is simple: cold doesn't move into food — heat moves out. Your job is to slow that heat transfer as much as possible. The better your insulation, the denser your thermal mass, and the less you open the container, the longer your food stays safe. This is the same physics behind a well-built root cellar and a high-end YETI Tundra 45 hard cooler — the latter can maintain ice for up to a week in 90°F heat thanks to 2–3 inches of pressure-injected foam insulation.
Where passive cooling fails is in extreme ambient heat, in open or poorly insulated containers, and when users constantly access the stored items. Discipline matters as much as equipment.
Cooler-Based Cold Storage: The Urban and Suburban Prepper's Best Friend
For most city and suburban preppers, heavy-duty coolers are the most practical emergency cold storage solution. They require no installation, no land, and no special skills. The key is choosing the right cooler and pre-loading it correctly before an emergency strikes.
For everyday emergency preparedness, the Engel 19 quart portable cooler chest is an excellent compact option. Engel coolers use roto-molded construction and high-density insulation that rivals products costing twice as much — making them ideal for apartment preppers who need performance without bulk. For larger families or extended outages, the Coleman 54 quart steel belted cooler offers generous capacity at an accessible price point and has been a trusted workhorse in emergency preparedness for decades.
Maximize cooler performance by following these rules:
- Pre-chill the cooler with a sacrificial bag of ice for 30 minutes before loading real food
- Pack strategically — place items you'll need least at the bottom, and most-needed items on top to limit opening time
- Use ice blocks, not cubed ice — blocks melt far more slowly and keep the cooler drier
- Fill empty space with crumpled newspaper or towels — air pockets accelerate heat transfer
- Keep the cooler out of direct sunlight and off hot surfaces like pavement or concrete
- Keep a dedicated thermometer inside — food must stay at or below 40°F to remain safe
Passive Cooling Techniques That Work Without Ice
Ice is a consumable resource. Once it's gone, it's gone — unless you have a way to make more. These techniques extend your cooling capability without relying on replenishment.
The Zeer Pot (Pot-in-Pot Evaporative Cooler)
Used for thousands of years across Africa and the Middle East, the Zeer pot uses evaporative cooling to reduce internal temperatures by as much as 30–40°F below ambient in dry climates. You place a smaller clay or metal pot inside a larger one, fill the gap with wet sand, cover with a wet cloth, and set it in a breeze or in front of a fan. As the water evaporates, it draws heat away from the inner chamber. Limitation: This method is far less effective in humid climates and won't reach refrigerator temperatures in heat above 95°F.
Root Cellars and In-Ground Storage
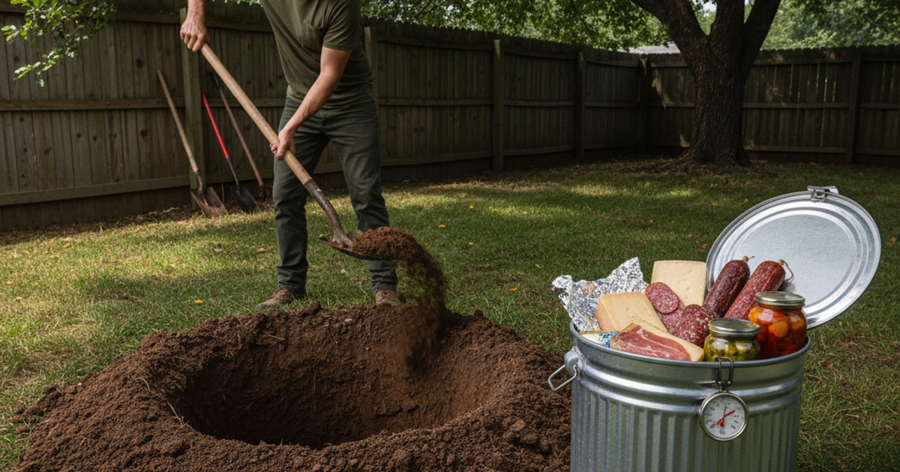
For rural preppers and suburban homeowners with yard access, buried or semi-buried storage exploits the earth's natural thermal mass. Ground temperature at 4–6 feet below the surface stays between 45–55°F year-round in most of the continental United States — cool enough to slow spoilage significantly. A DIY root cellar doesn't have to be elaborate; even a buried 55-gallon drum with a sealed lid provides useful passive cold storage for root vegetables, canned goods, and some dairy. Apartment dwellers, unfortunately, don't have this option — but they can use north-facing windowsills, basement storage areas, or interior closets near exterior walls during winter months to approximate cooler temperatures.
Thermal Mass Stacking
Whether it's a cooler, a pantry, or a refrigerator without power, surrounding your storage container with thermal mass slows temperature rise. Pack tightly with frozen water bottles, frozen gel packs, or even frozen containers of sand. The more frozen mass you include, the longer everything stays cold. This is why a full freezer outperforms an empty one — density is your ally.
Freeze Pack Strategy: Making Cold Last Longer
Reusable freeze packs are one of the most valuable and underrated items in a prepper's cold storage arsenal. Unlike ice, they don't create meltwater that soaks food packaging. Unlike dry ice, they don't require special handling or create carbon dioxide buildup risks.
Techni Ice reusable dry ice packs are a standout option — they use a non-toxic polymer that stays colder longer than conventional gel packs and can be refrozen and reused hundreds of times, making them a smart long-term investment for any serious prepper. For general food storage in larger coolers, Igloo MaxCold ice block freeze packs in large format provide excellent thermal mass and long melt times, extending safe food storage by a full day or more compared to standard gel packs.
Pre-freeze as many packs as possible before a predicted outage (severe weather warnings, hurricane prep, rolling blackout notices). Keep a dedicated set in your freezer at all times as part of your SHTF readiness — they serve double duty by helping your freezer maintain temperature during brief outages even before you need them for emergency cold storage.
Medication Safety During Refrigeration Failure — A Critical Priority
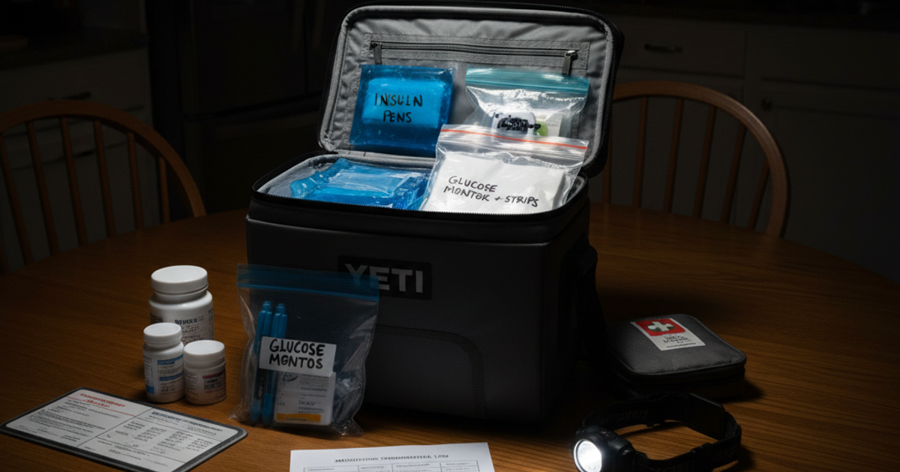
Food spoilage is costly and miserable. Medication failure can be deadly. Insulin, certain biologics, some liquid antibiotics, eye drops, and vaccines all require cold-chain storage to maintain efficacy. According to the FDA, insulin exposed to temperatures above 86°F for extended periods will degrade significantly, potentially rendering it ineffective — a life-threatening outcome for a diabetic in a grid-down scenario.
For insulin-dependent preppers, the Frio insulin cooling wallet is an essential piece of kit that belongs in every diabetic's emergency bag. It uses evaporative technology — activated simply by soaking in cold water for 5–10 minutes — to keep insulin at safe temperatures (between 18–26°C / 64–79°F) for up to 45 hours even in ambient temperatures of 100°F. No electricity, no ice, no batteries. It's one of the few truly off-grid medication cooling solutions that works reliably in the field.
For a broader range of temperature-sensitive medications, the BioMedical Life Systems Cryopak medication cooling case provides a portable, insulated solution designed specifically for medical supplies. It maintains safe temperatures for several hours and is compact enough for a go-bag or bug-out bag. If you're building out your emergency medical supplies, check out our guide on medication stockpiling for long-term emergencies and pair it with a solid cold-chain strategy.
Key rules for medication cold storage during an outage:
- Know your medication's exact temperature requirements — consult the package insert or your pharmacist before an emergency
- Never refreeze insulin that has already been thawed
- Keep a medication log with storage temperatures and timestamps during an outage
- When in doubt, contact a pharmacist or the manufacturer — many medications retain partial efficacy outside ideal conditions and decisions should be made on a case-by-case basis
- Consider backup power solutions for medical devices if you rely on powered refrigeration for life-critical medications
Using Portable Power to Bridge the Gap
Passive cooling buys time, but if you have a portable power station, you can run a small refrigerator or medical-grade cooler for hours or days after grid failure. The Goal Zero Yeti 1000 portable power station delivers 1,002 watt-hours of capacity — enough to run a small 12V refrigerator for 24–40 hours or a standard dorm-size fridge for 10–15 hours depending on settings. Pair it with a solar panel for continuous charging during extended outages, and you have a serious off-grid refrigeration solution that works in apartments, RVs, or rural homesteads alike. For more on building a solar power backup system, see our prepper's guide to solar panel selection.
Step-by-Step Instructions
Step 1: Audit Your Cold-Dependent Supplies Before an Emergency Hits
Walk through your refrigerator, freezer, and medicine cabinet and make a written list of every item that requires cold storage, including its safe temperature range and how long it can safely tolerate warmer conditions. Pay particular attention to medications — note whether they require continuous refrigeration or only until first use. This audit should be part of your standard emergency preparedness review and updated whenever your medications or food stockpile changes.
Step 2: Freeze Water Bottles and Gel Packs to Maximum Capacity
Fill any available freezer space with water bottles, sealed containers of water, and reusable gel packs. During normal operations, these maintain freezer efficiency. During an outage, they serve as a thermal reserve that slows temperature rise dramatically. A fully packed freezer can maintain safe temperatures nearly twice as long as a half-empty one — aim for at least 75% capacity at all times as a baseline preparedness habit.
Step 3: Deploy Your Cooler Immediately When Power Fails
Don't wait to see if power comes back. The moment you lose power, transfer your highest-priority perishables — medications first, then high-value proteins, then dairy — into a pre-chilled cooler loaded with frozen gel packs or ice blocks. Keep the refrigerator and freezer doors closed as much as possible to preserve residual cold for lower-priority items.
Step 4: Organize and Prioritize Items by Consumption Timeline
Place items you'll consume within the next 12–24 hours on top of the cooler's contents, and items needing longer storage at the bottom surrounded by the most thermal mass. Label everything with the date and time it was transferred. This discipline prevents repeated opening of the cooler and ensures you eat the most vulnerable items first — reducing waste and health risk simultaneously.
Step 5: Activate Medication-Specific Cooling Solutions
Transfer temperature-sensitive medications to a dedicated cooling device immediately. Activate your Frio wallet by soaking it in cold water, load the Cryopak case with appropriate cooling inserts, or place medications in a small insulated pouch with gel packs. Keep medication cooling separate from food cooling — this prevents cross-contamination and ensures you know exactly what temperature your medications have been exposed to.
Step 6: Monitor Temperatures with a Thermometer Every Two Hours
Place a calibrated thermometer inside your cooler and check it every two hours during the first day of an outage. Food must remain at or below 40°F to be safe. Medications must remain within their specific temperature range. Log each reading with a timestamp. If food temperatures rise above 40°F for more than two hours cumulative, apply the USDA's rule: "When in doubt, throw it out."
Step 7: Implement Passive Cooling Techniques to Extend Duration
Move coolers to the coolest location in your home — a north-facing interior room, a basement, or a below-grade space. Wrap coolers in mylar emergency blankets to reflect radiant heat. Cover with blankets or sleeping bags for additional insulation. If using evaporative cooling methods like the Zeer pot, position them in a breezy location and re-wet the outer cloth every few hours to maintain evaporation.
Step 8: Establish a Consumption and Resupply Plan for Extended Outages
If the outage extends beyond 48 hours, shift your consumption strategy toward shelf-stable emergency food storage. Cook and eat perishables that are approaching temperature limits before they spoil — prioritize proteins and dairy. Replenish ice or freeze packs from natural sources (winter snow, a nearby freezer at a neighbor's or shelter) or by running your portable power station in cycles to refreeze gel packs. Know where your nearest ice source is before you need it.
Recommended Gear
Building a complete cold storage system for emergencies doesn't require a huge investment. Start with a high-performance cooler — the YETI Tundra 45 hard cooler is a premium choice that will outlast almost any emergency scenario, while the Coleman 54 quart steel belted cooler offers exceptional value for budget-conscious preppers. Pair either with Igloo MaxCold ice block freeze packs for extended cold retention, and keep the Goal Zero Yeti 1000 portable power station charged and ready to run a small refrigerator or charge medical devices when passive methods aren't enough. For compact everyday preparedness storage, the Engel 19 quart portable cooler chest packs serious insulation performance into an apartment-friendly footprint. Diabetics and those dependent on injectable medications should never be without a Frio insulin cooling wallet, and anyone managing a broader medication stockpile should invest in a BioMedical Life Systems Cryopak medication cooling case as part of their medical preparedness kit. You can find additional vetted gear recommendations on our recommended survival gear page.
Frequently Asked Questions
How long can food stay safe in the refrigerator during a power outage?
According to the USDA, a refrigerator will keep food safe for approximately four hours after losing power, provided the door remains closed. A full freezer maintains safe temperatures for about 48 hours; a half-full freezer for roughly 24 hours. After these windows, perishable foods like meat, poultry, dairy, and cooked leftovers should be considered unsafe if they've been above 40°F for more than two hours total. Shelf-stable items — canned goods, dry pasta, rice, freeze-dried emergency food — are unaffected by power loss and should form the backbone of any serious prepper's food supply.
How do you keep insulin cold without electricity during a power outage?
The most practical no-electricity solution for insulin storage is an evaporative cooling wallet like the Frio, which keeps insulin within safe temperature ranges for 45+ hours using only water and evaporation. For longer-term cold storage, a well-insulated hard cooler loaded with gel packs or ice can maintain safe temperatures for several days with minimal ice replenishment. It's important to know that most modern insulin formulations can be kept at room temperature (below 77–86°F depending on type) for 28 days after opening — check your specific medication's package insert and consult your physician about your outage protocol in advance, not during the emergency.
What passive cooling methods work best in an apartment during a power outage?
Apartment preppers have fewer options than rural homesteaders but can still extend cold storage significantly. A high-quality hard-sided cooler loaded with pre-frozen gel packs and kept in the coolest room (usually interior rooms away from windows, or north-facing spaces) is the most effective solution. Wrapping the cooler in blankets or mylar emergency blankets reduces radiant heat gain. Minimize door openings ruthlessly — every opening raises interior temperature by 2–5°F. If the building has a basement or parking garage level, these areas typically run 10–15°F cooler than living spaces and can dramatically extend the effective life of an improvised cold storage setup.
Affiliate Disclosure: SHTFPlan.net participates in the Amazon Services LLC Associates Program. Some links are affiliate links — we may earn a small commission at no extra cost to you.