Improvised Stretchers and Casualty Carries: How to Move an Injured Person When No Ambulance Is Coming
When EMS is gone and someone is hurt, moving them wrong can kill them. Learn the carries, drags, and stretchers that could save a life.
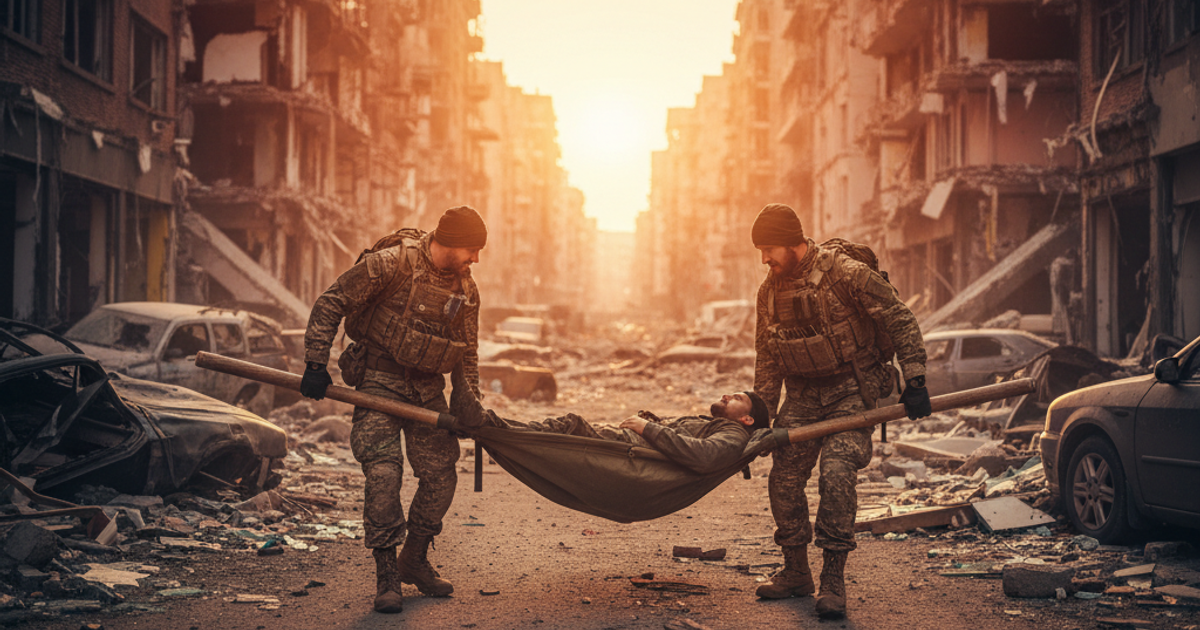
When disaster strikes — a building collapse, a vehicle accident on a flooded road, a mass casualty event during civil unrest — the ambulance may not come. Response times in major urban disasters routinely stretch to 30 minutes or more, and in true grid-down or SHTF scenarios, professional emergency medical transport may simply not exist. According to FEMA, communities should be prepared to be self-sufficient for a minimum of 72 hours after a major disaster, but real-world events like Hurricane Katrina demonstrated that gap can stretch to weeks. Knowing how to move an injured person safely — without a gurney, without paramedics, and without the luxury of waiting — is a core survival skill that belongs in every prepper's toolkit, whether you live in a high-rise apartment, a suburban home, or a rural homestead miles from the nearest road.
This skill pairs directly with other critical emergency preparedness competencies. If you haven't already built out your trauma response capabilities, start with our guide on how to build a trauma kit that keeps your family alive when EMS is gone, and review improvised splints, slings, and fracture care for when there's no ER. Moving an injured person without first stabilizing serious injuries can turn a survivable wound into a fatal one — so get your medical fundamentals in order before you attempt any casualty carry.
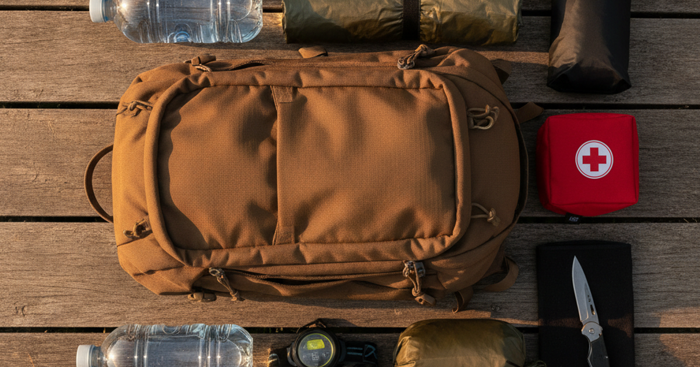
What You'll Need
Tools
- Collapsible trekking poles (serve as stretcher poles in a pinch)
- Fixed-blade or folding knife (to cut clothing, cordage, or improvise materials)
Supplies
- Paracord 550 (100 feet) — for lashing poles and securing casualties to improvised stretchers
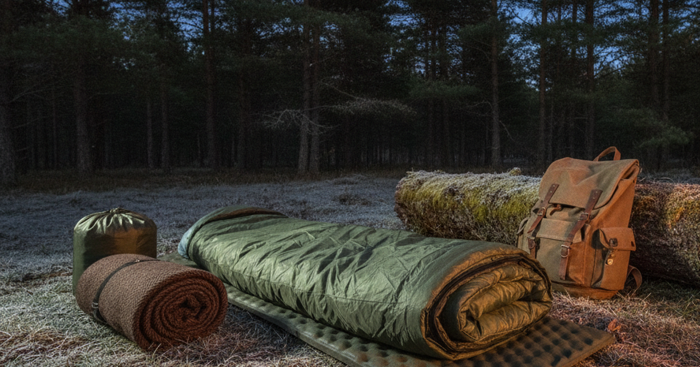
- Heavy-duty reusable emergency blanket — doubles as a stretcher body
- Military-grade tourniquet — hemorrhage control before any movement attempt
- Trauma kit / first responder bag — comprehensive medical supplies for casualty stabilization
Understanding When and Why You Move a Casualty
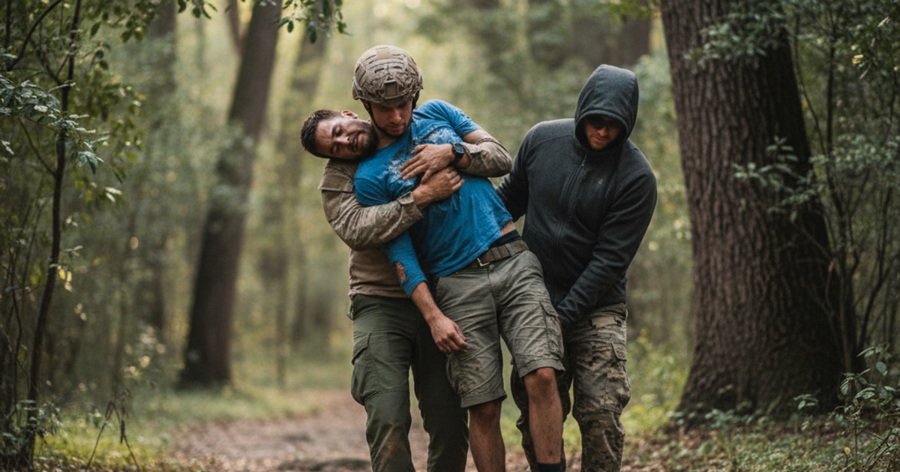
The first rule of casualty movement in emergency medicine is simple: don't move what you don't have to. Movement always carries risk — aggravating spinal injuries, worsening fractures, causing shock to deepen. However, there are clear situations where movement is non-negotiable: the casualty is in immediate danger from fire, rising water, structural collapse, or active threat. In a SHTF scenario, you may also be forced to relocate an injured person simply because the location itself is no longer defensible or survivable.
Before you move anyone, conduct a rapid threat assessment using your situational awareness skills — identify secondary hazards, assess the number of rescuers available, and determine the shortest safe route to a secure location. Every decision made before the first lift directly affects whether the casualty survives the journey.
Hemorrhage Control Before Movement
No movement should occur before life-threatening bleeding is addressed. A person losing blood rapidly will not survive transport regardless of how skillfully you carry them. A Recon Medical flat-fold military tourniquet is compact enough to carry in a bug out bag, a cargo pocket, or a vehicle emergency kit — and it can be the difference between a casualty arriving at your safe point alive or dead. Apply tourniquets high and tight on limb bleeds before any carry. Pack wound chest and abdominal wounds with gauze and secure them before movement. The MyMedic trauma kit first responder bag contains the hemostatic gauze, chest seals, and pressure dressings needed to stabilize a casualty before transport — this bag or its equivalent should be part of every serious prepper's emergency preparedness loadout.
One-Person Carry Techniques for Urban Survival Situations
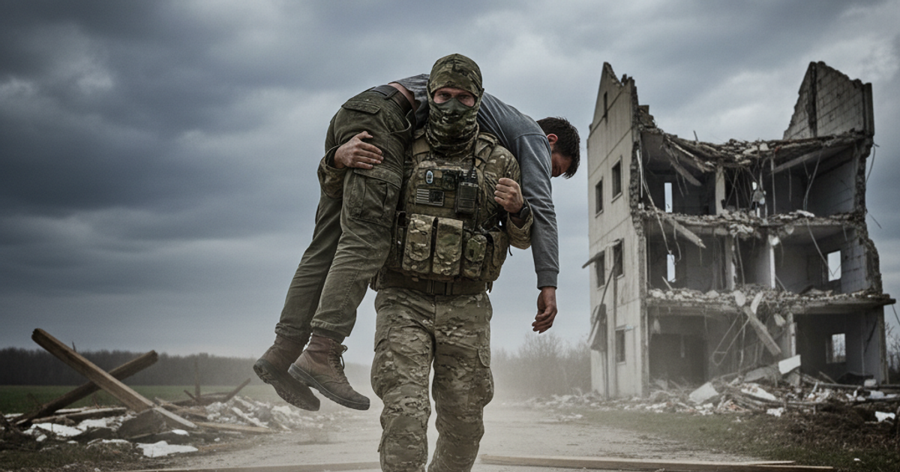
When you're alone and a second rescuer isn't available, your options are physically demanding but achievable. These are the most practical techniques for solo carries:
- Fireman's Carry: Roll the casualty face-down, pull them to kneeling, drape their torso over your shoulder with one arm between their legs, and stand. Effective for short distances with an unconscious or semi-conscious victim. Not appropriate for suspected spinal or hip fractures.
- Pack Strap Carry: Stand the casualty with their back to you, reach under their arms and cross their arms over their chest. Grasp their wrists and lean forward, taking their weight on your back. Better for longer distances than the fireman's carry.
- Drag: The fastest extraction technique. Grasp under the armpits and drag backward, keeping the head supported. On smooth urban floors, a jacket or tarp under the casualty significantly reduces friction. In tight apartment stairwells or hallways, this is often your only real option.
- Blanket Drag: Place the casualty on a heavy blanket, coat, or sleeping bag and drag it along the floor. Distributes weight better than an armpit drag and provides some protection. The SOL heavy-duty reusable emergency blanket is tear-resistant enough to handle significant weight and is compact enough to carry in a jacket pocket or the outer pocket of a bug out bag — making it an exceptional dual-purpose survival gear item.
Two-Person Casualty Carries for Suburban and Rural Rescuers
When a second rescuer is available, your options expand considerably and the risk to the casualty decreases. Two-person carries maintain spinal alignment better, reduce fatigue, and enable faster movement over longer distances.
- Two-Person Arm Carry: Both rescuers face the same direction and link arms beneath the casualty's back and knees. Best for alert casualties who can assist by holding on.
- Two-Person Fore-and-Aft Carry: One rescuer supports the head and upper torso, one supports the legs. Critical: the head end rescuer must call all movements. This is the standard for suspected spinal injury movement when a rigid stretcher isn't available.
- Chair Carry: Using an actual chair — or creating a "seat" with linked arms — to transport a seated casualty down stairs. Excellent for urban evacuation in apartment buildings when elevators are out.
How to Build an Improvised Stretcher from Available Materials
A stretcher improvised from field materials can dramatically reduce injury risk during transport. The key requirement is two rigid poles and a flexible body that will hold the casualty's weight without tearing.
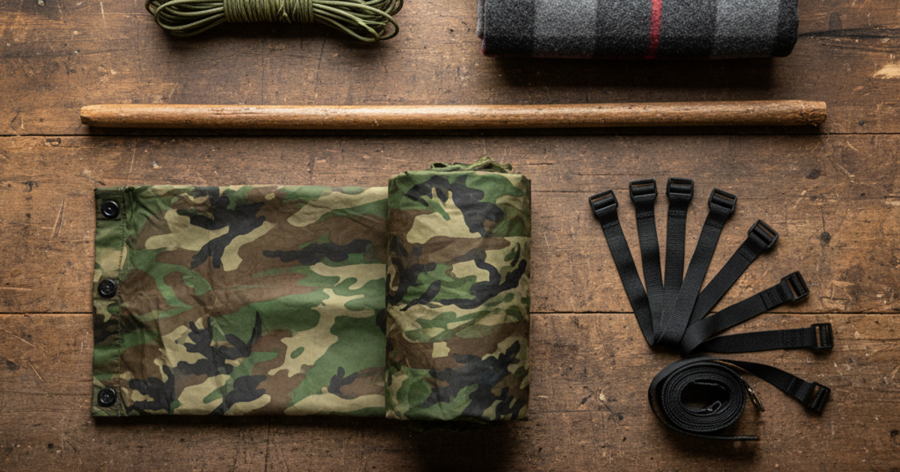
Pole-and-Jacket Stretcher: Thread two long poles (broomsticks, lumber, tree branches, PVC pipe sections) through the sleeves of two or three jackets. Button or zip the jackets closed. The jacket bodies form the stretcher bed. Test by loading weight before placing a casualty on it. Titan 550 paracord can be used to reinforce the poles at the jacket-sleeve ends, preventing slippage — 550-pound test paracord won't fail under a casualty's weight if lashed correctly.
Tarp Stretcher: Lay a tarp flat. Place one pole one-third from one edge, fold the tarp over the pole, place the second pole parallel to the first, and fold the remaining third of the tarp over both poles. The casualty's weight locks the tarp in place — no lashing required. This is one of the fastest improvised stretcher builds available and works in both urban (using plastic sheeting or a moving blanket) and rural settings (using a canvas tarp or heavy woven material).
Collapsible trekking poles like the Gerber Downrange folding trekking poles are worth having in your bug out bag specifically because they serve triple duty — walking support on rough terrain, splint material, and stretcher pole material when lashed together with a tarp or jacket configuration.
For serious preppers and group survival situations, a dedicated Blue Force Gear emergency litter military stretcher is worth the investment. Military-grade litters fold compactly, support 600+ pounds, and can be deployed in seconds — making them far superior to improvised alternatives when you have the option to pre-position one as part of your emergency preparedness infrastructure at home, in a vehicle, or at a group retreat.
For extraction through debris, confined spaces, or scenarios where a rigid stretcher won't fit, the TACMED SKEDCO flexible rescue stretcher is the professional standard. The SKED is used by military medics, search and rescue teams, and fire departments precisely because it wraps around the casualty and can be dragged or lowered through spaces where a rigid stretcher is useless. Urban preppers dealing with potential building collapse or stairwell evacuation scenarios should give this serious consideration as part of their survival gear.
When femur fractures are suspected, movement without traction significantly worsens outcomes — a mid-shaft femur fracture can cause a liter or more of internal blood loss. The SLISHMAN traction splint is a compact, field-deployable traction device that stabilizes femur fractures before movement and is a critical addition to any serious first responder or prepper trauma kit.
Step-by-Step Instructions
Step 1: Assess the Scene and Identify Hazards Before Approaching
Use situational awareness to scan for ongoing threats — fire, structural instability, hostile actors, hazardous materials. A second casualty created by a rescuer rushing into an unsafe scene helps no one. Identify your extraction route before you touch the injured person.
Step 2: Control Life-Threatening Hemorrhage Before Any Movement
Apply a tourniquet to any arterial limb bleed immediately — high and tight, above the wound. Pack open wounds with hemostatic gauze and apply pressure. Seal penetrating chest wounds with a chest seal or improvised occlusive dressing. No carry should begin until bleeding is controlled.
Step 3: Assess the Casualty for Spinal and Fracture Injuries
Ask the casualty if they can feel their hands and feet. Look for deformity, swelling, or unnatural angulation in limbs. If spinal injury is suspected, maintain in-line stabilization of the head throughout all movement. Splint suspected fractures using improvised materials before lifting.
Step 4: Select the Appropriate Carry Technique for Your Situation
Choose based on available personnel, distance to safety, terrain, and casualty injuries. Single rescuers in urban environments with short distances should use a drag. Two or more rescuers with longer distances should use a fore-and-aft two-person carry or construct an improvised stretcher. Always match the technique to the specific constraints of your environment.
Step 5: Build and Test Your Improvised Stretcher Before Loading the Casualty
Construct your pole-and-jacket or tarp stretcher, then load it with equivalent weight (a loaded pack, a second person) and carry it 10–15 feet to verify integrity before placing an injured person on it. A stretcher failure mid-carry can be catastrophic for a casualty with spinal or fracture injuries.
Step 6: Load the Casualty Using a Three-Person Log Roll or Scoop Technique
With multiple rescuers, use a coordinated log roll — one person stabilizes the head and calls movements, others maintain spinal alignment — to roll the casualty onto the stretcher as a single rigid unit. With two people, use a scoop technique, lifting from head and feet simultaneously on a count of three.
Step 7: Secure the Casualty to the Stretcher Before Moving
Use paracord, belts, torn strips of clothing, or webbing to loosely secure the casualty's torso and legs to the stretcher. The goal is to prevent rolling or sliding, not to restrict breathing. Ensure the casualty's airway is open and that their head is supported throughout transport.
Step 8: Move as a Team Using Clear, Coordinated Commands
The rescuer at the head calls all movements: "Ready? Lift on three — one, two, three." Maintain a slow, steady pace. Communicate obstacles ahead. Rest every 50–100 yards in demanding terrain and rotate positions to prevent rescuer fatigue and injury. A casualty delivered 200 yards away safely is worth far more than a fast carry that ends with a dropped stretcher.
Recommended Gear for Casualty Movement and Trauma Response
Beyond the items already discussed, building a comprehensive trauma and casualty movement capability means investing in quality gear before you need it. For those serious about off grid living, group preparedness, or rural homesteading far from emergency services, a military-grade emergency litter stored in your vehicle or retreat is non-negotiable. Pair it with a flexible SKEDCO-style rescue stretcher for confined space extractions and a complete trauma kit for a layered, capable emergency response posture. Visit our Recommended Survival Gear & Equipment page for additional vetted options. For comprehensive medical preparedness guidance, our article on wilderness medicine for treating life-threatening injuries when help is never coming is essential reading for any serious prepper.
Frequently Asked Questions
Can I move someone with a suspected spinal injury in an emergency?
Yes — when leaving them in place means certain death from fire, flooding, or other immediate threat, movement is justified. The goal is to minimize spinal motion as much as possible by maintaining in-line stabilization throughout the move. Use a two-person fore-and-aft carry with one rescuer dedicated entirely to head control, or a log roll onto a flat stretcher surface. Spinal precautions matter, but they are always secondary to removing a casualty from an immediately life-threatening environment.
What household items make the best improvised stretcher materials?
The most effective improvised stretcher materials combine rigidity (for poles) with weight-bearing flexibility (for the body). Long poles can be sourced from curtain rods, broom handles, ladder sections, lumber, sturdy umbrellas lashed together, or PVC pipe. The stretcher body can be made from sleeping bags, coats, canvas tarps, moving blankets, bedsheets (doubled and tripled), cargo nets, or rugs. In urban apartments, a solid interior door removed from its hinges is one of the best rigid casualty transport surfaces available.
How far can one person realistically carry an injured adult in a SHTF scenario?
An average adult carrying another adult of similar size can manage roughly 50–100 yards before needing rest in demanding conditions. With a proper fireman's carry or pack strap carry, distances of 200–300 yards are achievable with brief rest stops. Dragging a casualty is significantly less fatiguing and covers more distance per effort, making it the preferred solo technique for anything beyond immediate extraction from a threat zone. Physical fitness, terrain, heat, and the rescuer's own injury status all dramatically affect these numbers — which is why group preparedness and building a community survival team matters so much in a real SHTF scenario.
Affiliate Disclosure: SHTFPlan.net participates in the Amazon Services LLC Associates Program. Some links are affiliate links — we may earn a small commission at no extra cost to you.