Pressure, Pulse, and Poison: How to Recognize and Treat a Snakebite When Emergency Services Are Hours Away
A snakebite miles from help can turn fatal fast. Here's what actually works — and the dangerous myths that could get you killed.
According to the American Association of Poison Control Centers, roughly 7,000–8,000 people are bitten by venomous snakes in the United States each year. Deaths are rare — fewer than five annually — but that statistic assumes rapid access to antivenom in a modern emergency room. In a grid-down scenario, a remote bug-out location, or simply a rural area where the nearest trauma center is two hours away, a venomous snakebite becomes a life-threatening emergency with a very narrow treatment window. Every prepper, whether you're an apartment dweller who hikes on weekends or a homesteader working timber every day, needs to understand how to respond when a snake strikes and 911 isn't an option.
This guide covers identification, immediate field response, long-term monitoring, and the hard truth about what works — and what doesn't — when professional care is out of reach. For broader wilderness medical preparedness, our article on Wilderness Medicine for Preppers: How to Treat Life-Threatening Injuries When Help Is Never Coming provides essential context, and if snakebite is part of a larger toxic exposure concern in a SHTF environment, see our guide on Poison Control When SHTF: How to Identify and Treat Toxic Exposures Without Emergency Services.
What You'll Need
Tools
- Sawyer Extractor pump snakebite kit
- DeLorme Garmin inReach satellite communicator
- Sharpie permanent marker (medical use)
Supplies
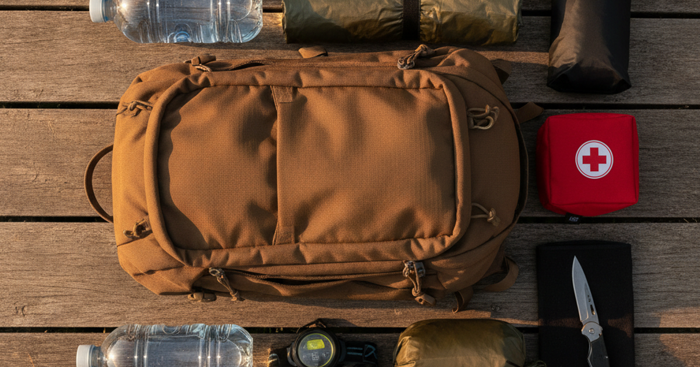
- Adventure Medical Kits wilderness first aid kit
- Coghlan's elastic bandage pressure immobilization wrap
- Benadryl diphenhydramine allergy tablets
- Wilderness Medical Society wilderness medicine field guide
Know Your Enemy: Identifying Venomous Snakes in North America
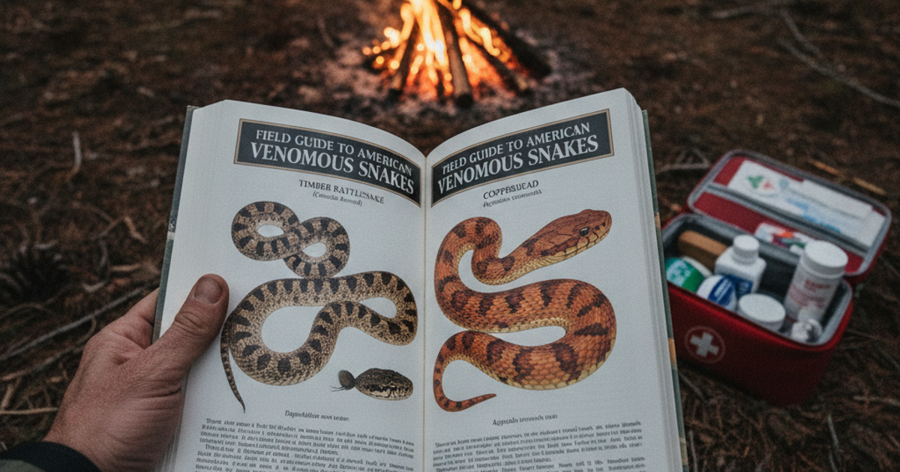
The United States is home to two primary families of venomous snakes: pit vipers (rattlesnakes, copperheads, and cottonmouths/water moccasins) and coral snakes. Pit vipers account for the overwhelming majority of bites. Knowing which snake you're dealing with shapes your treatment priorities.
Pit Viper Identification
Pit vipers are named for the heat-sensing pit located between the eye and nostril on each side of the head. Key visual identifiers include a broad, triangular head distinctly wider than the neck, vertically elliptical (cat-like) pupils, and a single row of scales beneath the tail (as opposed to the double row found on most non-venomous species). Rattlesnakes add the obvious auditory warning. Copperheads display distinctive hourglass banding in copper and brown tones. Cottonmouths are heavy-bodied, semi-aquatic, and will open their mouths wide to display the white interior when threatened.
Coral Snake Identification
Coral snakes carry the rhyme: "Red touches yellow, kill a fellow; red touches black, friend of Jack." This holds true for North American species. Coral snake bites are rare and the venom is neurotoxic — it attacks the nervous system rather than causing the local tissue destruction typical of pit vipers. Symptoms may be delayed up to 12 hours, which is one reason coral snake envenomation is particularly dangerous when evacuation isn't possible.
Envenomation vs. Dry Bite: Understanding What Just Happened
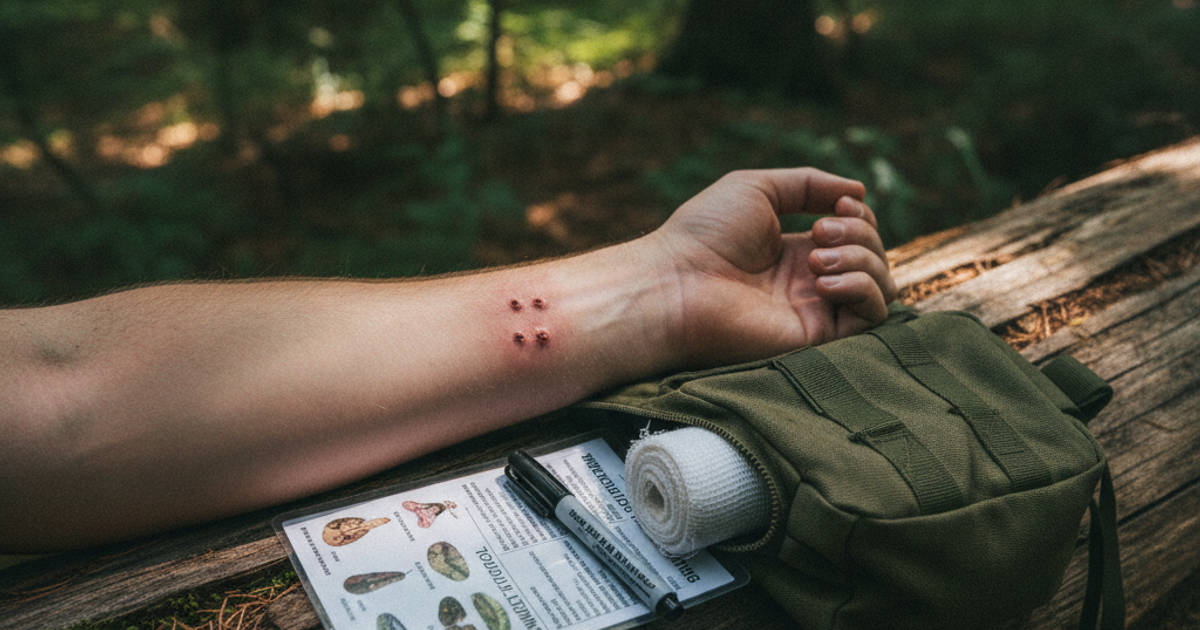
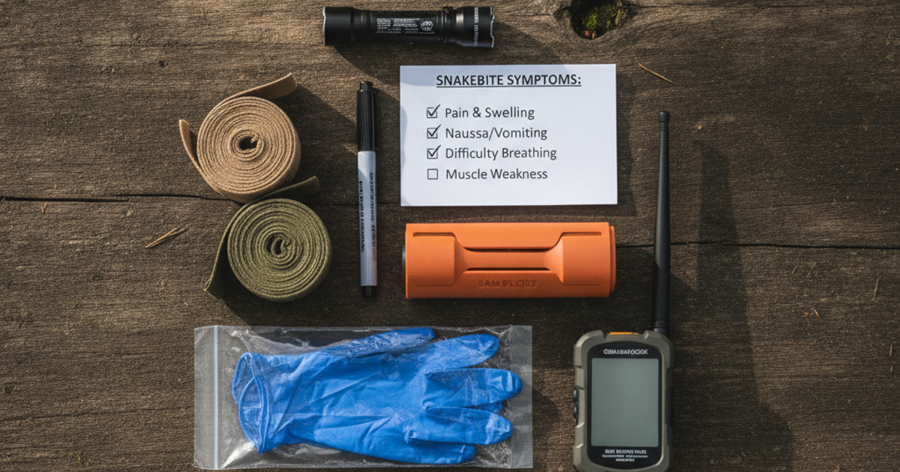
Approximately 20–25% of pit viper strikes are dry bites — the snake makes contact but injects little or no venom. This is an evolutionary strategy to conserve venom. However, you cannot assume a dry bite in the field. Always treat a snakebite as a venomous envenomation until symptoms clearly suggest otherwise, and monitor aggressively. Early signs of significant envenomation from pit vipers include immediate burning pain at the bite site, rapid swelling and discoloration spreading up the limb, nausea, weakness, metallic taste in the mouth, and numbness or tingling in the face or extremities. Coral snake envenomation may show minimal local symptoms initially, with neurological signs — drooping eyelids, slurred speech, difficulty breathing — appearing hours later.
What NOT to Do: Dangerous Myths That Kill People
Survivalist folklore is littered with snakebite "treatments" that cause more harm than the bite itself. Eliminate these from your response plan:
- Do not cut and suck the wound. This causes infection, introduces oral bacteria into the wound, and does not remove meaningful amounts of venom.
- Do not apply a tourniquet (unless dealing with an arterial bleed, which is separate). Concentrating venom in a limb causes severe tissue necrosis. The NAR CAT tourniquet has a critical place in your trauma kit for hemorrhage control, but snakebite is not its use case.
- Do not apply ice or immerse the limb in cold water. Cold constricts blood flow and worsens tissue damage from cytotoxic venom.
- Do not apply electric shock. This has no scientific basis and can cause burns and cardiac complications.
- Do not give the victim alcohol. Alcohol accelerates venom absorption and masks symptom progression.
- Do not have the victim run or exert themselves. Physical exertion dramatically accelerates venom spread through the lymphatic system.
Step-by-Step Instructions
Step 1: Remove the Victim from Immediate Danger
Back away from the snake — most bites occur when people attempt to handle, kill, or get closer to the snake. A dead snake can still envenomate through reflex bite for up to an hour after death. Move the victim at least 20 feet from the snake's location and have them sit or lie down immediately. Keeping the victim calm is not just comfort — it is medicine. Elevated heart rate from panic accelerates venom circulation.
Step 2: Identify the Snake If Safely Possible
If you can photograph the snake from a safe distance using a phone or camera, do so. Do not approach or attempt to capture it. If you cannot photograph it, note the color pattern, body shape, head shape, and approximate size. This information is critical for medical personnel and, if you have communication capability, for poison control — the Poison Control hotline (1-800-222-1222 in the US) can be reached via satellite communicator.
Step 3: Mark the Bite Site and Timestamp the Envenomation
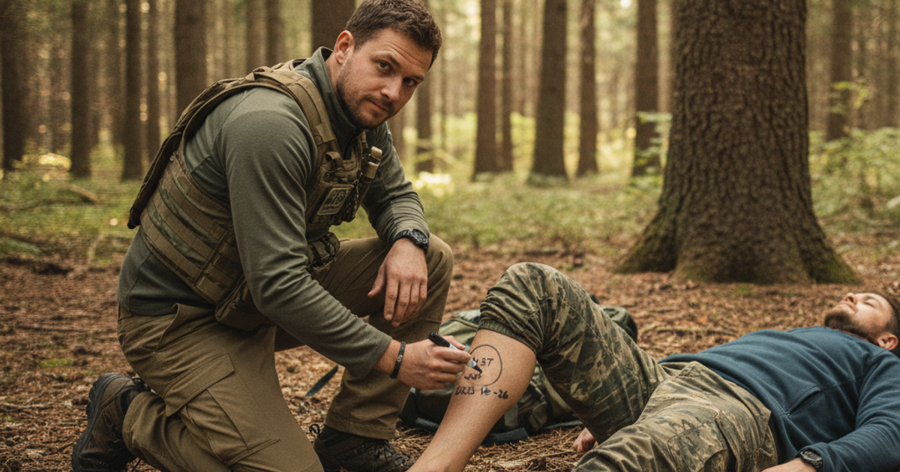
Use a Sharpie permanent marker to draw a line at the leading edge of any swelling and write the time next to it. Repeat this every 15–30 minutes. Tracking the rate of swelling progression is one of the most important clinical tools available in the field — rapid advancement indicates severe envenomation and increases urgency for evacuation.
Step 4: Immobilize the Affected Limb Below Heart Level
Splint or sling the bitten limb to minimize movement, and position it below the level of the heart to slow venom absorption through the lymphatic and venous systems. Remove all rings, watches, bracelets, or tight clothing from the affected limb before swelling makes removal impossible. A Coghlan's elastic bandage can be used for pressure immobilization — a technique endorsed for elapid (coral snake/cobra family) envenomation that applies gentle, even pressure along the entire limb to slow lymphatic spread without cutting off circulation. Use with caution on pit viper bites, as the benefit is more debated for cytotoxic venoms.
Step 5: Initiate Emergency Communication and Begin Evacuation Planning
If you're in a remote area, activate your DeLorme Garmin inReach satellite communicator immediately to contact emergency services or poison control, even if evacuation seems hours away. Getting a rescue moving early can mean the difference between reaching antivenom in time or not. Do not wait to see if symptoms worsen before calling — by the time serious symptoms appear, you are already behind the curve.
Step 6: Monitor Vital Signs and Symptom Progression Continuously
Track pulse rate, respiratory rate, blood pressure if equipment is available, and level of consciousness every 15 minutes. Watch for signs of anaphylactic shock — a potentially fatal allergic reaction to venom — which includes hives, facial swelling, difficulty breathing, and a rapid, weak pulse. Benadryl (diphenhydramine) can help manage mild allergic symptoms, but it is not a substitute for epinephrine in true anaphylaxis. Keep an EpiPen in your survival kit if at all possible.
Step 7: Provide Supportive Care and Maintain Hydration
Keep the victim warm, calm, and lying still. Encourage slow, steady breathing. Offer water in small sips if the victim is conscious and not vomiting. Do not offer food. If the victim has the Adventure Medical Kits wilderness first aid kit available, use the included reference materials to guide your assessment. Over-the-counter pain relief such as acetaminophen (Tylenol) is acceptable; avoid ibuprofen and aspirin as they thin the blood and worsen venom-induced coagulopathy.
Step 8: Evacuate Toward Definitive Care as Rapidly as Possible
Even if symptoms appear stable or mild, get the victim to a medical facility with antivenom. The only definitive treatment for serious envenomation is antivenom, and it must be administered by trained medical personnel in a controlled setting. Our guide on Improvised Stretchers and Casualty Carries: How to Move an Injured Person When No Ambulance Is Coming covers how to transport a non-ambulatory victim through rough terrain.
The Role of the Sawyer Extractor in the Field
The Sawyer Extractor pump snakebite kit remains a subject of debate among wilderness medicine professionals. Research published in Annals of Emergency Medicine suggests that suction devices remove only a negligible amount of venom — under 2% in most studies. Despite this, the Sawyer Extractor is not entirely without value in the field: it can provide some comfort through placebo effect and may help with insect stings and bee venom. Keep one in your bug out bag, but understand it is not a primary treatment. Never use it as a reason to delay evacuation.
Recommended Gear for Your Snakebite Survival Kit
Building a dedicated snakebite response module into your survival kit is sound emergency preparedness. The Wilderness Medical Society wilderness medicine field guide is an indispensable reference that covers snakebite protocols alongside dozens of other wilderness medical emergencies — it belongs in every serious prepper's library and go-bag. Study it before you need it. For those building a complete trauma response system, our article on Tourniquets, Pressure, and Shock: How to Stop Bleeding and Keep Someone Alive Until Help Arrives rounds out your field medicine knowledge base, and our article on Pressure, Heat, and Cold: How to Store Insulin, EpiPens, and Critical Medications Off-Grid covers how to keep epinephrine viable when refrigeration isn't available — critical if anaphylaxis from a snakebite is a concern for your group.
Frequently Asked Questions
What are the first signs that a snakebite is actually venomous?
The most reliable early indicators of pit viper envenomation are rapid onset of pain and swelling at the bite site within the first 15–30 minutes, followed by discoloration (bruising or redness) spreading up the limb. Systemic signs — nausea, dizziness, metallic taste, numbness in the lips or fingers — indicate venom is entering the bloodstream. Coral snake envenomation is insidious: local symptoms may be minimal, and neurological effects like drooping eyelids or difficulty swallowing may not appear for 6–12 hours. Absence of symptoms in the first 30 minutes does not mean you are safe — keep monitoring.
Should I carry antivenom in my bug out bag or survival kit?
Antivenom is generally not practical for personal stockpiling. It requires refrigeration, has a limited shelf life, must be matched to the specific snake species, and carries a significant risk of severe allergic reaction (anaphylaxis) when administered — meaning it should only be given where epinephrine and resuscitation capability are available. The better prepper investment is in communication gear (satellite communicators), first aid training, and knowing your regional snakes before you need to respond to one. Some preppers in remote areas do consult with physicians about carrying epinephrine auto-injectors for anaphylaxis management while awaiting evacuation.
What snakebite supplies should I keep in my everyday carry or car kit for urban and suburban emergencies?
Urban and suburban preppers should carry an elastic bandage for pressure immobilization, a permanent marker for marking swelling progression, diphenhydramine for allergic reaction management, and a charged phone with Poison Control's number saved (1-800-222-1222). A compact wilderness first aid kit that includes a snakebite reference card rounds out the basics. If you spend significant time outdoors — hiking, camping, or working land — a satellite communicator is one of the highest-value pieces of survival gear you can own, giving you an emergency lifeline when cell coverage disappears.
Affiliate Disclosure: SHTFPlan.net participates in the Amazon Services LLC Associates Program. Some links are affiliate links — we may earn a small commission at no extra cost to you.