Winter Survival: How to Stay Alive When a Blizzard Traps You at Home
When a blizzard hits and you're trapped inside, your home becomes your survival shelter. Here's how to stay warm, fed, and safe until help arrives.
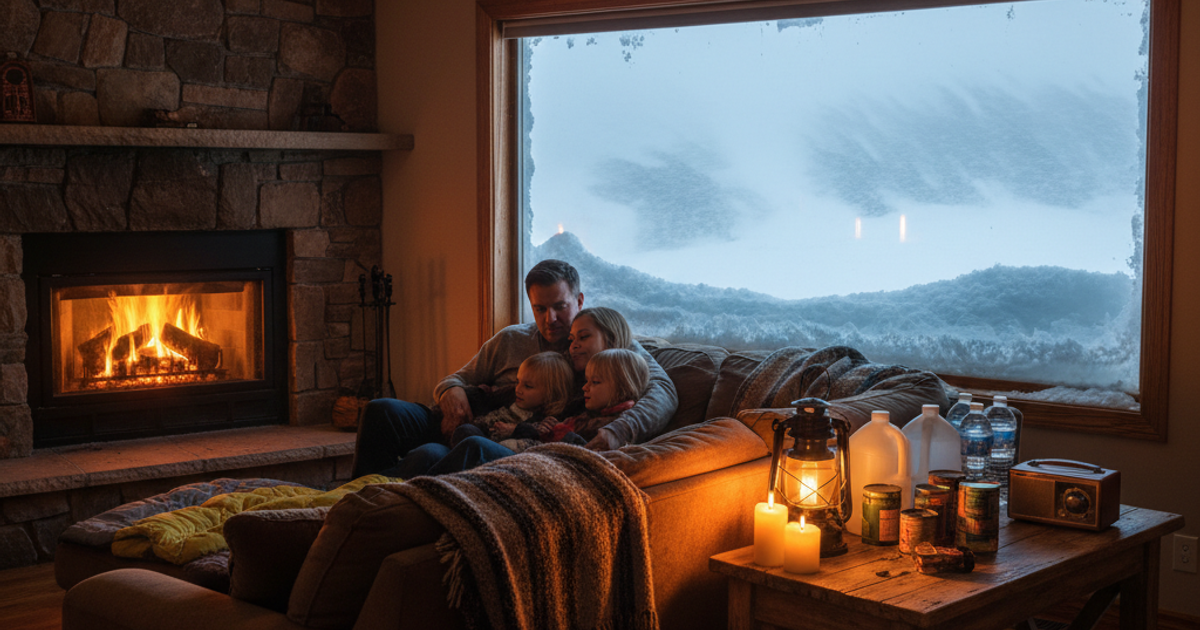
A major winter storm doesn't just inconvenience you — it can kill you. According to the Centers for Disease Control and Prevention, winter weather kills more Americans each year than hurricanes, tornadoes, and floods combined. Hypothermia, carbon monoxide poisoning from improvised heating, and dehydration from melting snow incorrectly are among the most common causes of cold-weather deaths during extended power outages. Whether you're in a rural homestead, a suburban house, or a city apartment, the threat is real — and the window to prepare is always before the storm arrives.
This guide walks you through everything a serious prepper needs to know about winter storm shelter-in-place survival: how to stay warm without grid power, how to manage food and water when temperatures drop dangerously low, and what emergency preparedness supplies should already be on your shelf before the first flake falls.
Why Winter Storms Are One of the Most Dangerous SHTF Scenarios
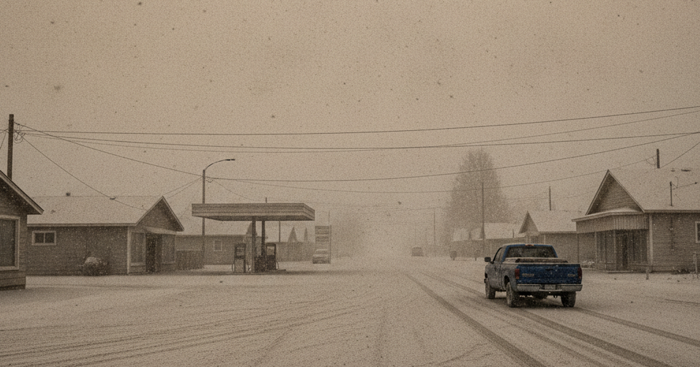
Unlike a flood or wildfire that demands immediate evacuation, a blizzard traps you in place. Roads become impassable in hours. Power lines collapse under ice. Natural gas pressure can drop. And the cold itself becomes a silent, patient killer. The 2021 Texas winter storm — an event few people saw coming — left over 4.5 million households without power for days in subfreezing temperatures. At least 246 people died. Many of them were inside their homes.
What made that disaster so devastating wasn't the storm itself. It was the total absence of emergency preparedness. No backup heat. No emergency food storage. No water reserves. If you weren't ready before it hit, you had no options once it did.
That's the core lesson of winter survival: your preparation window closes the moment the storm begins.
How to Heat Your Home Without Electricity During a Winter Power Outage
Heating is your first and most critical priority when the grid goes down in winter. The human body loses heat rapidly in cold environments, and a home without heat can drop to dangerous temperatures within hours in a severe blizzard.
Portable Propane Heaters
For most urban and suburban preppers who can't install a wood stove, a quality portable propane heater is the most practical solution available. The Mr. Heater Buddy portable propane heater is a widely trusted option in the prepper community — it's designed for indoor use with a built-in low-oxygen shutoff sensor, runs on standard 1-lb propane canisters, and can heat a space up to 225 square feet. Always crack a window slightly for ventilation and never leave any fuel-burning heater running while you sleep.
Wood Stoves and Fireplaces
Rural preppers with wood stoves or fireplaces have a significant advantage. If you have access to one, stock at least a two-week supply of seasoned firewood before winter. Urban apartment dwellers won't have this option, which makes alternative heating strategies even more important.
The "Warm Room" Strategy
Regardless of your heating source, stop trying to heat your entire home during a power outage. Choose one interior room — ideally one with the fewest windows and exterior walls — and concentrate all your heat there. Hang blankets over doorways, stuff towels along door gaps, and move the whole family into that single space. Body heat alone can raise a small room's temperature by several degrees. This strategy works in apartments, suburban homes, and rural cabins alike.
For additional warmth during cold nights, a WarmRx heated sleeping bag for winter survival is a serious piece of survival gear worth having on hand. Rated for extreme temperatures and designed for emergency use, a quality insulated sleeping bag can mean the difference between a survivable night and a medical emergency when indoor temperatures plummet.
Emergency Insulation Techniques That Work in Any Home
Insulation is your passive defense against the cold — and you can dramatically improve your home's heat retention with materials you either already own or can stock cheaply in advance.
- Mylar emergency blankets: These aren't just for bug out bags. Taped over windows, Mylar reflects radiant heat back into the room and blocks drafts more effectively than standard curtains. A Mylar emergency thermal blankets bulk pack costs very little and has dozens of survival applications beyond personal warmth — window insulation, ground covers, signal panels, and more. Every survival kit should include several.
- Draft exclusion: Roll up towels, blankets, or clothing and press them against the base of exterior doors. A significant percentage of a home's heat loss occurs through door and window gaps.
- Bubble wrap insulation: Spray a thin mist of water on windows and press bubble wrap directly against the glass. It adheres temporarily, traps an insulating air layer, and reduces window heat loss substantially.
- Cardboard panels: Cardboard is a surprisingly effective insulator. Taping panels over windows or placing them on cold floors adds a meaningful thermal barrier at zero cost.
- Rugs and carpets: If you have tile or hardwood floors, cover them entirely. Cold floors draw heat out of the room and out of your body.
For a deeper look at cold-weather home strategies, our guide on Cold Weather Survival: How to Stay Warm When the Heat Goes Out covers additional techniques for maintaining livable temperatures during extended outages.
Managing Emergency Food Storage During a Winter Storm
A major blizzard can keep you confined to your home for days or even weeks. Your emergency food storage needs to account for that reality — and it needs to include foods that require minimal cooking, since fuel may be limited.
Freeze-dried meals are ideal for winter storm scenarios. A Mountain House freeze-dried meals variety pack provides high-calorie, nutritionally complete meals that only require hot water to prepare. Mountain House products carry a 30-year shelf life, making them a sound long-term investment in your emergency preparedness infrastructure. Stock enough for a minimum of 72 hours per person, though a two-week supply is the standard most serious preppers aim for.
Beyond freeze-dried options, your winter food stores should include:
- Canned goods (beans, soups, vegetables, meats) — require minimal fuel to heat
- Peanut butter and nuts — calorie-dense and require no preparation
- Crackers, oats, and hard grains — long shelf life and versatile
- Instant coffee, tea, and hot cocoa — morale matters in a prolonged emergency
- A manual can opener — never rely solely on electric ones
One critical cold-weather note: your body burns significantly more calories staying warm in cold temperatures. Increase your caloric intake estimates during winter emergencies. What sustains you in summer may not be enough in February.
For a structured approach to long-term food security, see our resource on Building a 6-Month Food Storage System on Any Budget.
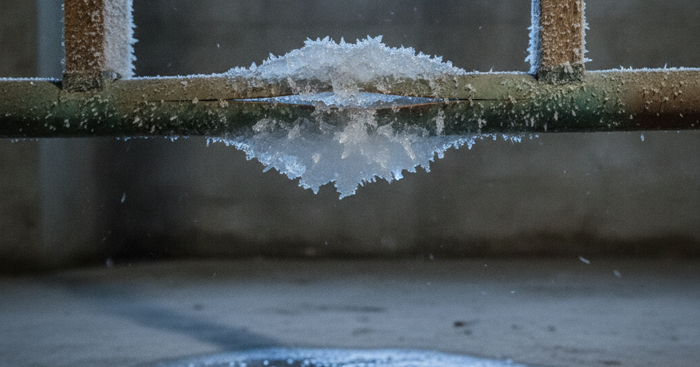
Water Management When Pipes Freeze and Taps Run Dry
Water is frequently overlooked in winter preparedness planning, but frozen pipes, burst water mains, and municipal supply failures during cold snaps are all documented and common events. The standard recommendation of one gallon per person per day is a floor, not a ceiling — factor in cooking, sanitation, and the extra hydration your body needs when fighting the cold.
Before a forecasted blizzard, fill your bathtub immediately. A standard tub holds 80–100 gallons. The problem is that tub water evaporates, gets contaminated, and is difficult to use efficiently. A WaterBOB emergency water storage bathtub bladder solves all three problems — it's a food-grade liner that fits in any standard tub, holds up to 100 gallons of clean tap water, and keeps it protected and sanitary for up to four weeks. It's one of the most cost-effective pieces of urban survival equipment available for apartment and suburban preppers.
Additional water management strategies for winter storms:
- Let faucets drip: During hard freezes, allow a thin stream of water to run from faucets on exterior walls. Moving water resists freezing.
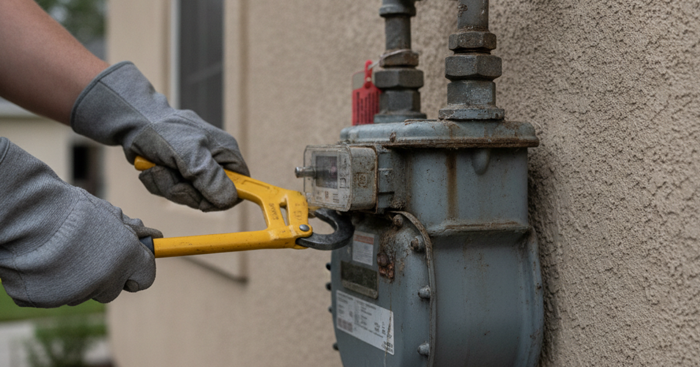
- Know your shutoff valve: If pipes do freeze and burst, you need to cut supply water immediately. Know exactly where your main shutoff is before you need it.
- Snow is not a reliable water source: You need roughly 10 inches of snow to produce 1 inch of water. Eating snow also lowers your core body temperature. If melting snow is your only option, always heat it thoroughly.
- Store water in interior rooms: Water stored in unheated garages or exterior spaces will freeze. Keep your water reserves in heated interior spaces.
For more on building a robust water supply, check out our detailed guide on Emergency Water Storage: How Much You Actually Need and How to Store It Safely.
What to Include in Your Winter Blizzard Survival Kit
Your survival kit for a winter shelter-in-place scenario should be built around the specific threats of cold, darkness, and isolation. Here's what every household should have stocked before winter storm season begins:
- Portable propane heater with extra fuel canisters
- Bulk Mylar thermal blankets
- Sub-zero rated sleeping bags for every household member
- Battery-powered or hand-crank weather radio
- Minimum two-week supply of freeze-dried and canned food
- 100+ gallons of stored water or a bathtub bladder storage system
- Headlamps with extra batteries (hands-free is essential during power outages)
- First aid kit including hypothermia response supplies
- Extra prescription medications — see our article on Medication Stockpiling: How to Build a Prescription and OTC Drug Reserve for Long-Term Emergencies for guidance on building a reserve
- Backup power bank for phones and communications
- Extra warm clothing, wool socks, hats, and waterproof gloves
- Ice melt and a quality snow shovel — clearing an exit path may be a life-safety issue
If you want to expand your overall preparedness posture beyond winter-specific threats, our Recommended Survival Gear & Equipment page covers vetted options across all categories.
Situational Awareness and Community Preparedness in Winter Storms
Even during a shelter-in-place scenario, situational awareness matters. Monitor weather radio broadcasts continuously during a major storm. Know when conditions are expected to peak, when roads may reopen, and whether emergency declarations affect your area. The grey man principle applies even in your neighborhood — not advertising that you have heat, food, and supplies when your neighbors don't can prevent conflict and maintain security.
That said, mutual aid with trusted neighbors is a legitimate survival force multiplier. Sharing a warm room, rotating watch duties overnight, or pooling food resources with vetted neighbors has historically improved survival outcomes in prolonged winter emergencies. Building those relationships before a crisis is part of sound emergency preparedness — something covered in depth in our guide on Neighborhood Mutual Aid Networks: How to Build a Community Survival Team Before SHTF.
What You'll Need
- Flashlights and extra batteries
- Battery-powered or hand-crank radio
- Non-perishable food (canned goods, dried fruit, nuts, crackers)
- Manual can opener
- Bottled water (1 gallon per person per day for at least 3 days)
- First aid kit and prescription medications
- Blankets, sleeping bags, and warm clothing
- Candles and waterproof matches or lighters
- Portable phone chargers or power banks
- Rock salt or sand for melting ice
- Emergency heating source (fireplace wood, camping stove with fuel)
Step-by-Step Instructions
Step 1: Secure Your Heat Source Immediately
Before the storm intensifies, identify and prepare your primary heating method. If you have a fireplace, stock it with plenty of dry wood and keep fire-starting supplies nearby. For those without fireplaces, move everyone into one small room that's easiest to heat and insulate, preferably an interior room away from windows. Close off unused rooms to conserve heat and stuff towels under doors to prevent drafts.
Step 2: Insulate Windows and Doors to Retain Warmth
Cover all windows with heavy blankets, curtains, or even cardboard to create an insulation barrier against the cold. Use towels, clothing, or weatherstripping to seal gaps around doors and window frames where cold air enters. If you have bubble wrap, tape it to windows for an effective insulation layer. These measures can significantly reduce heat loss and help maintain a survivable indoor temperature even if power is lost.
Step 3: Stockpile Water Before Pipes Freeze
Fill bathtubs, sinks, and every available container with water while you still have running water and pressure. Frozen pipes can leave you without water for days, and melting snow is time-consuming and fuel-intensive. Store at least one gallon of water per person per day for drinking, and keep additional water for cooking and hygiene. Let faucets drip slightly during extreme cold to prevent pipes from freezing and bursting.
Step 4: Organize Food Supplies and Create a Rationing Plan
Take inventory of all non-perishable food and calculate how long your supplies will last. Prioritize eating perishable refrigerated items first, then move to canned and dried goods. If power is out and outdoor temperatures are below freezing, use your porch or garage as a natural refrigerator for perishables. Plan simple, no-cook meals if possible to conserve fuel, and remember that eating provides your body with energy to generate heat.
Step 5: Establish Communication Protocols with the Outside World
Charge all phones, tablets, and portable batteries to full capacity before the storm peaks. Use your devices sparingly to preserve battery life, limiting use to emergency communications and weather updates. Keep a battery-powered or hand-crank radio tuned to local emergency broadcasts for updates on the storm and rescue operations. Designate an out-of-state contact person that all family members can check in with, as local phone lines may be overloaded.
Step 6: Layer Clothing and Use the Buddy System for Warmth
Dress in multiple layers of loose-fitting, lightweight clothing rather than one bulky layer, as trapped air between layers provides insulation. Cover your head with a hat since significant body heat escapes through your head, and keep your extremities warm with gloves and thick socks. If temperatures become dangerously cold, huddle together with family members under blankets, as shared body heat can be lifesaving. Avoid alcohol, as it creates a false sense of warmth while actually lowering your core body temperature.
Step 7: Monitor for Carbon Monoxide Hazards and Frostbite Symptoms
Never use gas stoves, charcoal grills, or generators indoors, as they produce deadly carbon monoxide gas that can kill within minutes in enclosed spaces. Install or check batteries in carbon monoxide detectors before the storm. Watch for signs of frostbite (numbness, white or grayish skin, unusual firmness) and hypothermia (shivering, confusion, drowsiness, slurred speech) in yourself and others. If someone shows signs of hypothermia, warm them gradually with blankets and warm beverages, never hot water, which can cause shock.
Frequently Asked Questions
How long can a house stay warm without heat during a blizzard?
This depends heavily on insulation quality, outside temperature, and house size, but a well-insulated modern home typically loses 1–2 degrees Fahrenheit per hour when outdoor temperatures are in the single digits or below. A poorly insulated home or apartment can lose heat much faster. This is why implementing the "warm room" strategy — concentrating all available heat and people into a single small interior room — is so critical. Without any heating at all in extreme cold, a standard home can drop to life-threatening interior temperatures within 24–48 hours.
What are the best emergency heating options for an apartment during a winter power outage?
Apartment dwellers have fewer options than homeowners, but there are still effective solutions. An indoor-safe portable propane heater rated for interior use is the most practical heating source for apartments — always use with minimal ventilation to prevent carbon monoxide buildup. Mylar blankets, layered sleeping bags, and the warm room strategy are equally important. Never use outdoor propane heaters, gas stoves, charcoal grills, or generators indoors — carbon monoxide poisoning kills dozens of people every year during winter power outages from exactly these improvised heating attempts.
How much water should I store for a winter storm emergency?
FEMA recommends a minimum of one gallon per person per day, but most experienced preppers recommend storing at least two to three gallons per person daily to account for cooking, hygiene, and the increased hydration demands of cold-weather environments. For a family of four over two weeks, that means a minimum of 56–168 gallons. A bathtub bladder system like the WaterBOB can provide 100 gallons instantly before a storm hits, and is one of the fastest ways for any household to close a critical gap in their emergency water storage.
Affiliate Disclosure: SHTF Plan participates in the Amazon Services LLC Associates Program. Some links are affiliate links — we may earn a small commission at no extra cost to you.