Rucking for Preppers: How to Build the Survival Fitness to Carry Your Bug-Out Bag 20 Miles
Your bug-out bag is useless if your body quits at mile three. Here's how to build the real-world strength, stamina, and foot conditioning to carry weight when evacuation goes on foot.
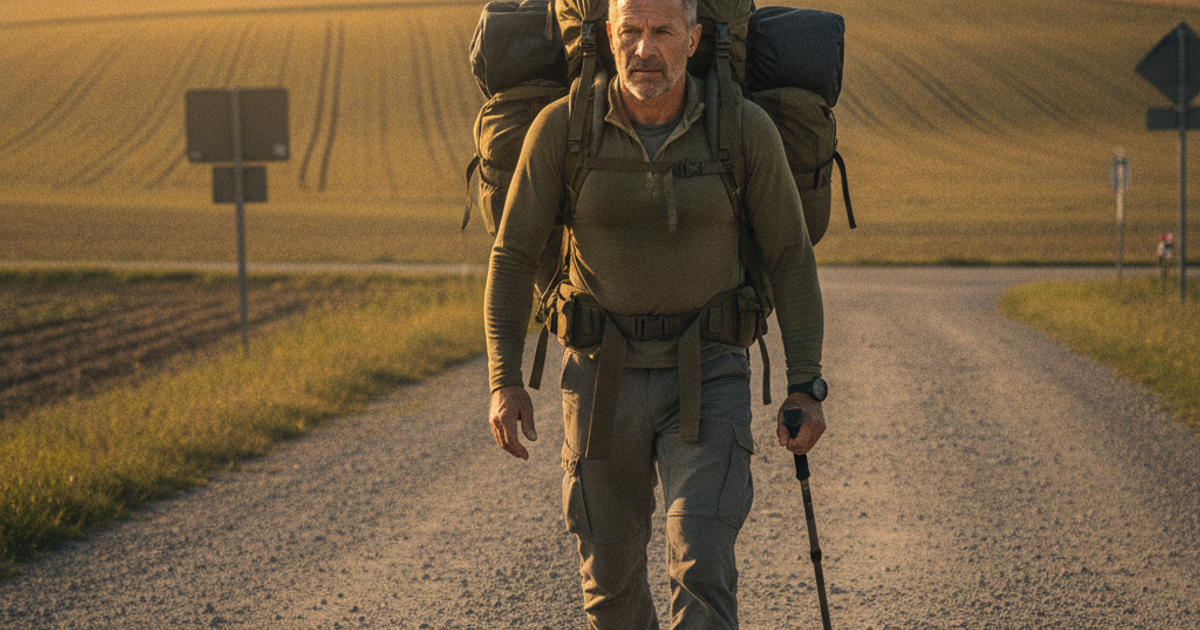
Most preppers can tell you the exact weight of their bug-out bag down to the ounce. Far fewer can tell you how far they can actually carry it. That gap — between gear and capability — is where most evacuation plans die. A 45-pound pack that looks impressive on the scale becomes a torture device at mile six when your shoulders are numb, your feet are blistered, and you're still fifteen miles from your rally point.
Rucking — walking under load — is the single highest-return fitness activity for preppers. It requires no gym, no coach, and no land. It directly rehearses the exact task you'd face during a foot evacuation: moving weight, over distance, on real terrain, in real weather. Whether you live on the 14th floor of a city high-rise or on forty acres, you can start tonight.
The military has studied this harder than anyone. Research compiled by Dr. Joseph Knapik and colleagues at the U.S. Army Research Institute of Environmental Medicine found that load carriage energy cost rises disproportionately once packs exceed roughly 30% of body weight, and that injury rates — blisters, stress fractures, back strain, and "rucksack palsy" nerve compression — climb sharply with heavier loads and longer distances. Army doctrine generally caps the approach march load near 45% of body weight for good reason. If you weigh 180 pounds, a 55-pound bug-out bag is already at the edge of what a trained soldier is expected to handle.
What You'll Need
Tools
- GORUCK Rucker 4.0 rucksack (or your actual bug-out bag)
- GORUCK ruck plate, 20 lb
- Salomon Quest 4 GTX hiking boots
- GPS watch, phone app, or simple pedometer for pace tracking
Supplies
- Darn Tough merino wool hiker boot socks
- Yes4All cast iron weight plates for adjustable loading
- Blister kit: moleskin, leukotape, antiseptic, small scissors
- Electrolyte powder and a 2-liter hydration bladder or bottles
Why Your Bug-Out Bag Weight Is Probably a Fantasy
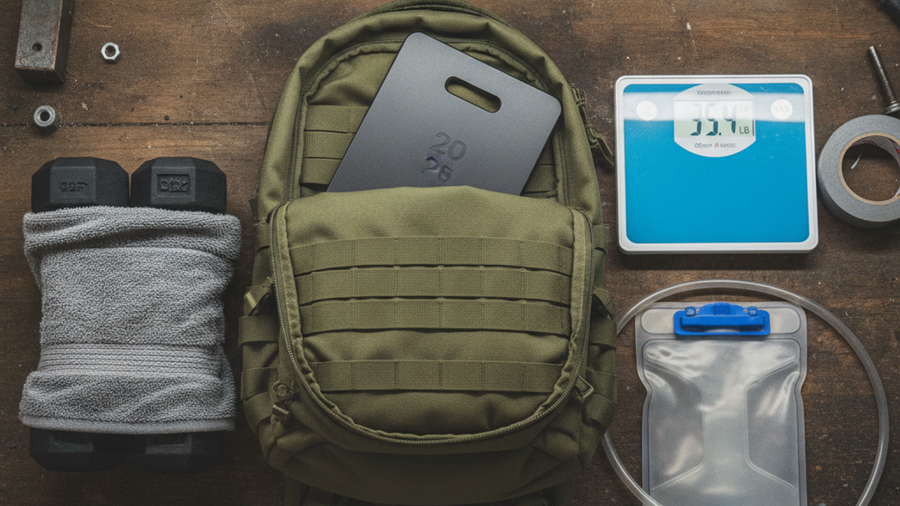
Run the math on a realistic three-day pack: a sleep system, 3 liters of water (6.6 lbs), food, a trauma kit, spare clothing, a firearm and ammunition, and optional body armor. Most "72-hour" bags land between 35 and 55 pounds. Now consider that an unloaded adult walks about 3 mph; under 40+ pounds on mixed terrain, that drops to roughly 2 to 2.5 mph. Twenty miles isn't a hike — it's an eight-to-ten hour working day under load.
The honest fix is two-sided: cut the pack weight and raise your capacity. Start by weighing your bag on a bathroom scale. If it exceeds 25-30% of your body weight, you have a gear problem before you have a fitness problem. Pair that audit with a good pack — our bug-out backpack selection guide covers frame types, hip belts, and torso sizing, which matter more than brand loyalty.
How to Start Rucking If You Live in an Apartment or Suburb
You do not need trails. Urban and suburban preppers have an advantage most ignore: your training environment is your evacuation environment. Walk your actual bug-out route. Learn which overpasses are chokepoints, which stretches have no shade, and where you could refill water. That reconnaissance is as valuable as the cardio and pairs directly with your urban evacuation route planning.
- Apartment dwellers: Stairwells. Ten floors loaded, repeated, builds eccentric leg strength better than flat walking. Ruck to the grocery store and carry your food home.
- Suburban preppers: Neighborhood loops at dawn or dusk keep you gray man. A plain-colored pack draws zero attention; a camo rucksack with MOLLE webbing draws plenty.
- Rural preppers: Use real elevation and uneven ground. Fence lines, logging roads, and pasture are the closest thing to a true evacuation surface.
For loading, a dedicated ruck plate rides high and tight against your spine, which is dramatically more comfortable than loose weight sliding to the bottom of the bag. A Brute Force training sandbag is the other great option — the shifting, unstable load forces your stabilizer muscles to work, which is exactly what happens when you carry a real-world pack with water sloshing in a bladder.
Step-by-Step Instructions
Step 1: Establish your baseline carry capacity
Load your pack to 20 pounds — or 10% of body weight if you're deconditioned — and walk three miles on flat ground. Record your total time, your pace per mile, and any hot spots on your feet or shoulders. This is your honest starting point, not where you wish you were.
Step 2: Build weekly volume using the 10 percent rule
Increase either distance or weight — never both in the same week — by no more than 10%. Military load-carriage research consistently ties overuse injuries to abrupt jumps in training volume. Three rucks per week is plenty: one short and fast, one medium, one long and slow.
Step 3: Dial in footwear and sock strategy before adding weight
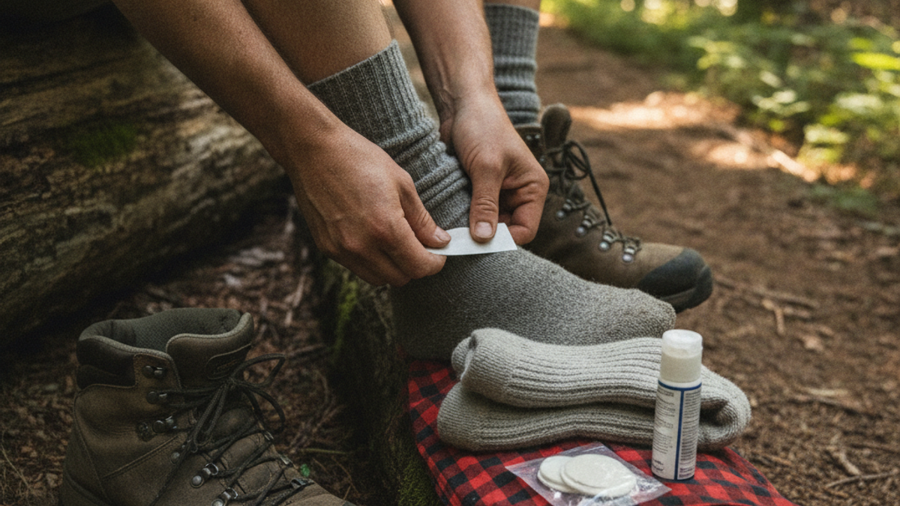
Blisters end more evacuations than exhaustion does. Break in boots over at least 50 loaded miles, size up a half-size for foot swelling, and use merino wool socks that wick moisture. Check our survival footwear guide for matching boot type to terrain.
Step 4: Train your actual bug-out bag, not just a gym pack
Once you can comfortably ruck six miles with plates, switch to your real kit. You'll discover the strap that digs, the buckle that fails, and the water bottle you can't reach without stopping. Fix those problems in training, not during an evacuation.
Step 5: Add stairs, hills, and loaded carries twice weekly
Supplement rucking with step-ups, farmer's carries, deadlifts or kettlebell swings, and planks. Grip and posterior chain strength determine whether you can hoist a pack back on at mile 15 — when it matters most.
Step 6: Execute a full 20-mile rehearsal twice a year
Pick a Saturday, load your real bag, and walk your real route — including a water resupply and a meal stop. Note total elapsed time, blister locations, and calorie burn. Most people find 20 miles takes 8 to 11 hours, which reframes the entire evacuation timeline.
Step 7: Recover and reassess your gear after every long ruck
Within 30 minutes, rehydrate with electrolytes and eat 20-30 grams of protein. Then dump the pack, inspect seams and stitching, and cut anything you didn't touch during the ruck. Repeat this audit after every long effort.
Recommended Gear for Serious Rucking
Your training pack should be built to be abused. The GORUCK Rucker 4.0 was purpose-designed for weighted walking, with a dedicated internal plate pocket that keeps a 20 lb ruck plate locked against your back instead of swinging. If you want a pack that doubles as a genuine 72-hour kit, the 5.11 Tactical RUSH72 offers roughly 55 liters of organized storage, while the Mystery Ranch 2 Day Assault carries heavy loads exceptionally well thanks to its yoke system and tri-zip access. For budget loading at home, a set of Yes4All cast iron plates wrapped in a towel costs a fraction of purpose-built plates. Round it out with Salomon Quest 4 GTX boots for ankle support and waterproofing, and Darn Tough merino socks, which carry a lifetime guarantee and resist the moisture that causes blisters. Browse more vetted options on our recommended survival gear page, and pair your fitness work with a complete 72-hour walking evacuation plan.
Frequently Asked Questions
How much weight should I ruck with as a beginner?
Start at 10% of your body weight, or 20 pounds for most adults, and walk 2-3 miles. Build toward 30% of body weight over 8-12 weeks. Going heavy too fast is the fastest route to shin splints, knee pain, and a six-week layoff.
How far can an average person walk with a loaded bug out bag?
An untrained adult carrying 40 pounds typically manages 6-10 miles before significant degradation. A consistently trained rucker can cover 20 miles in 8-10 hours at roughly 2.5 mph. Terrain, heat, and footwear change those numbers more than raw fitness does.
Is rucking bad for your knees and back?
Not when progressed properly. Problems arise from sudden volume increases, excessive weight, poor pack fit, and worn-out footwear. Keep loads high and tight in the pack, use a hip belt for anything over 30 pounds, maintain upright posture, and increase mileage gradually.
Affiliate Disclosure: SHTFPlan.net participates in the Amazon Services LLC Associates Program. Some links are affiliate links — we may earn a small commission at no extra cost to you.