When the Ocean Pulls Back: How to Survive a Tsunami When Minutes Are All You Have
Tsunami waves can reach shore in under 15 minutes after a coastal earthquake. Learn the natural warning signs, vertical evacuation tactics, and high-ground planning that keep families alive.
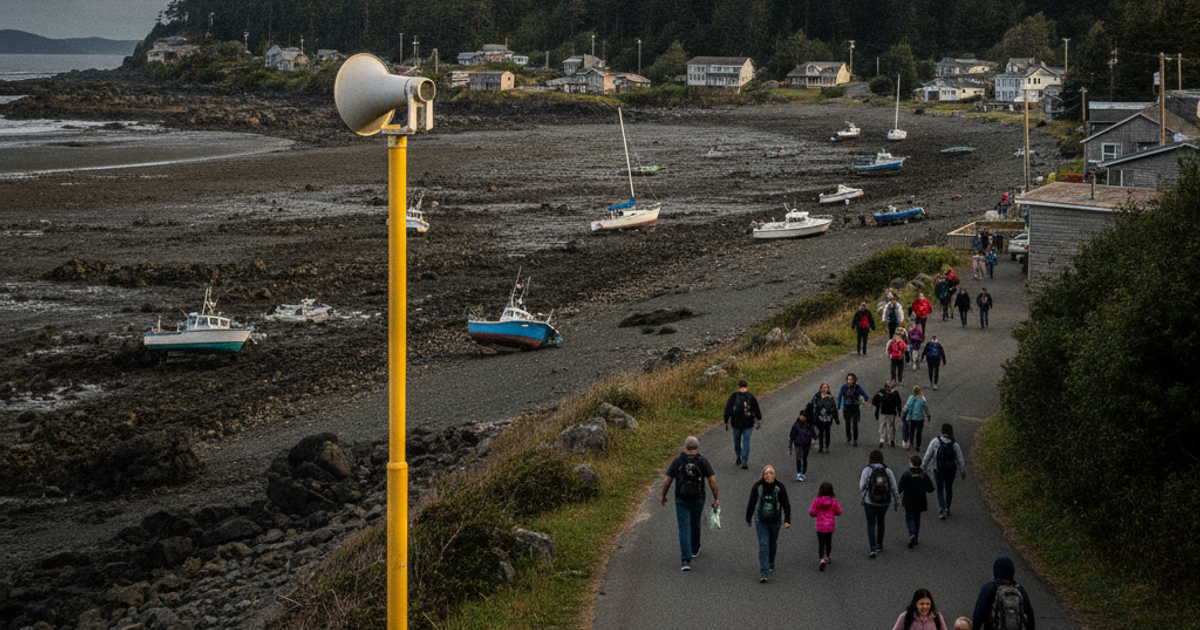
On December 26, 2004, thousands of people along the Indian Ocean coastline watched the sea retreat hundreds of yards, exposing reefs, stranded fish, and shipwrecks that had been hidden for decades. Many walked out onto the newly exposed seabed to look. Minutes later, roughly 228,000 people were dead across 14 countries. That receding water — technically called drawback — was the ocean's final warning, and almost nobody recognized it.
Tsunamis are the rare disaster where the difference between living and dying is measured in single-digit minutes and a few hundred feet of elevation. A near-field tsunami generated by an offshore megathrust quake can strike the coast in 10 to 30 minutes — faster than any official alert system can reliably reach you, faster than emergency managers can open shelters, and far faster than traffic can clear a coastal highway. The U.S. Geological Survey estimates a full-rupture Cascadia Subduction Zone earthquake would send waves into Pacific Northwest coastal communities in as little as 15 minutes, with runup heights exceeding 30 feet in some inlets. Whether you live in a beachfront condo tower, a suburban cul-de-sac three blocks from the shore, or a rural fishing hamlet at the end of a single gravel road, your survival depends on decisions you make before the ground starts shaking.
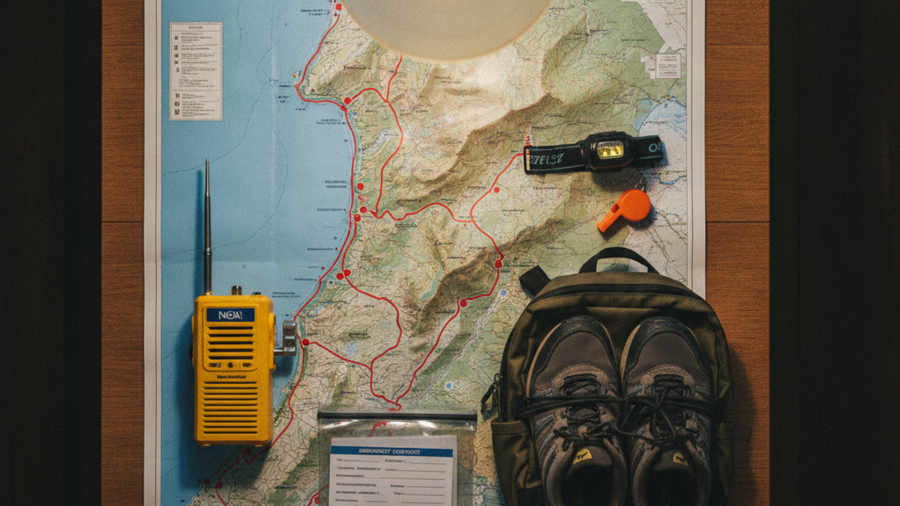
What You'll Need
Tools
- NOAA weather alert radio
- Hand-crank emergency radio
- Satellite communicator
- Printed topographic map and compass
- Headlamp and loud whistle
Supplies
- Lightweight go-bag backpack
- Compact water filter
- Sealed emergency water pouches
- Freeze-dried meal pouches
- Sturdy closed-toe shoes staged by the door
- Waterproof document pouch with ID and cash
Natural Warning Signs: How to Know a Tsunami Is Coming Without an Alert
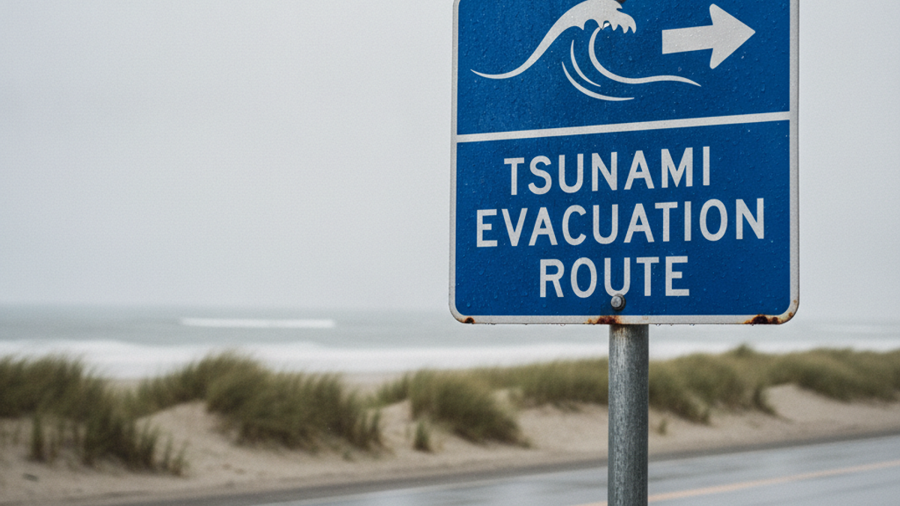
Sirens fail. Cell towers fall in the same earthquake that generates the wave. Your body and your eyes are the most reliable sensors you have. Learn these three natural warnings and treat any one of them as an evacuation order — no confirmation required:
- Strong or long ground shaking near the coast. If an earthquake is hard enough that standing is difficult, or if shaking lasts more than 20 seconds, assume a tsunami is inbound. Do not wait for an official bulletin.
- The sea behaving abnormally. Sudden drawback exposing the seafloor, an unusually fast incoming surge, or water sloshing over a seawall on a calm day all signal the trough or crest of a wave train.
- A loud roar from offshore. Survivors consistently describe a sound like a freight train or low-flying jet preceding impact.
Also remember that tsunamis arrive as a series of waves, often for six to twelve hours. In Japan's 2011 Tohoku disaster, later waves were larger than the first in multiple locations. People who returned home after the initial surge died in the second and third.
Understanding Your Inundation Zone and Finding High Ground
Every U.S. coastal state with tsunami risk — Alaska, Washington, Oregon, California, Hawaii, Puerto Rico, and the Gulf and Atlantic coasts to a lesser degree — publishes tsunami inundation maps through its geological survey or emergency management office. Pull yours up today. Write down your home's elevation and the distance to the nearest ground above 100 feet. NOAA's general guidance is simple: get at least 100 feet above sea level or two miles inland, whichever comes first.
Rural residents often have elevation nearby but poor road access; a single washed-out bridge or a landslide across a county road can trap you. Scout at least two foot-accessible routes to higher terrain and walk them at least once. Suburban readers frequently face the opposite problem — flat topography, wide streets, and four lanes of gridlock the instant everyone evacuates at once. Assume you will be walking. A 72-hour walking evacuation plan is not optional in a tsunami zone, and a bicycle can outrun gridlocked traffic on flat coastal ground.
Vertical Evacuation for Apartment and Urban Dwellers
If you live in a dense coastal city or on a flat barrier island with no high ground within a 15-minute walk, vertical evacuation is your fallback. Look for reinforced concrete or steel-frame structures of at least four to six stories — parking garages, hospitals, hotels, and purpose-built tsunami evacuation towers like the one at Ocosta Elementary in Westport, Washington. Wood-frame buildings are not survivable; they float away. Climb to the third floor above the modeled inundation depth, and keep climbing toward the roof if water rises. Assume elevators are dead and stairwells are dark — this is where knowledge of high-rise escape under failed power pays off.
Step-by-Step Instructions
Step 1: Map your inundation zone and elevation
Download your state's tsunami hazard map and mark your home, workplace, and children's schools. Note the elevation of each and identify the nearest point above 100 feet. Print the map — do not rely on a phone that may be dead or off-network.
Step 2: Plot two high-ground routes on foot
Choose a primary and secondary route that avoid bridges, levees, underpasses, and liquefaction-prone fill. Time yourself walking each one carrying a loaded pack. If your route takes longer than 15 minutes, you need a closer destination or a vertical evacuation structure.
Step 3: Build and stage a grab-and-go bag
Keep a lightweight bug out bag by the exit door with water, calories, a headlamp, medications, sturdy shoes, a whistle, cash, and copies of your vital documents. Weight matters more than completeness here — you may be running uphill.
Step 4: Install redundant warning devices
Program a NOAA alert radio for your county's SAME code and keep a hand-crank backup. Register for your county's opt-in emergency text alerts and enable Wireless Emergency Alerts on every phone in the household.
Step 5: Drill the evacuation with your entire household
Run the route twice a year, in daylight and in the dark. Assign responsibility for children, pets, and elderly or disabled family members in advance — see our guide to emergency planning for elderly and disabled family members. Establish an out-of-area contact and a physical reunion point on high ground.
Step 6: Drop, cover, hold on — then move immediately
Survive the shaking first. The moment it stops, put on shoes, grab the bag, and go on foot. Do not gather belongings, check on the beach, or wait for confirmation.
Step 7: Stay high for at least 12 hours
Remain above the inundation line until officials issue an all-clear. Wave trains persist for hours, and the strongest currents often occur well after the first arrival. Shelter in place on high ground rather than descending to "check the house."
Surviving the Aftermath on High Ground
Post-tsunami zones are contaminated with fuel, sewage, and saltwater-fouled wells. Assume every tap and stream is compromised and treat it — our guide on choosing the right water purification method covers the tradeoffs. Debris fields hide rebar, live wiring, and unstable structures; know how to shut off gas and electricity before you ever reenter a damaged home.
Recommended Gear
A Midland WR120 NOAA weather alert radio will wake you at 3 a.m. for a Tsunami Warning, and an Eton FRX3 hand-crank radio keeps you informed on high ground when batteries and the grid are gone. Because coastal cell networks routinely collapse after a major quake, a Garmin inReach Mini 2 satellite communicator lets you send an SOS and check in with family from anywhere. For the bag itself, a 5.11 Rush12 is light enough to run with, while a pre-built Ready America 72-hour emergency kit is a fast starting point for households that haven't built one yet. Stock it with a Sawyer MINI water filter, sealed Datrex emergency water pouches that survive crushing and freezing, and a few Mountain House freeze-dried meals for the days before aid arrives. More options are listed on our recommended survival gear page.
Frequently Asked Questions
How much warning time will I actually get before a tsunami hits?
It depends on the source. A distant tsunami from across the ocean may give you hours of official warning. A local, near-field tsunami from an offshore fault gives you 10 to 30 minutes — and the earthquake itself is your warning. Never wait for a siren or phone alert when you have felt strong shaking near the coast.
What should I put in a tsunami go-bag?
Keep it under 20 pounds: one to two liters of water plus a filter, 2,000+ calories of no-cook food, headlamp, whistle, N95 mask, work gloves, first aid kit, prescription medications, a printed map, cash in small bills, a weather radio, and copies of identification in a waterproof pouch. Sturdy shoes staged next to the bag are as important as anything inside it.
Is it safe to drive during a tsunami evacuation?
Usually not. Post-earthquake roads are cracked, bridges may be down, and coastal evacuation routes jam within minutes. Emergency managers in the Pacific Northwest explicitly advise evacuating on foot unless you are physically unable or must transport someone who is. Reserve vehicles for distant-source tsunamis where you have hours, not minutes.
Affiliate Disclosure: SHTFPlan.net participates in the Amazon Services LLC Associates Program. Some links are affiliate links — we may earn a small commission at no extra cost to you.