Urban Scavenging: How to Salvage Critical Survival Supplies Safely After a Disaster
When the stockpile runs short and stores are stripped, scavenging becomes a survival skill. Here's how to search damaged buildings for supplies without getting hurt, poisoned, or shot.
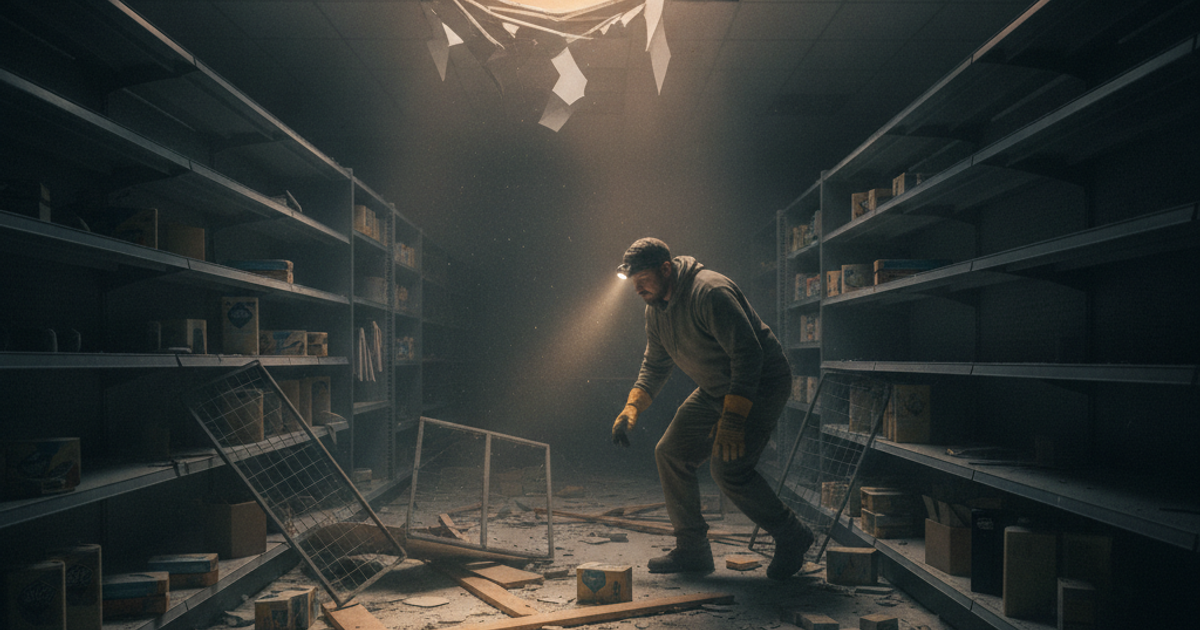
When the shelves go bare, the delivery trucks stop, and the grid stays dark past day three, the supplies you need don't vanish from the earth — they just stop being distributed. They sit in collapsed warehouses, flooded basements, abandoned vehicles, storm-wrecked outbuildings, and the back rooms of businesses nobody is coming back to. Post-disaster salvage, done correctly, is a legitimate survival skill. Done carelessly, it's one of the fastest ways to die in a crisis that you otherwise would have survived.
The data backs that up. FEMA and CDC post-disaster injury studies consistently show that a large share of disaster casualties occur after the event itself — during cleanup, debris removal, and structural entry. Following Hurricane Katrina, carbon monoxide poisoning, lacerations, puncture wounds, and falls dominated emergency department visits for weeks. The CDC has documented that nail punctures and cuts account for roughly a quarter of post-hurricane injuries, and that more than half of post-storm chainsaw and debris injuries happen to people with no protective equipment. Tetanus, cellulitis, and necrotizing soft-tissue infections follow close behind, and in a grid-down scenario there's no antibiotic IV waiting for you.
This guide is about salvaging smart — the hazards, the gear, the search strategy, and the security protocols that keep you breathing.
Scavenging vs. Looting: Where the Line Actually Is
Let's be blunt. Breaking into an occupied home or an intact business to take goods is theft, full stop, and in many states it carries enhanced penalties during a declared emergency. Scavenging, in the survival sense, means recovering abandoned, destroyed, or ownerless material — debris fields, condemned structures, dumpsters, wreckage, discarded items, and your own property.
Practically speaking, three questions should govern every decision: Is this property clearly abandoned or destroyed? Would the owner conceivably return for it? Am I taking a life-sustaining necessity or an opportunity? In a short-term disaster — which is the overwhelming majority of events — stay on the right side of that line. Armed homeowners and National Guard patrols don't conduct nuanced moral analysis. Your reputation in a neighborhood is a survival asset, and neighborhoods remember who showed up with a pry bar and no explanation. This is one reason a neighborhood mutual aid network built before SHTF beats solo salvage every time.
What You'll Need
Tools
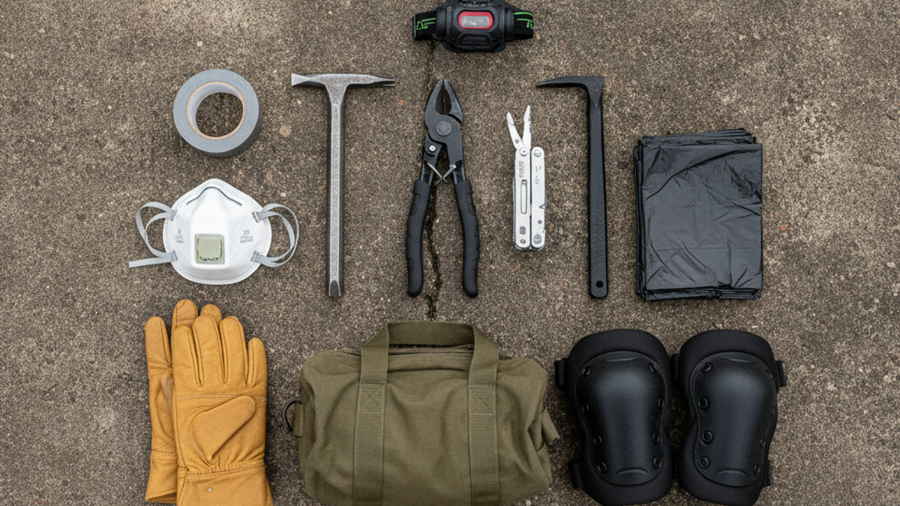
- Pry bar / wrecking bar
- High-output tactical flashlight
- Hands-free headlamp
- Folding hand saw and adjustable wrench (gas/water shutoffs)
- Bolt cutters or a quality multi-tool
Supplies
- Half-face respirator with P100 particulate filters
- Heavy leather work gloves
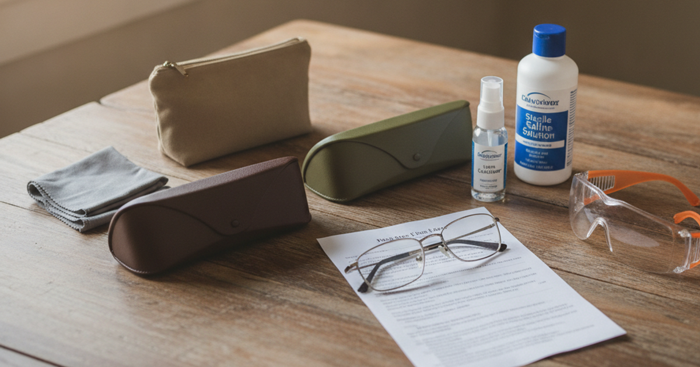
- Anti-fog safety glasses
- Steel-toe, puncture-resistant boots
- Contractor bags, 5-gallon buckets, and a collapsible hauling cart
- Trauma kit with tourniquet, hemostatic gauze, and wound irrigation supplies
The Hazards That Actually Kill Scavengers
Atmospheric and Chemical Dangers
Collapsed and flooded structures accumulate invisible threats: carbon monoxide from generators running in attached spaces, hydrogen sulfide and methane in basements and sewer-adjacent voids, ammonia from damaged refrigeration, and silica and asbestos dust in any pre-1980 building that came apart. A P100-filtered respirator is the single highest-value piece of gear you can carry, because mold spore counts in flooded buildings routinely reach levels that trigger respiratory illness within one exposure. A paper dust mask does not count.
Structural Collapse
Never enter a structure with a sagging roofline, bowed walls, visible cracking at load points, or a foundation that has shifted. Urban search and rescue teams mark buildings with an X-code for a reason. If a building has been soaked, assume engineered lumber, OSB, and particleboard have lost most of their load capacity.
Electrical and Utility Hazards
Downed lines can re-energize without warning when crews restore sections of the grid, and backfeeding generators kill utility workers and scavengers alike. Before entering any damaged structure, know how to shut off the gas, water, and electricity. If you smell gas, leave — don't flip a switch, don't use a lighter, don't knock.
Contamination and Infection
Floodwater is raw sewage plus fuel plus agricultural chemicals. Any puncture or laceration in that environment needs immediate irrigation and a tetanus booster you should already have current. Cover every inch of skin. Your trauma kit stays on your body, not in the truck.
Where to Look: High-Yield Salvage Targets Most People Miss
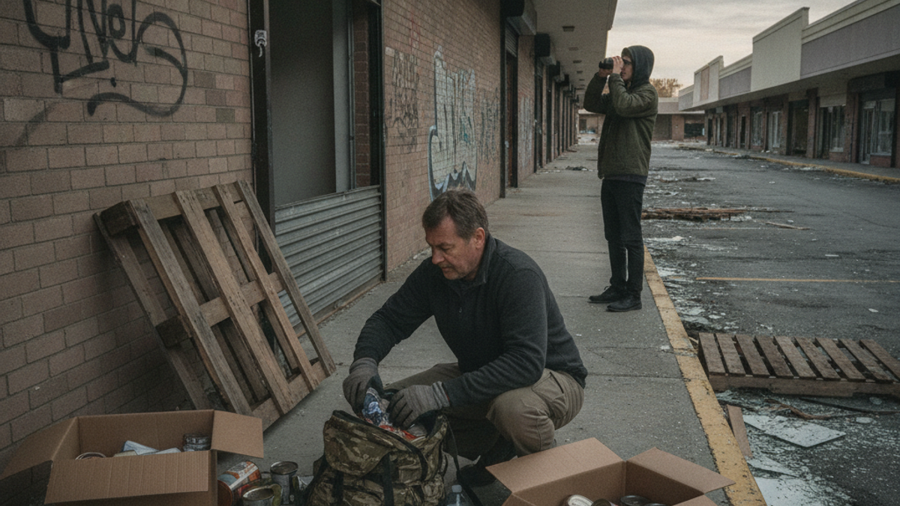
Everyone runs to the grocery store. The grocery store was stripped in six hours. Think laterally:
- Commercial and industrial zones: HVAC supply houses, print shops, and auto shops hold tarps, plastic sheeting, fasteners, lubricants, batteries, and chemical stock.
- Vending machines and office break rooms: Shelf-stable calories, bottled water, coffee, and first aid cabinets in buildings nobody thinks about.
- Vehicles and marinas: 12V batteries, inverters, fuel, flares, fire extinguishers, jumper cables, and complete first aid kits.
- Construction sites and debris piles: Lumber, screws, rebar, plywood for window hardening, and tarps.
- Veterinary clinics, feed stores, pool supply, and hardware stores: Calcium hypochlorite for water purification, wound care supplies, and animal feed-grade grain.
- Rural targets: Abandoned barns, failed farmsteads, old fence lines, and scrap piles yield wire, fuel cans, hand tools, chain, and salvageable metal.
Also think non-obvious consumables: salt, cooking oil, batteries, duct tape, bleach, feminine hygiene products, infant formula, and vitamins. Scurvy and other nutritional deficiencies on a stored-food diet are a real threat past the 60-day mark, which makes a looted-over pharmacy aisle of multivitamins more valuable than another case of ramen.
Step-by-Step Instructions
Step 1: Assess the Legal and Social Environment First
Before you move, determine whether a curfew, emergency declaration, or active patrol presence exists. Monitor NOAA weather radio, local EMS traffic, and ham nets for information on which zones are cordoned. Operating inside a cordon invites a lethal misunderstanding.
Step 2: Gear Up With Full Personal Protective Equipment
Boots, gloves, eye pro, respirator, long sleeves, long pants. Carry two light sources — a handheld and a headlamp — because searching a dark interior one-handed means you can't work, climb, or defend yourself. Keep a whistle and a tourniquet on your person, not in your pack.
Step 3: Conduct Reconnaissance Before Entry
Observe the site for at least 10–15 minutes from concealment. Look for occupants, dogs, vehicles, fresh tracks, lights, smoke, and signs that someone has already claimed the space. Note two exit routes. If you have one, a recon drone can clear a block without exposing you.
Step 4: Inspect the Structure for Stability and Utilities
Walk the exterior perimeter. Check the roofline, walls, and foundation. Smell for gas. Look for downed conductors and standing water in contact with wiring. Shut off gas and electricity at the exterior if you can do it safely, then sound the floor ahead of you with a pry bar before committing weight.
Step 5: Search Systematically, Not Randomly
Clear one room at a time in a consistent pattern — right-hand wall, high to low. Check above eye level and below floor level: top shelves, crawlspaces, utility closets, and under sinks are where panicked crowds never look. Mark cleared rooms with chalk or tape so you don't waste daylight repeating ground.
Step 6: Haul Smart and Prioritize by Weight-to-Value
Calories, water treatment, medicine, and fire beat bulk every time. Use a cart, wagon, or bike trailer rather than overloading your back — rucking fitness matters, but a blown knee ends your crisis. Cover loads with a tarp so you aren't advertising.
Step 7: Decontaminate and Quarantine Everything You Bring Home
Strip outer layers outside. Wash hands and forearms. Wipe cans with a bleach solution (one tablespoon per gallon), discard any swollen, rusted, or seam-dented cans, and never keep food from a flooded cardboard box or screw-top jar. Inspect for pests before anything joins your food storage.
Security Protocols: How Not to Become the Target
Salvage runs put you outside, loaded, and distracted — the worst possible posture. Apply hard rules:
- Never go alone. Minimum of two: one works, one watches. Three is better.
- Move at low-traffic hours — early morning rather than true night, when light discipline is impossible and everyone assumes the worst about anyone moving in the dark.
- Practice grey man principles. Plain work clothes and a beat-up cart read as "cleanup crew." Plate carrier and tactical nylon read as "threat."
- Maintain situational awareness. Stop, listen, and scan every few minutes. Never let both hands be occupied.
- Vary routes and timing so nobody can predict your return path to your home or cache.
- Never reveal your home location. Dog-leg your route. Never haul directly from a site to your door while being observed.
Recommended Gear
If you build one dedicated salvage kit, make it this: a Fenix PD36R Pro rechargeable tactical flashlight for punching light into dark voids and down long interiors, backed by a Black Diamond Spot 400 headlamp so both hands stay free for tools and climbing. A 3M 6200 half facepiece respirator paired with 3M 2097 P100 filters handles mold, silica, lead paint dust, and nuisance organic vapors. Ironclad Ranchworx leather work gloves survive glass, sheet metal, and splintered framing that shred nitrile and knit gloves. 3M SecureFit anti-fog safety glasses stay clear under a respirator — a detail that matters enormously in humid, post-flood interiors. Timberland PRO steel toe work boots with a puncture-resistant plate are the difference between a close call and a roofing nail through your arch. Finally, an Estwing Gear Wrecking Pry Bar opens doors, lifts debris, probes floors, and pulls nails without the weight penalty of a full demo bar. Browse more vetted options on our recommended survival gear page.
Frequently Asked Questions
Is scavenging after a disaster legal?
It depends entirely on what you take and from where. Recovering abandoned debris, items from condemned structures slated for demolition, or discarded material is generally defensible. Entering an intact private residence or business is burglary, and most states enhance penalties during declared emergencies. Always check for curfews and restricted zones first, and document what you take and why if you believe necessity applies.
What is the single most important piece of safety gear for urban salvage?
Footwear, with a respirator a close second. Puncture wounds from nails and glass are the most common disaster cleanup injury, and in a grid-down scenario a foot infection can become life-threatening. Steel-toe, puncture-plated boots plus heavy leather gloves prevent the majority of injuries that send scavengers to an ER that may no longer be operating.
How can I tell if salvaged food is safe to eat?
Keep only intact, sealed metal cans and retort pouches. Discard anything swollen, leaking, deeply rusted, dented on a seam, or that was submerged in a paper, cardboard, or screw-top container — floodwater carries sewage bacteria that migrate through those seals. Wash cans in soapy water, sanitize in a bleach solution, dry, and relabel with a marker since paper labels must be removed. When in doubt, throw it out; a foodborne illness with no medical support can kill you faster than hunger.
Affiliate Disclosure: SHTFPlan.net participates in the Amazon Services LLC Associates Program. Some links are affiliate links — we may earn a small commission at no extra cost to you.